
Imagine the scenario, you call my help desk and say “hello, I’m Brian Reid, can you reset my password and MFA please” and of course my help desk should say “no you are not, there’s only one Brian Reid” and then help desk is presented with a deep fake version of me and my credentials are given away along with tenant access, all my data and possibly administration rights!
So wwhat do you do? How can you privet that the person on the phone is really who they say they are? The answer for Entra ID and all it’s resources is Account Recovery utilising Verified ID and Face Check, along with the services of an external ID and face match verification company.
And iit’s really easy to do. So let’s start, it will take about ten minutes to set up and test!
The list of steps that we will complete in the next short while are:
- Enable Temporary Access Pass
- Ensure test user match their Government ID
- Configure Verified ID Face Check
- Configure Account Recovery (in evaluation mode)
- Choose a ID verification partner
- Test it out (evaluation mode)
- Change to production mode
- Implement Account Recovery in your organization
Enable TAP
At the very end of the process, Account Recovery will issue the verified user a Temporary Access Pass (TAP). They can use this to reset their passkey, MFA and other credentials. Therefore you need this enabled for the same users that you will enable Account Recovery for. This is done via Entra ID Authentication Methods.

Its good to enable TAP for all users, as only certain administrators with the correct roles can issue these. Users cannot self-request them.
Update User First and Last Name to Match Government ID
During the preview of Account Recovery, the first and last names derived from the official ID are sent to Entra ID. Entra ID will only find a user who matches 100%. For example in my tenant I have my first and last name in those fields in Entra ID but both my passport and driving licence have my middle name listed as part of my first name – Account Recovery fails for me, unless I update my first name in Entra ID to be “first middle”.

On general availability there will be plug-in code options so that you can do more stuff with the data returned by the external verification company – for example, check a passport number against a HR database, and I guess you could read the “first middle” string, and compare the first part of that against the user in Entra ID. Your code, your tenant, your checks can be manipulated and enhance the functionality of the system.
Finally for preview, do not test with users who have the same name as other users in Entra ID. If the first/last name pair is found on more than one user the user will always fail account recovery.
Configure Verified ID by Enabling Face Check
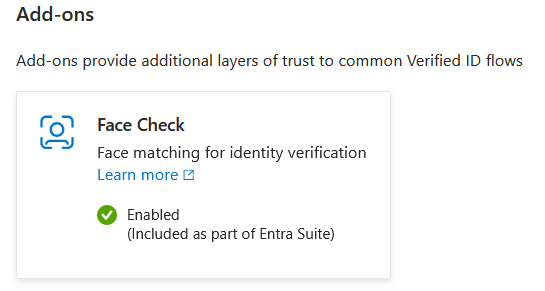
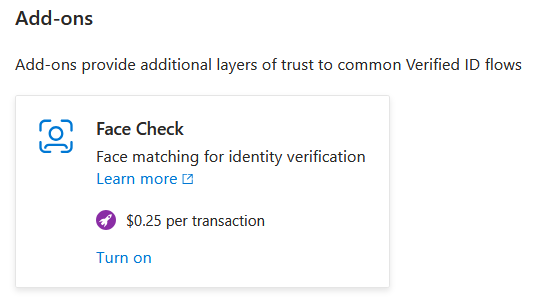
Face Check is part of Verified ID, a component of Entra that requires a separate license, but the Face Check component can be used on a pay per use model as well as pre-paid. If you have Entra Suite licences then Face Check is included, but if you do not then you can link Face Check to an Azure subscription and get billed $0.25 per use.
To set up Verified ID enough so that you can configure Face Check you visit the Verified ID menu in https://entra.microsoft.com portal and click Get Started on the Overview page.

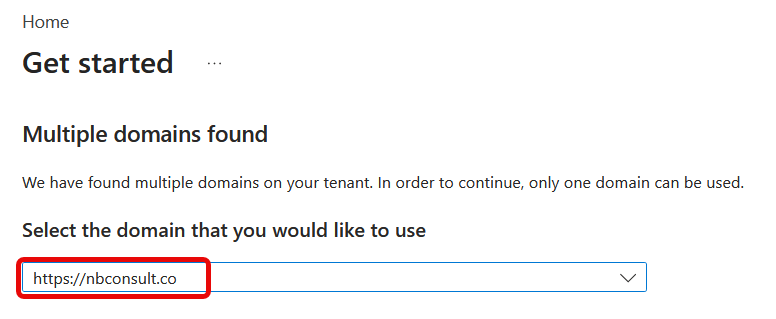
If you have more than one domain in the tenant, select your primary domain:
Save your changes and wait whilst Verified ID is setup. Then turn on the Face Check add-on if required:
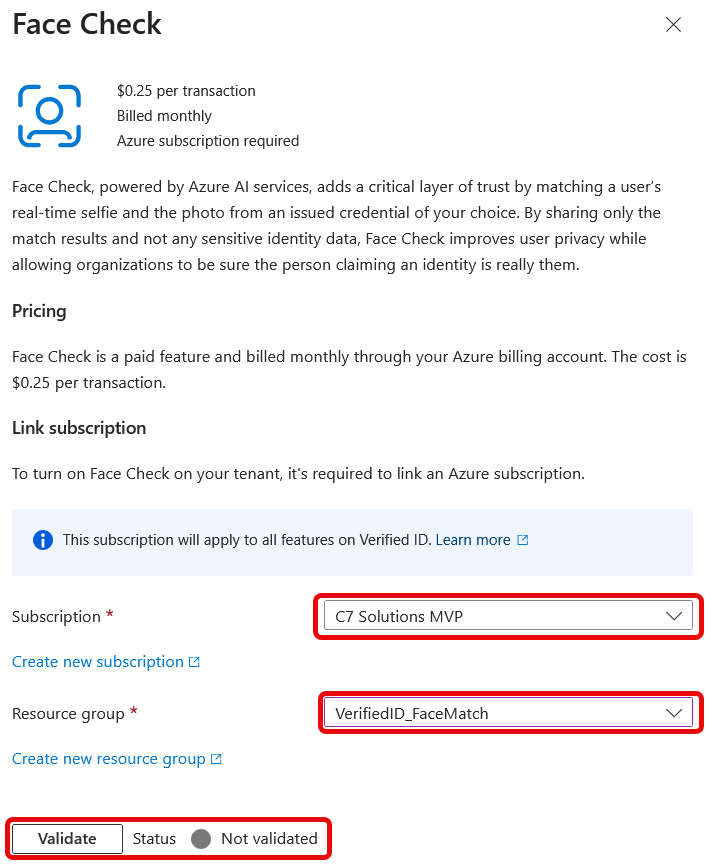
When turning on Face Check, you need to select a subscription in Azure and a Resource Group. That Resource Group does not need to contain any Azure resources, but its billing will be where the $0.25 per successful check will be charged.
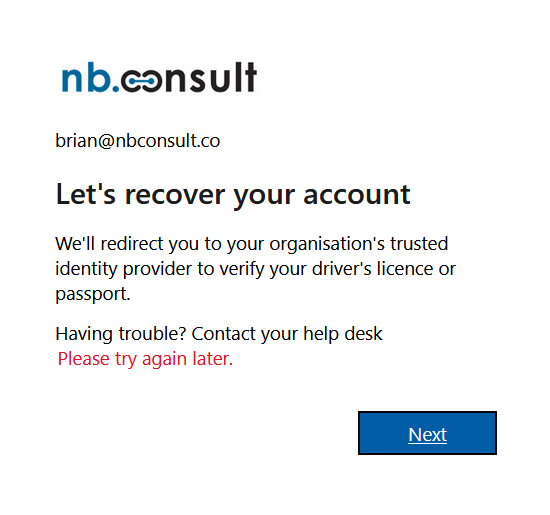
Before you look at Account Recovery, make sure Face Check is enabled in your tenant, and turn it on if not. If you do not enable Face Check then Account Recovery will error with the unhelpful “Please try again later” and never redirect to the external verification provider:
The rest of Verified ID such as Verified Employee doesn’t need to be configured. You are done with this section of the admin portal and can now move to the Account Recovery section.
Configure Account Recovery in Evaluation Mode
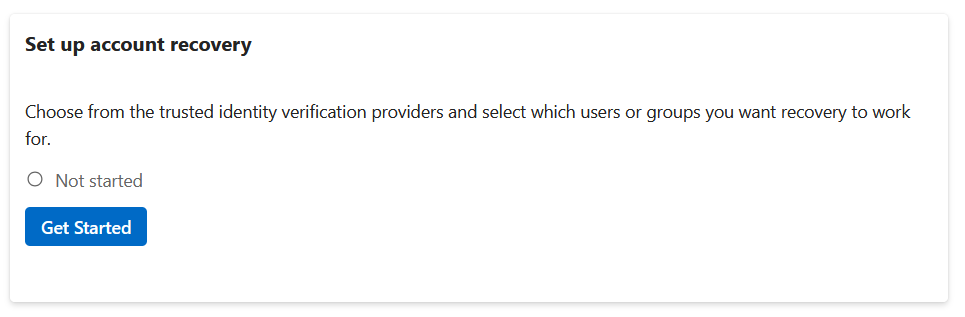
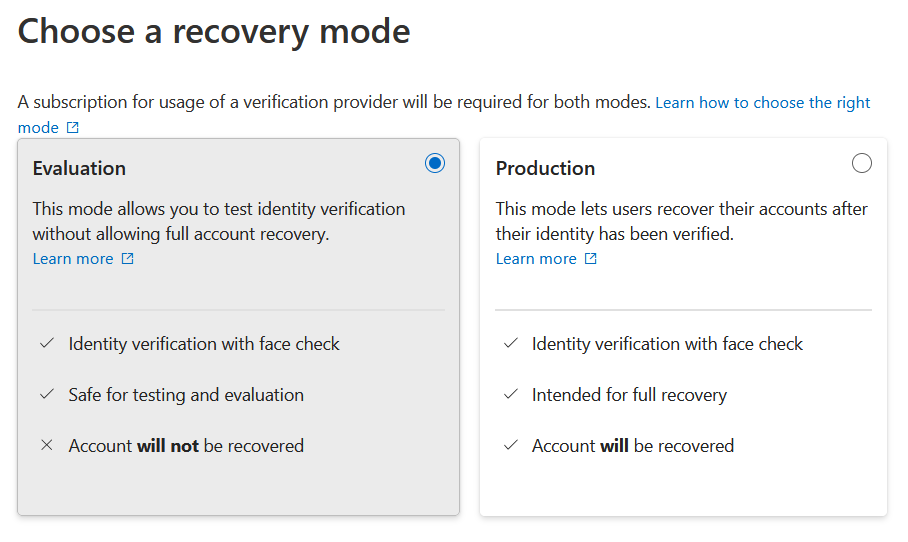
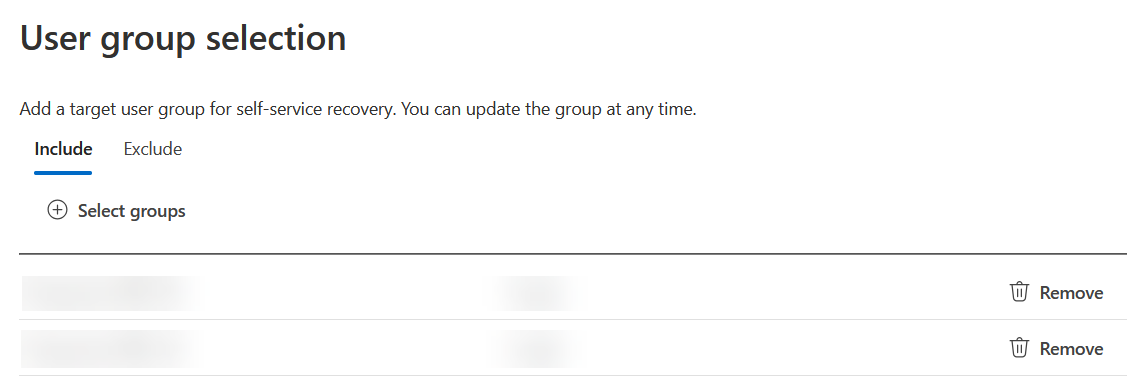
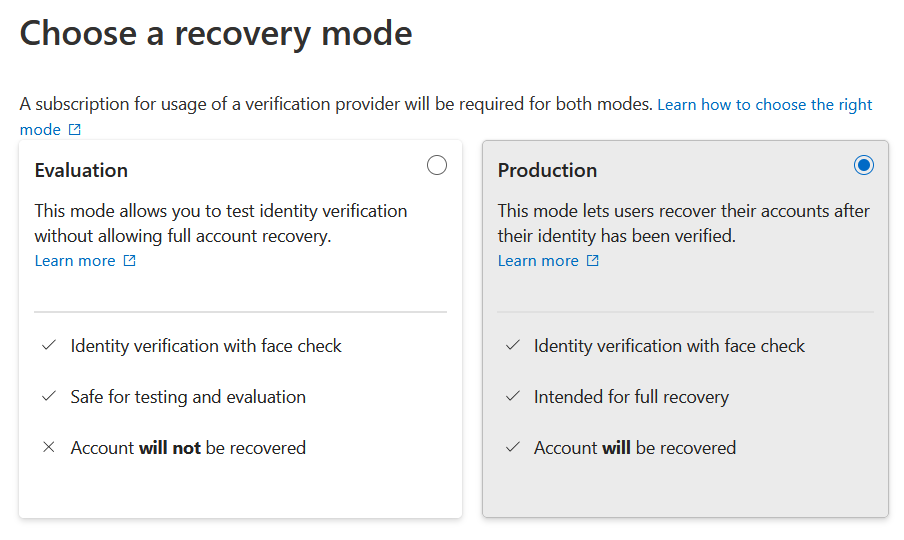
From the Entra ID portal, select the Account Recovery menu and you will see that it is ready to set up. The steps will start, you pick Evaluation mode (or Production when ready), choose the groups of users who can try out Account Recovery and then pick your ID verification partner:
Choose your External Partner for Government Issued ID Verification
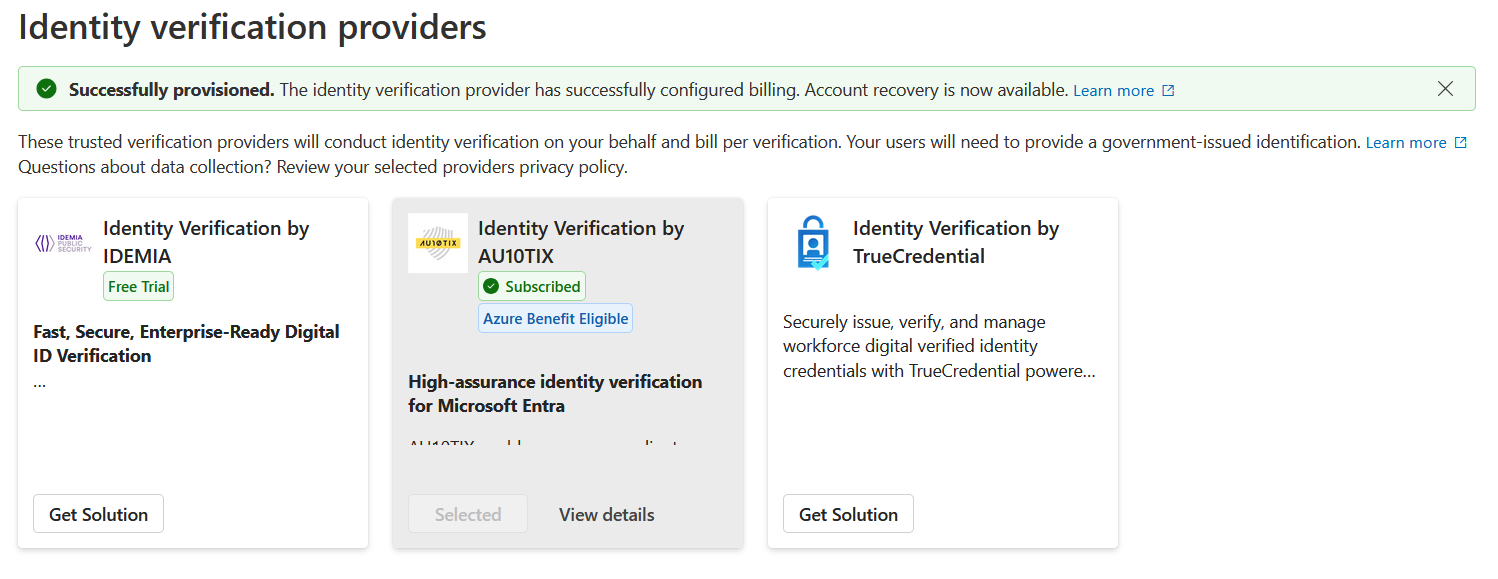
In the above screenshot I have already selected AU10TIX simply because they offer 100 free verifications and 100 free rejection attempts and bill $1 on the 101 and onward verification.
For your chosen solution, click Get Solution and you have three to chose from at the time of writing:
- TrueCredential powered by LexisNexis
- Identity Verification by IDEMIA
- Identity Verification by AU10TIX
Each solution is available in the Microsoft Security Store, and you can visit the store after purchase to view details such as pricing, Azure configuration etc. See https://securitystore.microsoft.com/my-solutions
TrueCredential’s solution also offers the 100 free trial, so we will walk though the setup of this process. You can activate multiple providers, but you would have different groups of users per provider – for example there might be a provider who works better for Asia located users and so you would configure that one for these groups of users.
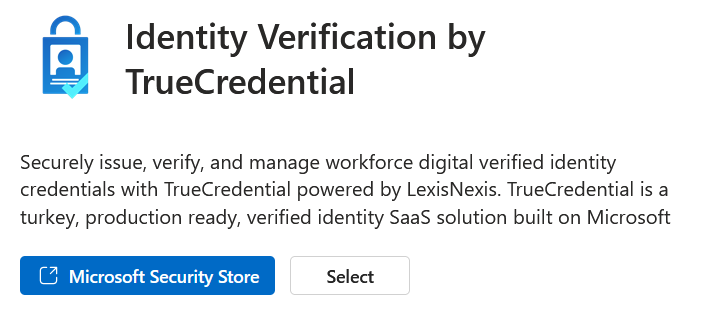
Click the link to the Microsoft Security Store where you will see the different plans available. For example TrueCredential have three plans at the time of writing, “Free Trial”, “Consumption” and “BYO IDVerse” for existing customers. We will take the Free Trial please…
Chose the plan and provide the Azure subscription, resource group and resource names:
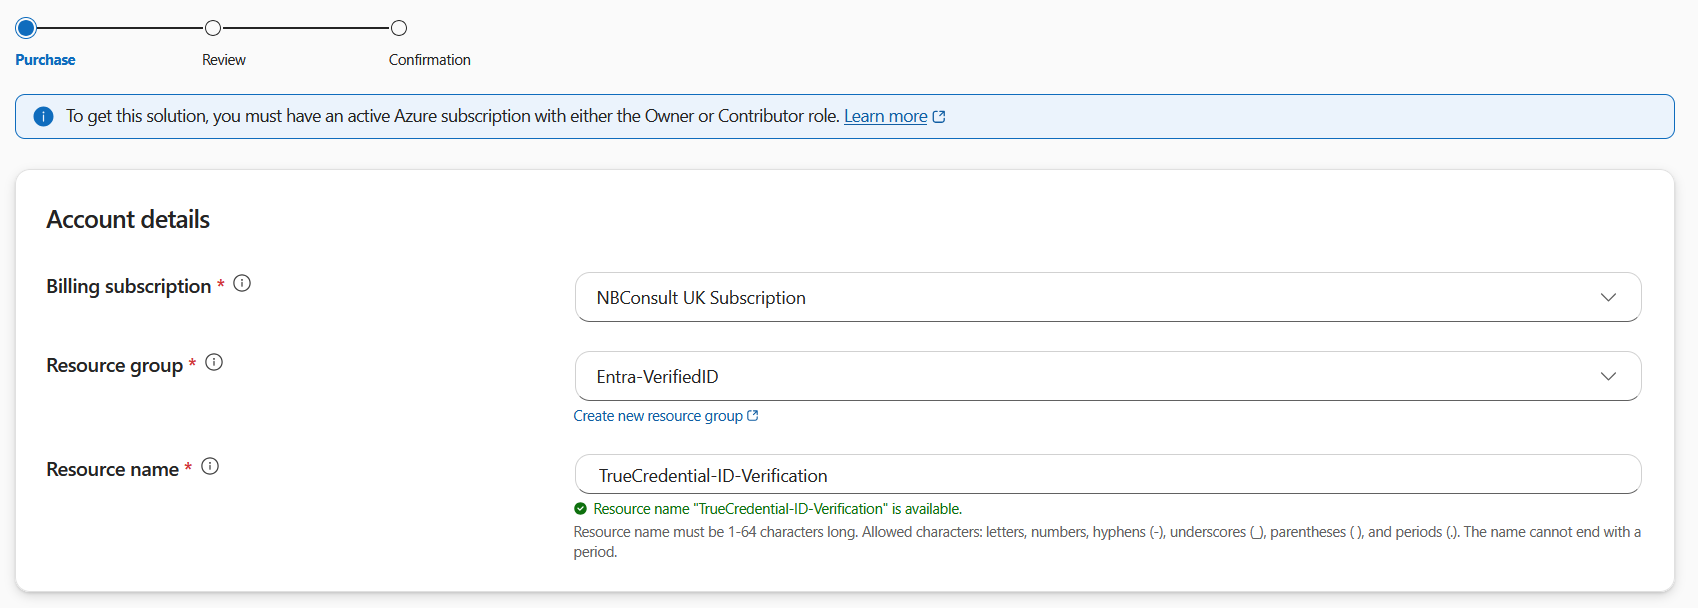

Once the order is placed you need to login to the website of the ID Verification Provider and create your account. This will use your current Entra ID to login.
Test It Out (evaluation mode)
Once you have all the parts in place, its time to test. In Production Mode the final step of the process is to create the TAP for the user and allow the user to sign in with the TAP. In Evaluation Mode this step does not occur and you are informed that you have reached the end of the process without any TAP being issued. Whilst the Account Recovery feature is in preview, the production mode option is just issuing a TAP. Once in general availability there are reportedly other options being considered. So whilst in preview, but in production mode, the users account remains in place and a TAP is issued – nothing happens the the remaining settings of the users account. Once generally available, its possible that you will be able to do things like wipe old MFA methods, clear password and then issue a TAP.
So testing in evaluation mode or production mode when Account Recovery is in preview is much of muchness, but once generally available, evaluation mode will be more important because it will not reset anything on the users account.
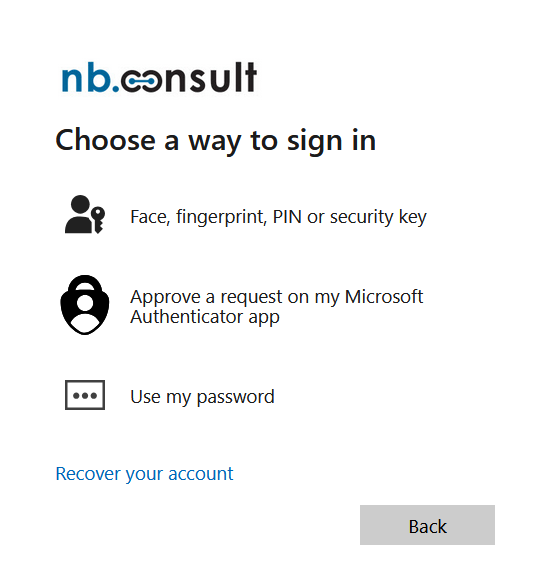
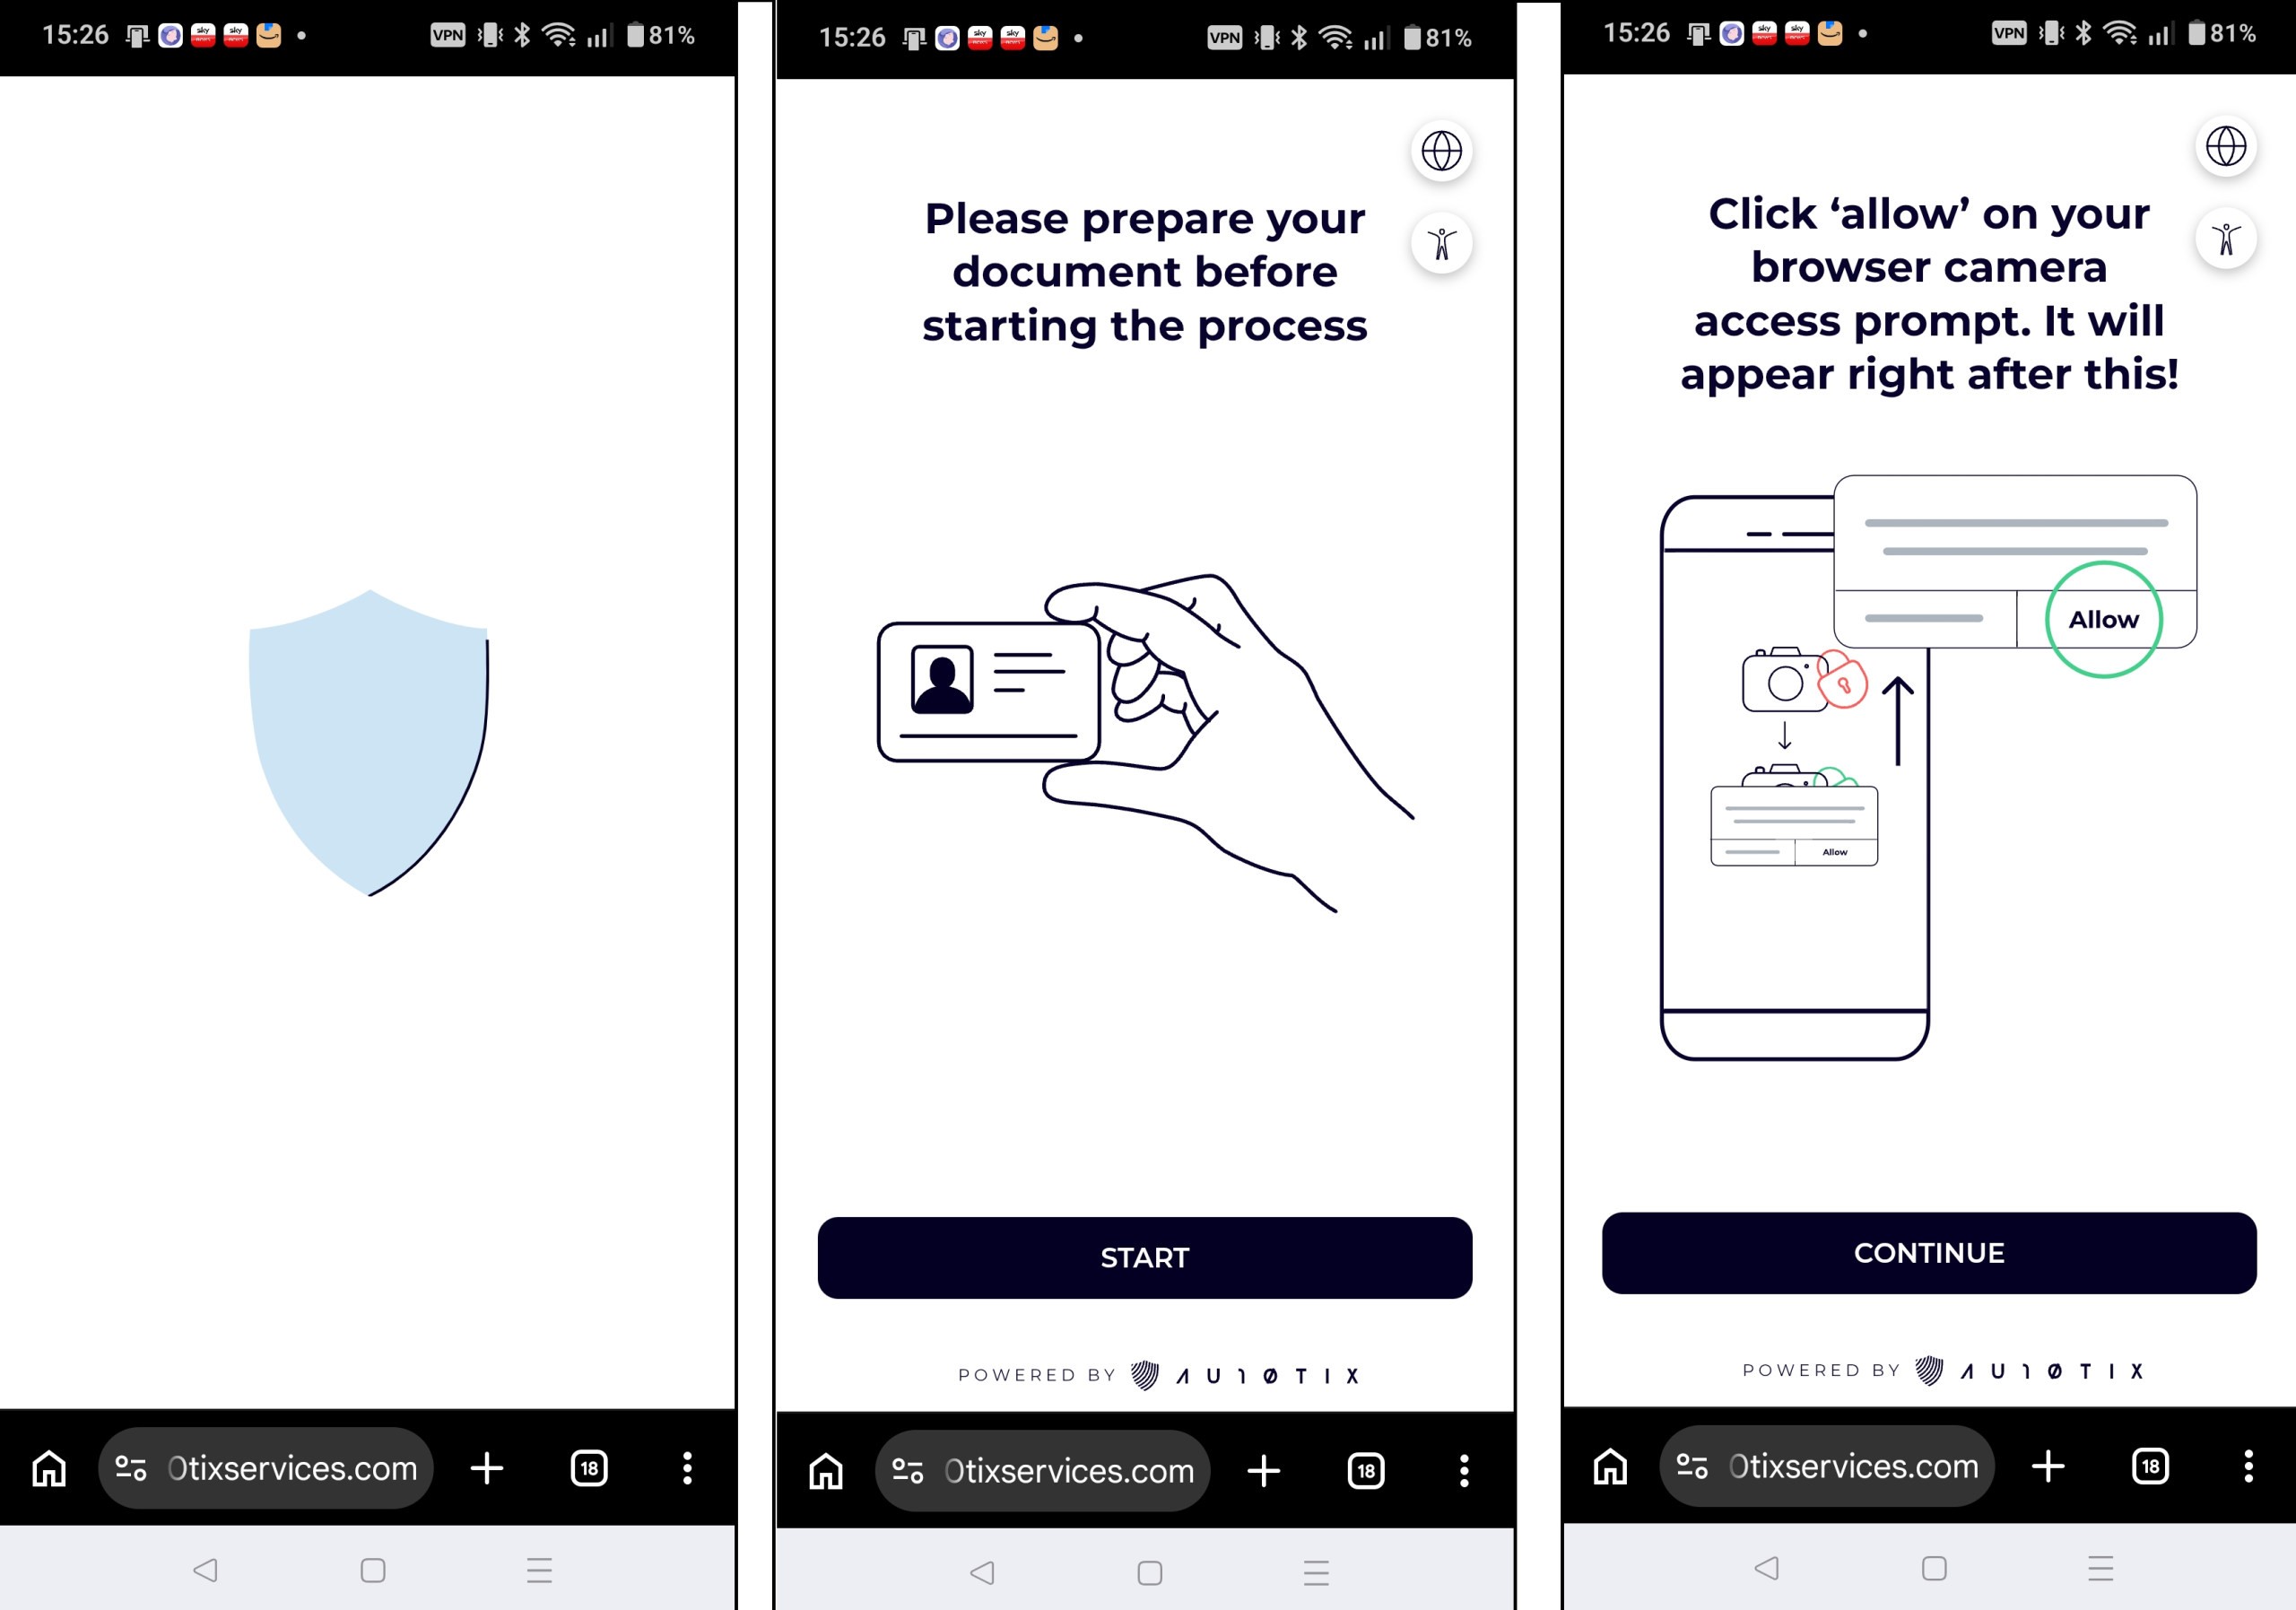
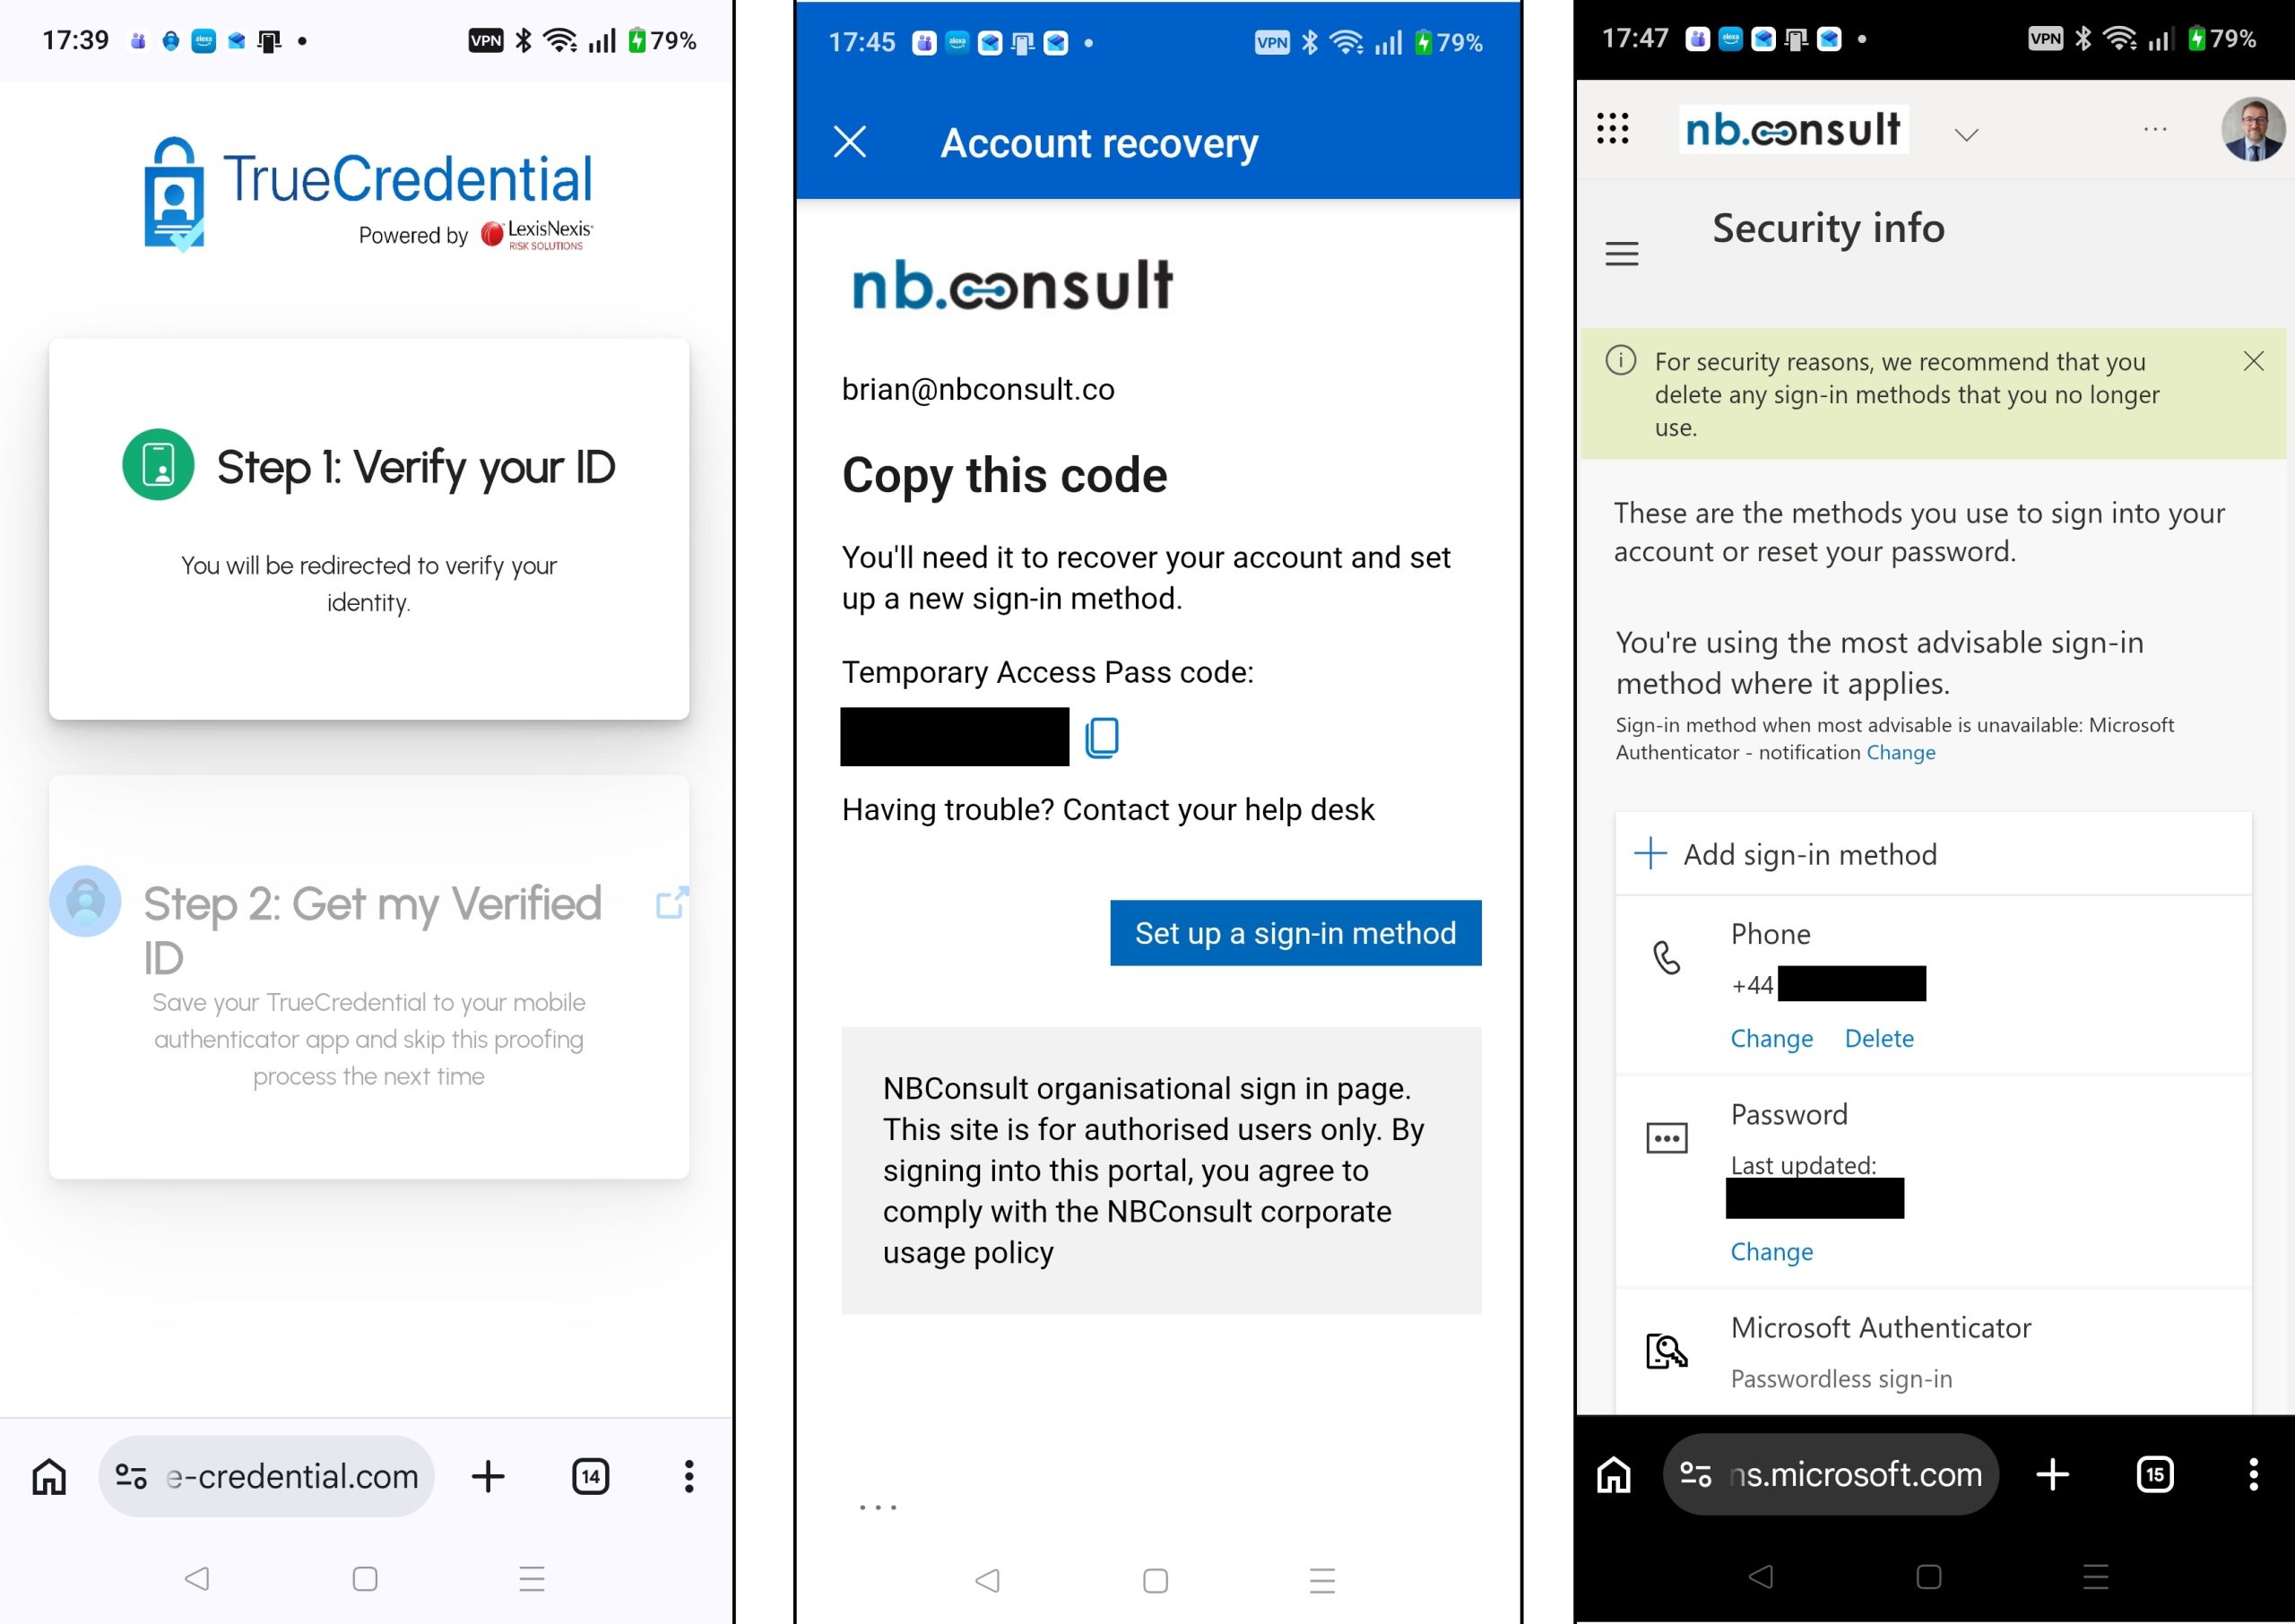
So to test, you need to pretend that you have lost access to all your authentication devices (authenticator, passkeys and TOTP software or devices. When you make a login attempt it might send a notification or code – just ignore this and click messages on the screen to the effect of “I cannot use my authenticator now” and then “recover my account”. These are shown in the next three pictures.
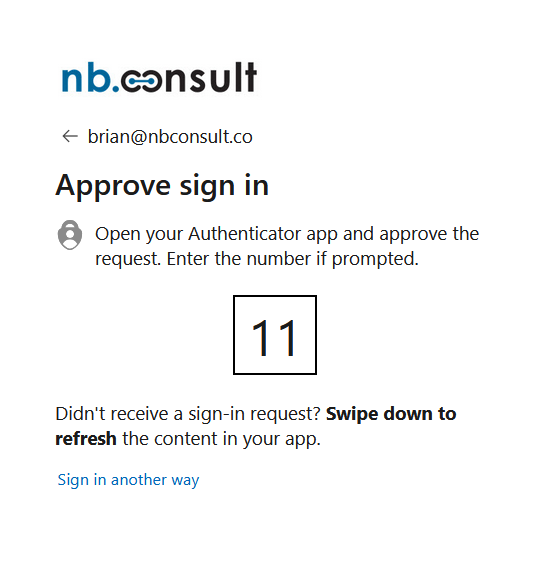
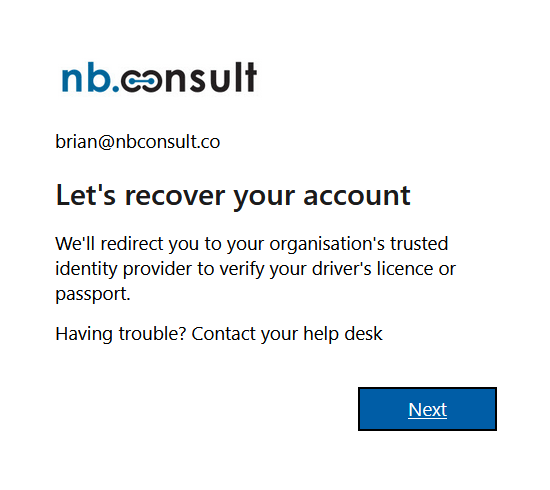
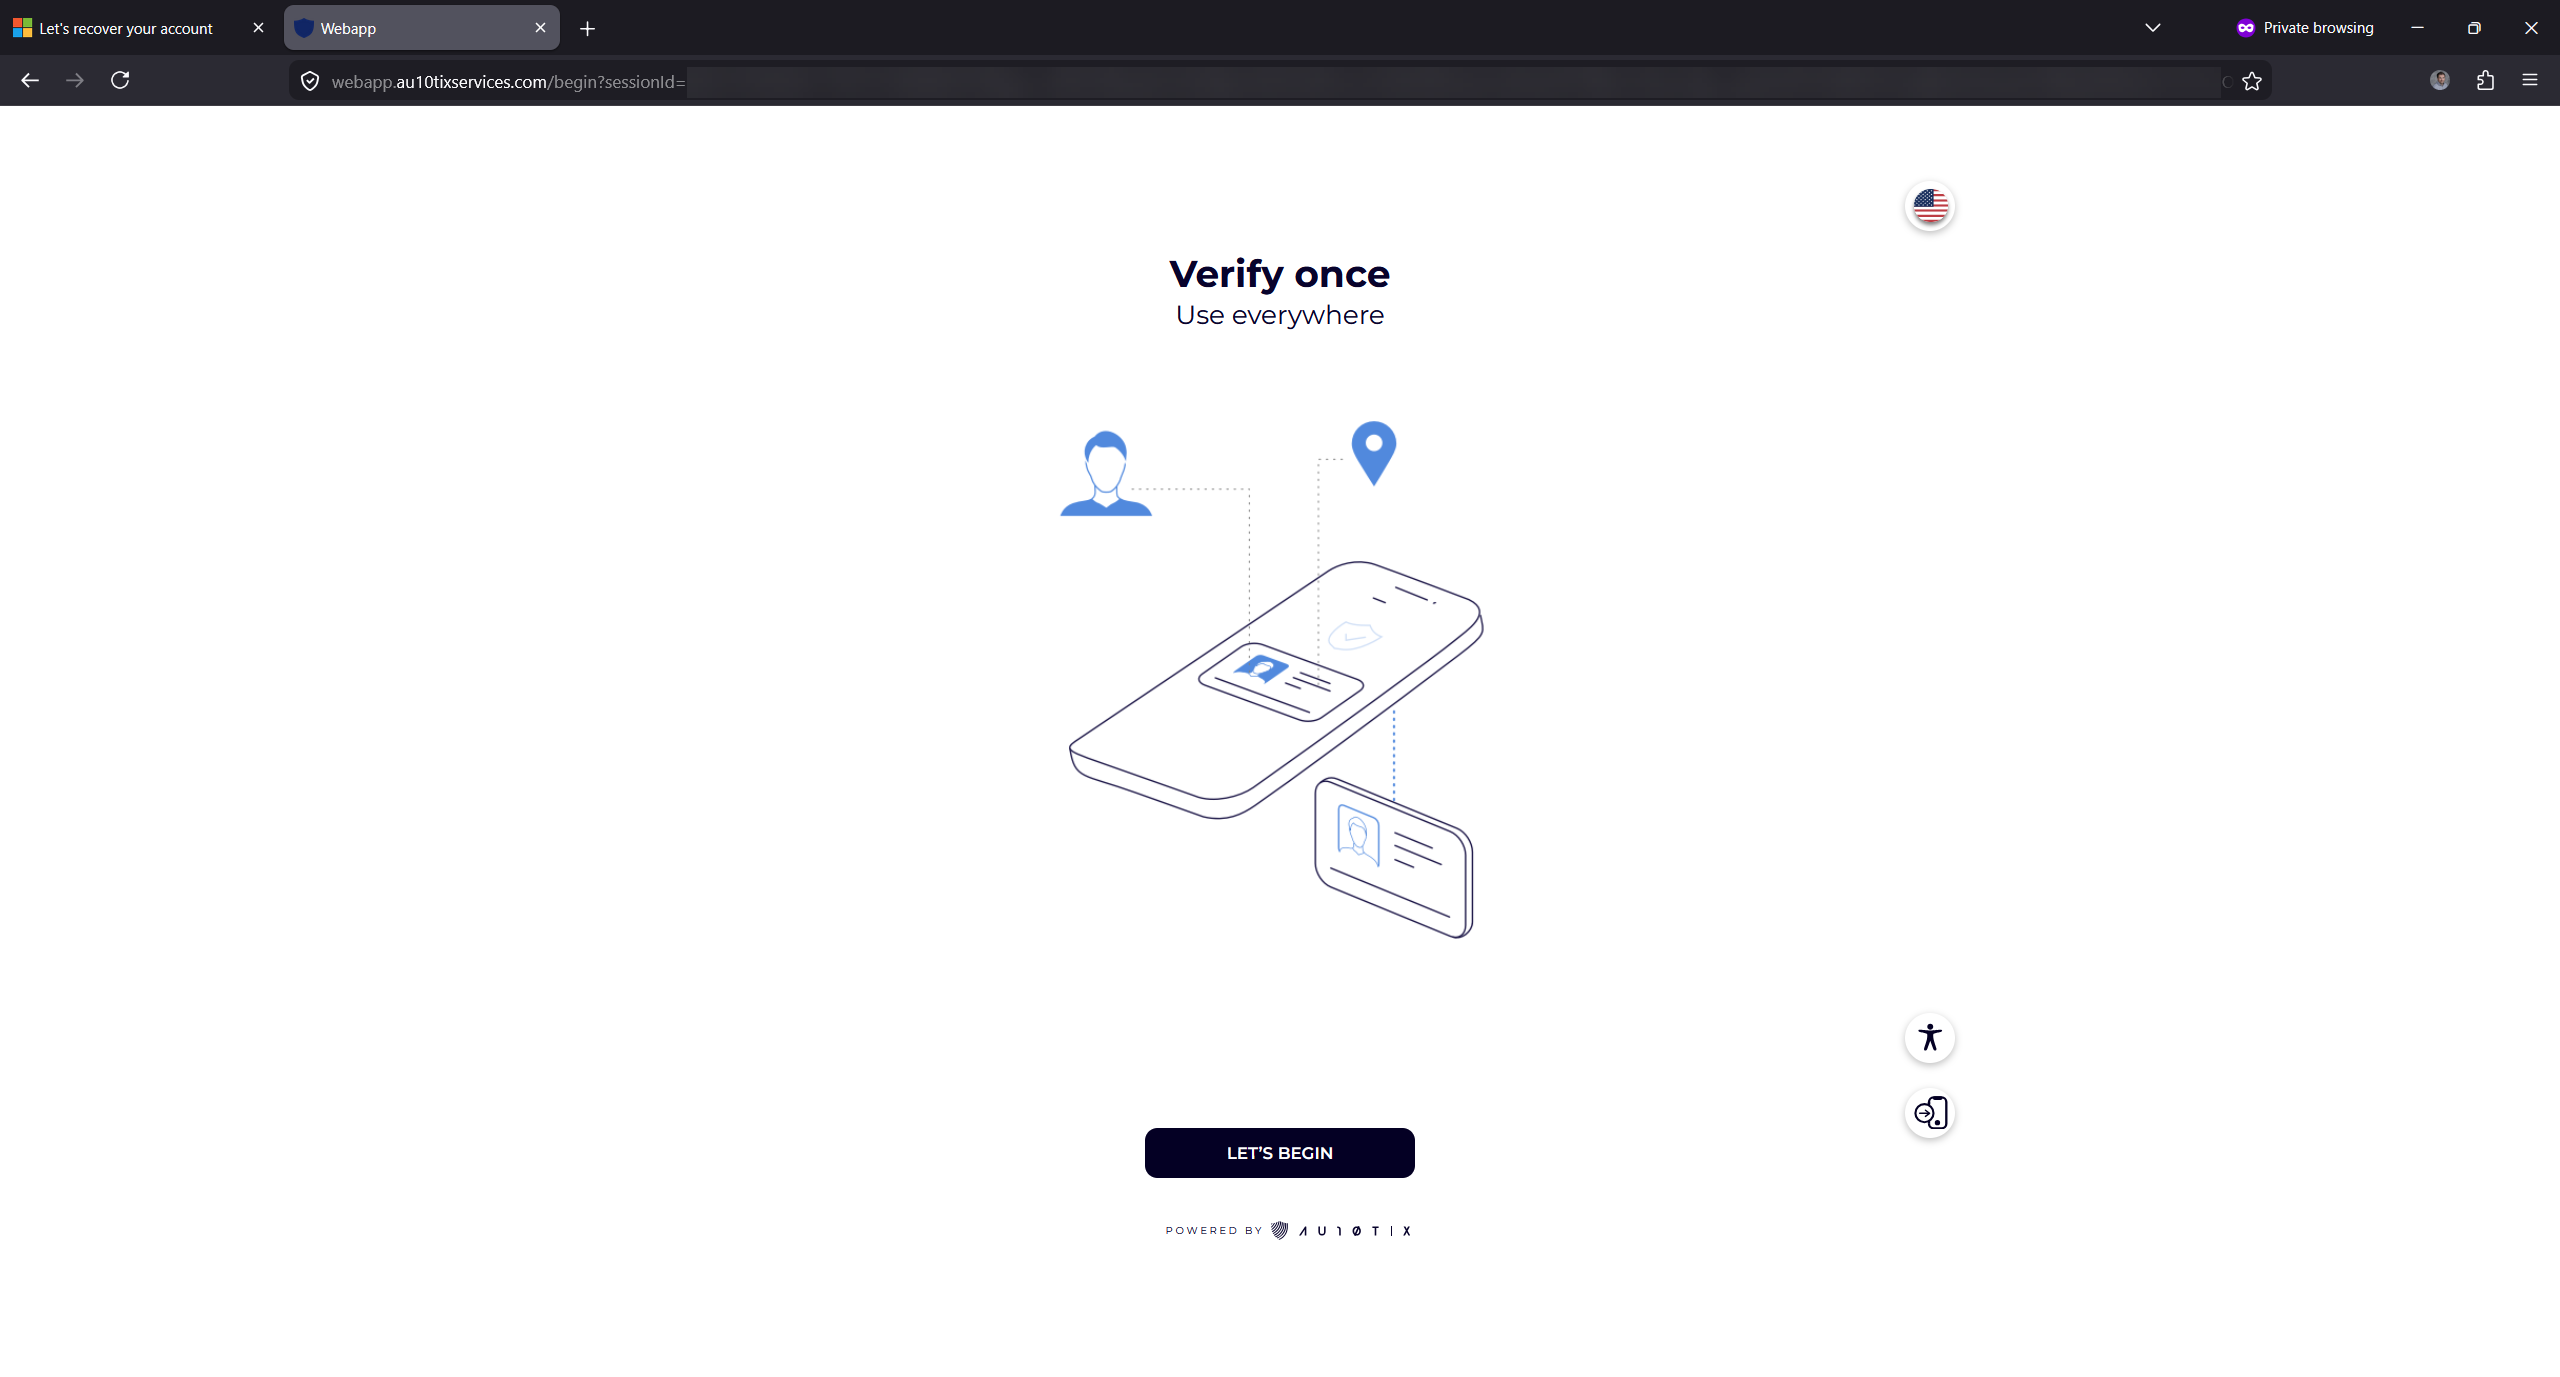
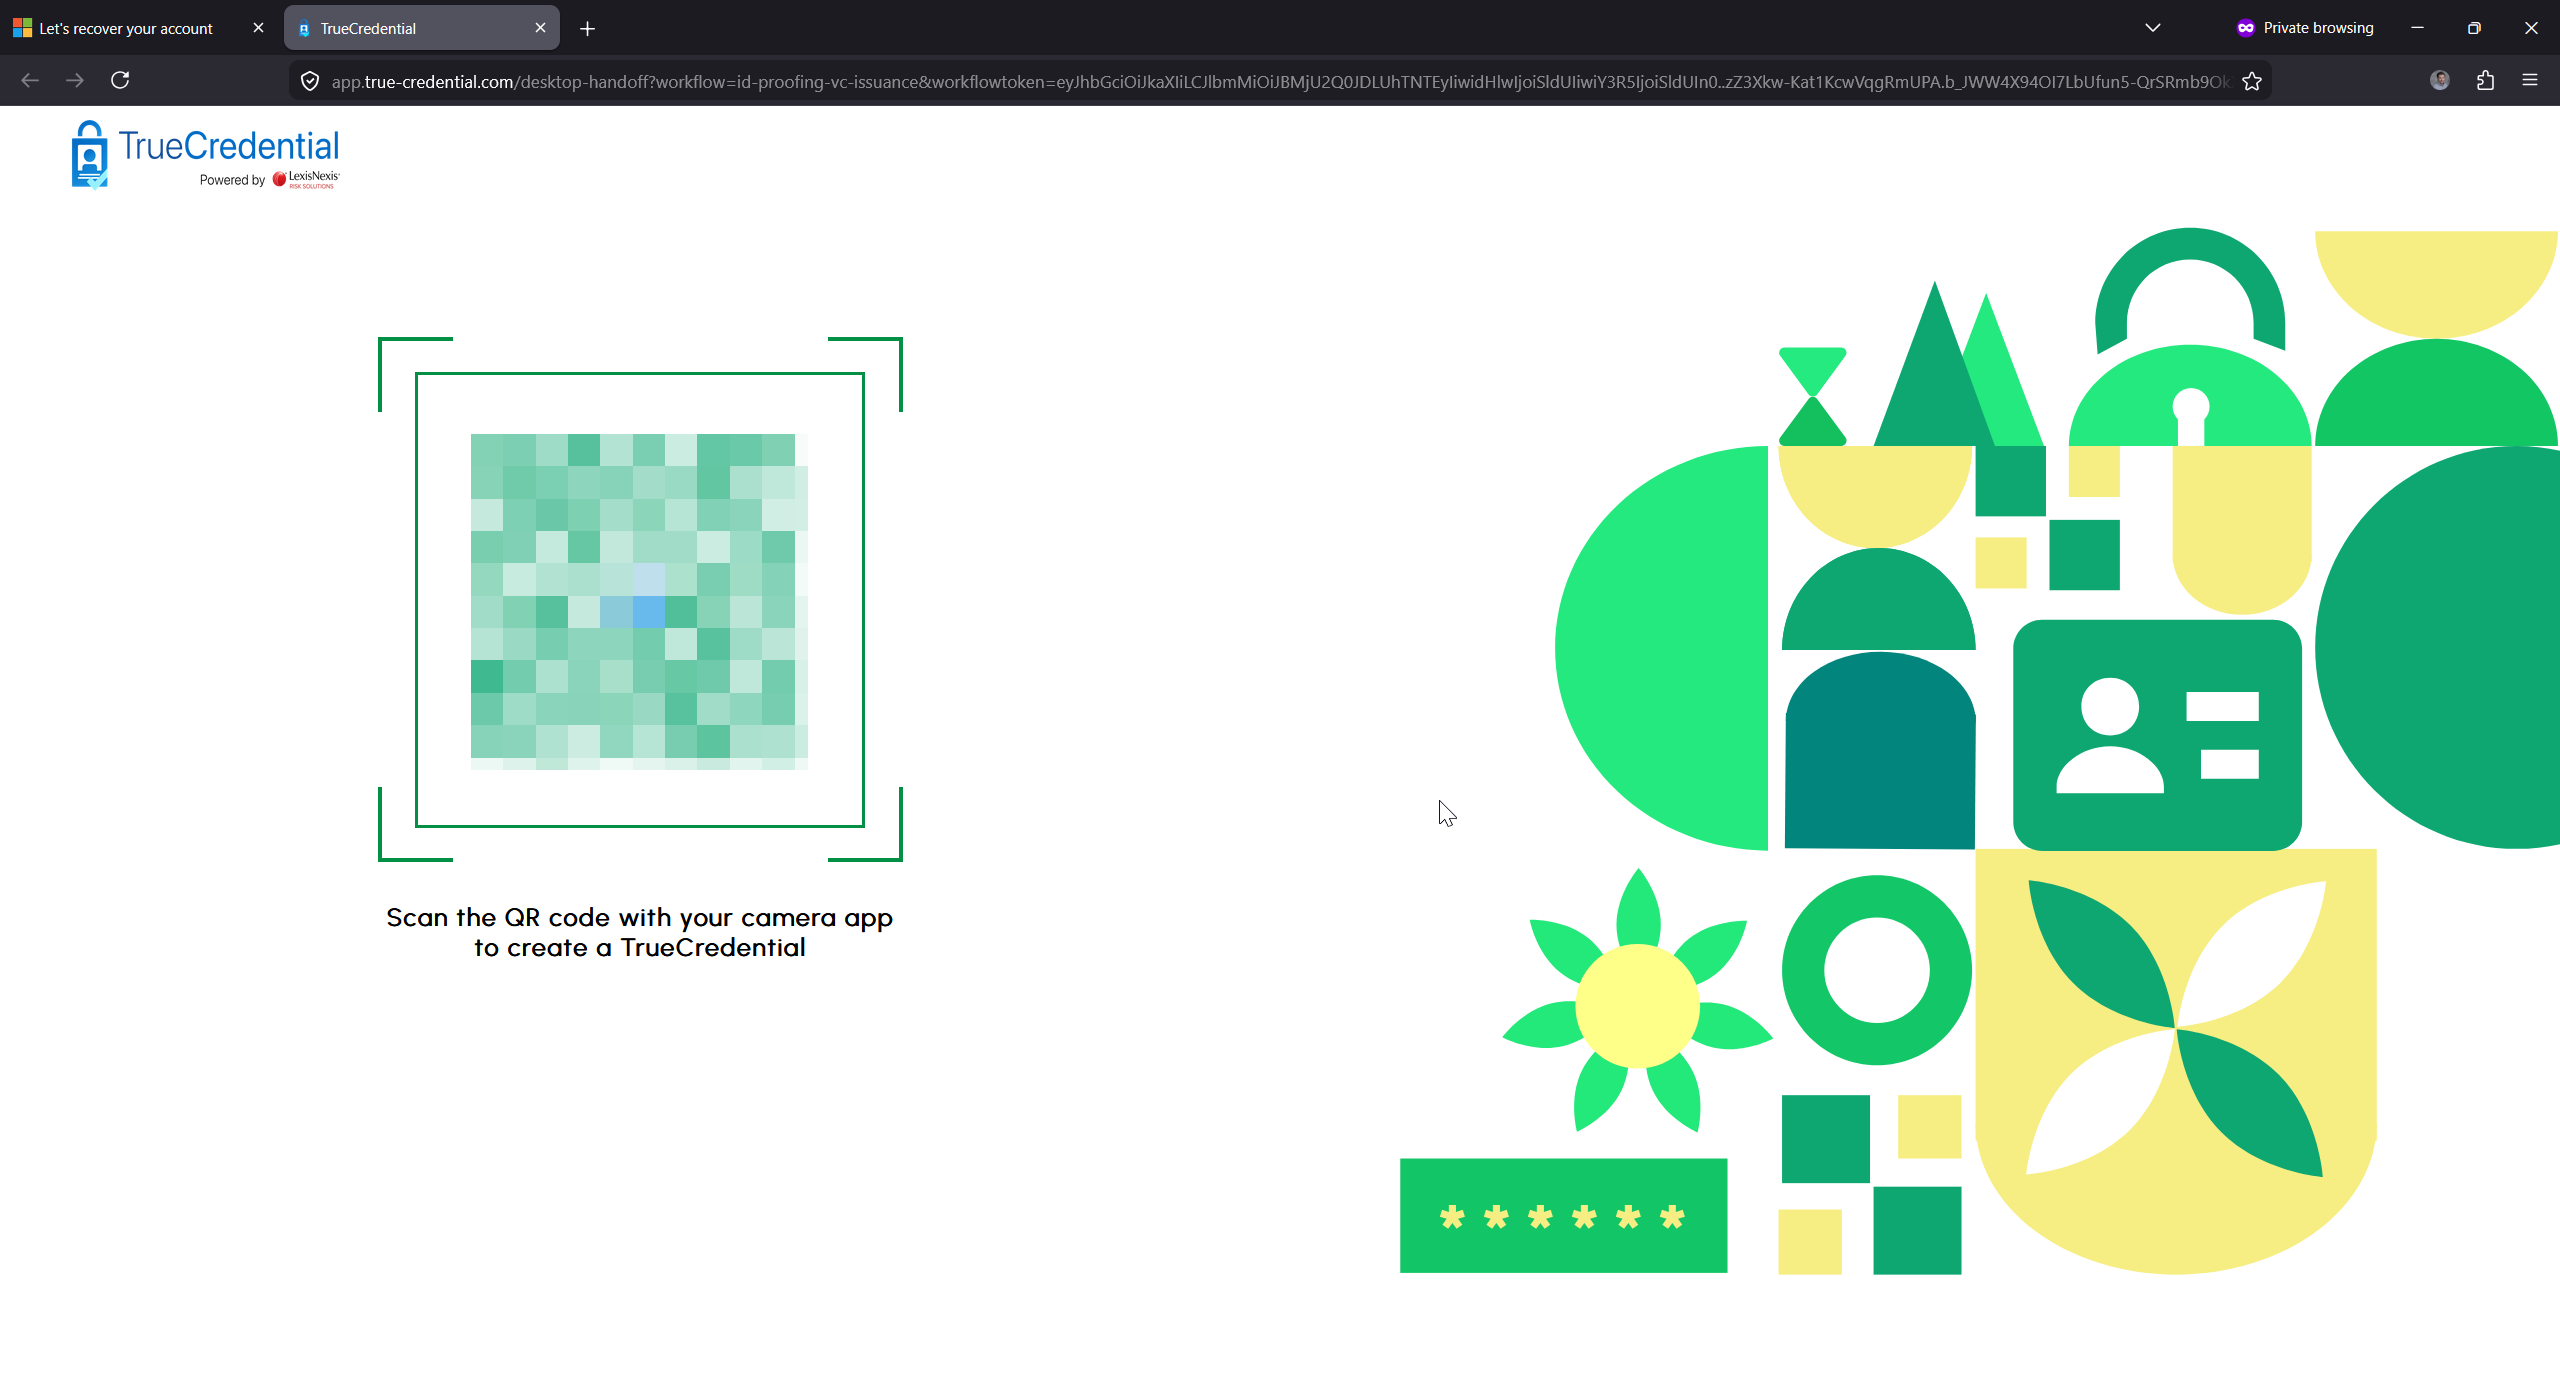
If you are performing these steps on a PC, the browser will redirect to the external verification providers website and you will step through a few screen to reach a QR code. Verification needs to occur via a mobile phone browser, and so the QR code is scanned by your phone and the recovery flow moves to your phone. If the above three steps were done on a phone the flow will continue uninterrupted as there is no redirect to a second device required.
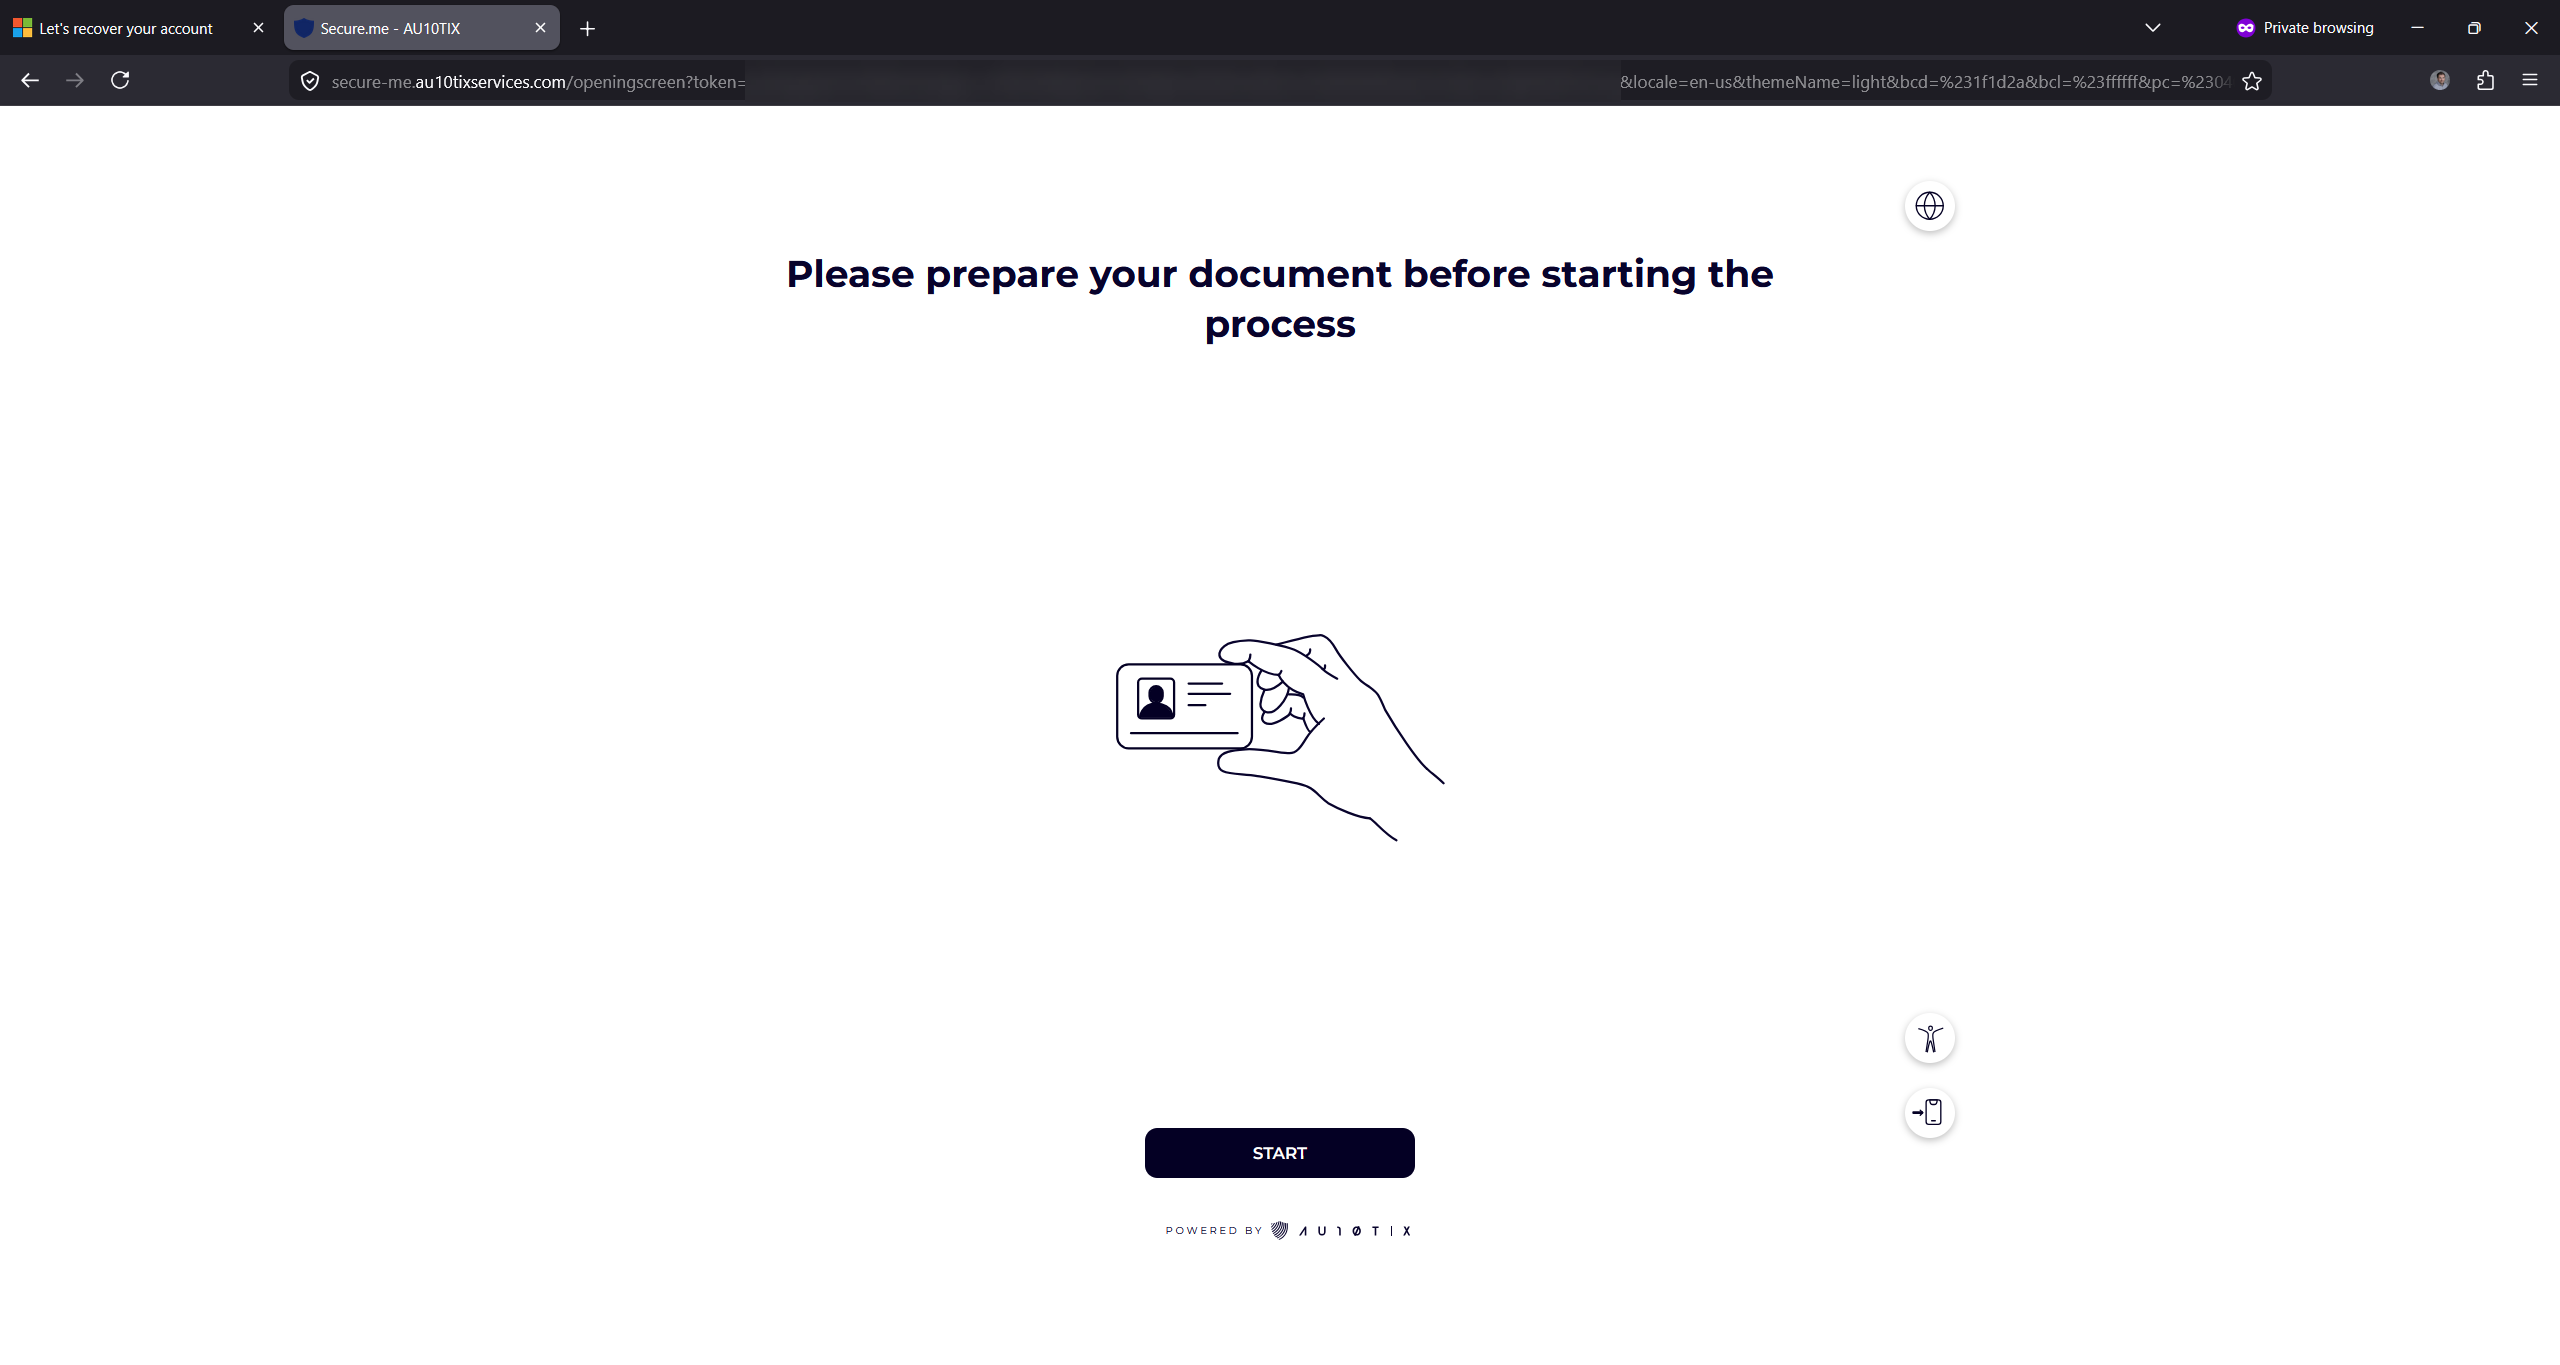

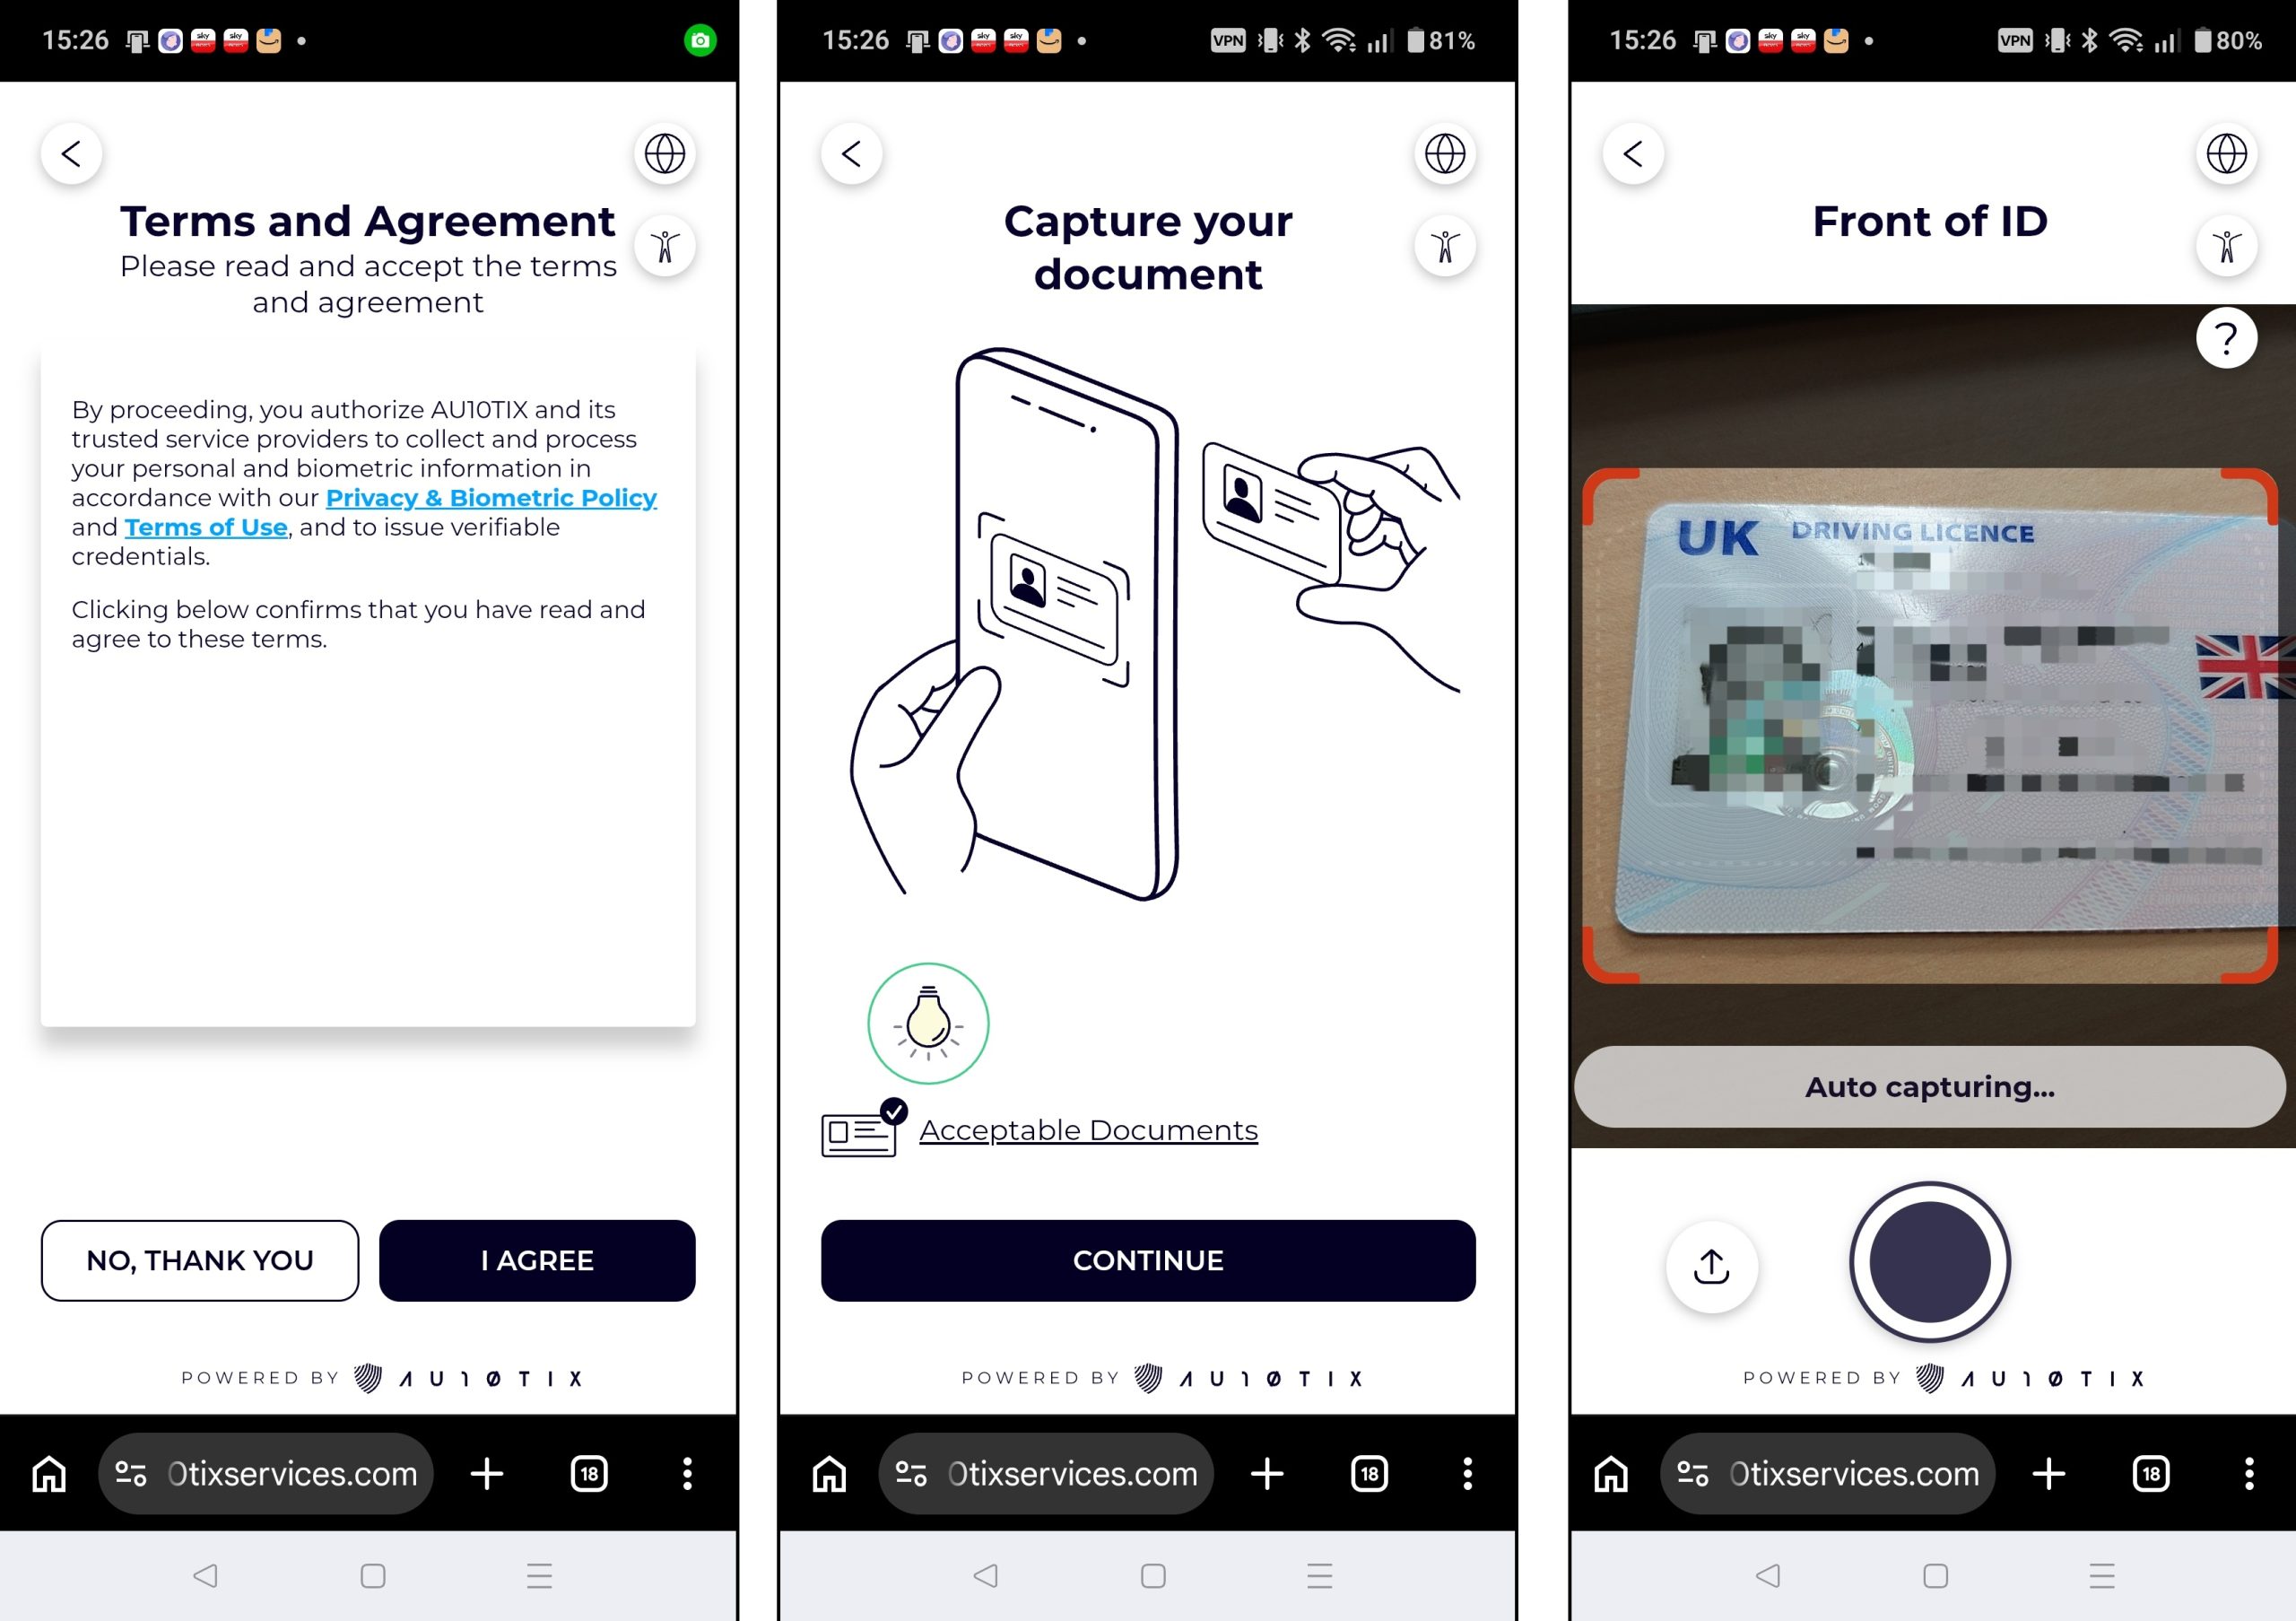
If the desktop has a camera application and so the ability to scan the ID and your face, you can continue on the desktop with the button at the bottom of the screen. Later once the Verified ID is ready you will get a second QR code that needs scanning with Microsoft Authenticator to transfer the session to a phone at that point, so that the newly issued Verified ID can be added to Microsoft Authenticator
For the purposes of space, the following images are all taken from an Android phone, but desktop, macOS and iOS etc are all the same.
If you do not have Authenticator installed on the mobile device it will prompt you to install it, and the PC if you started the flow on the PC, will change the QR code to install Authenticator – this QR code needs scanning by the Authenticator app.
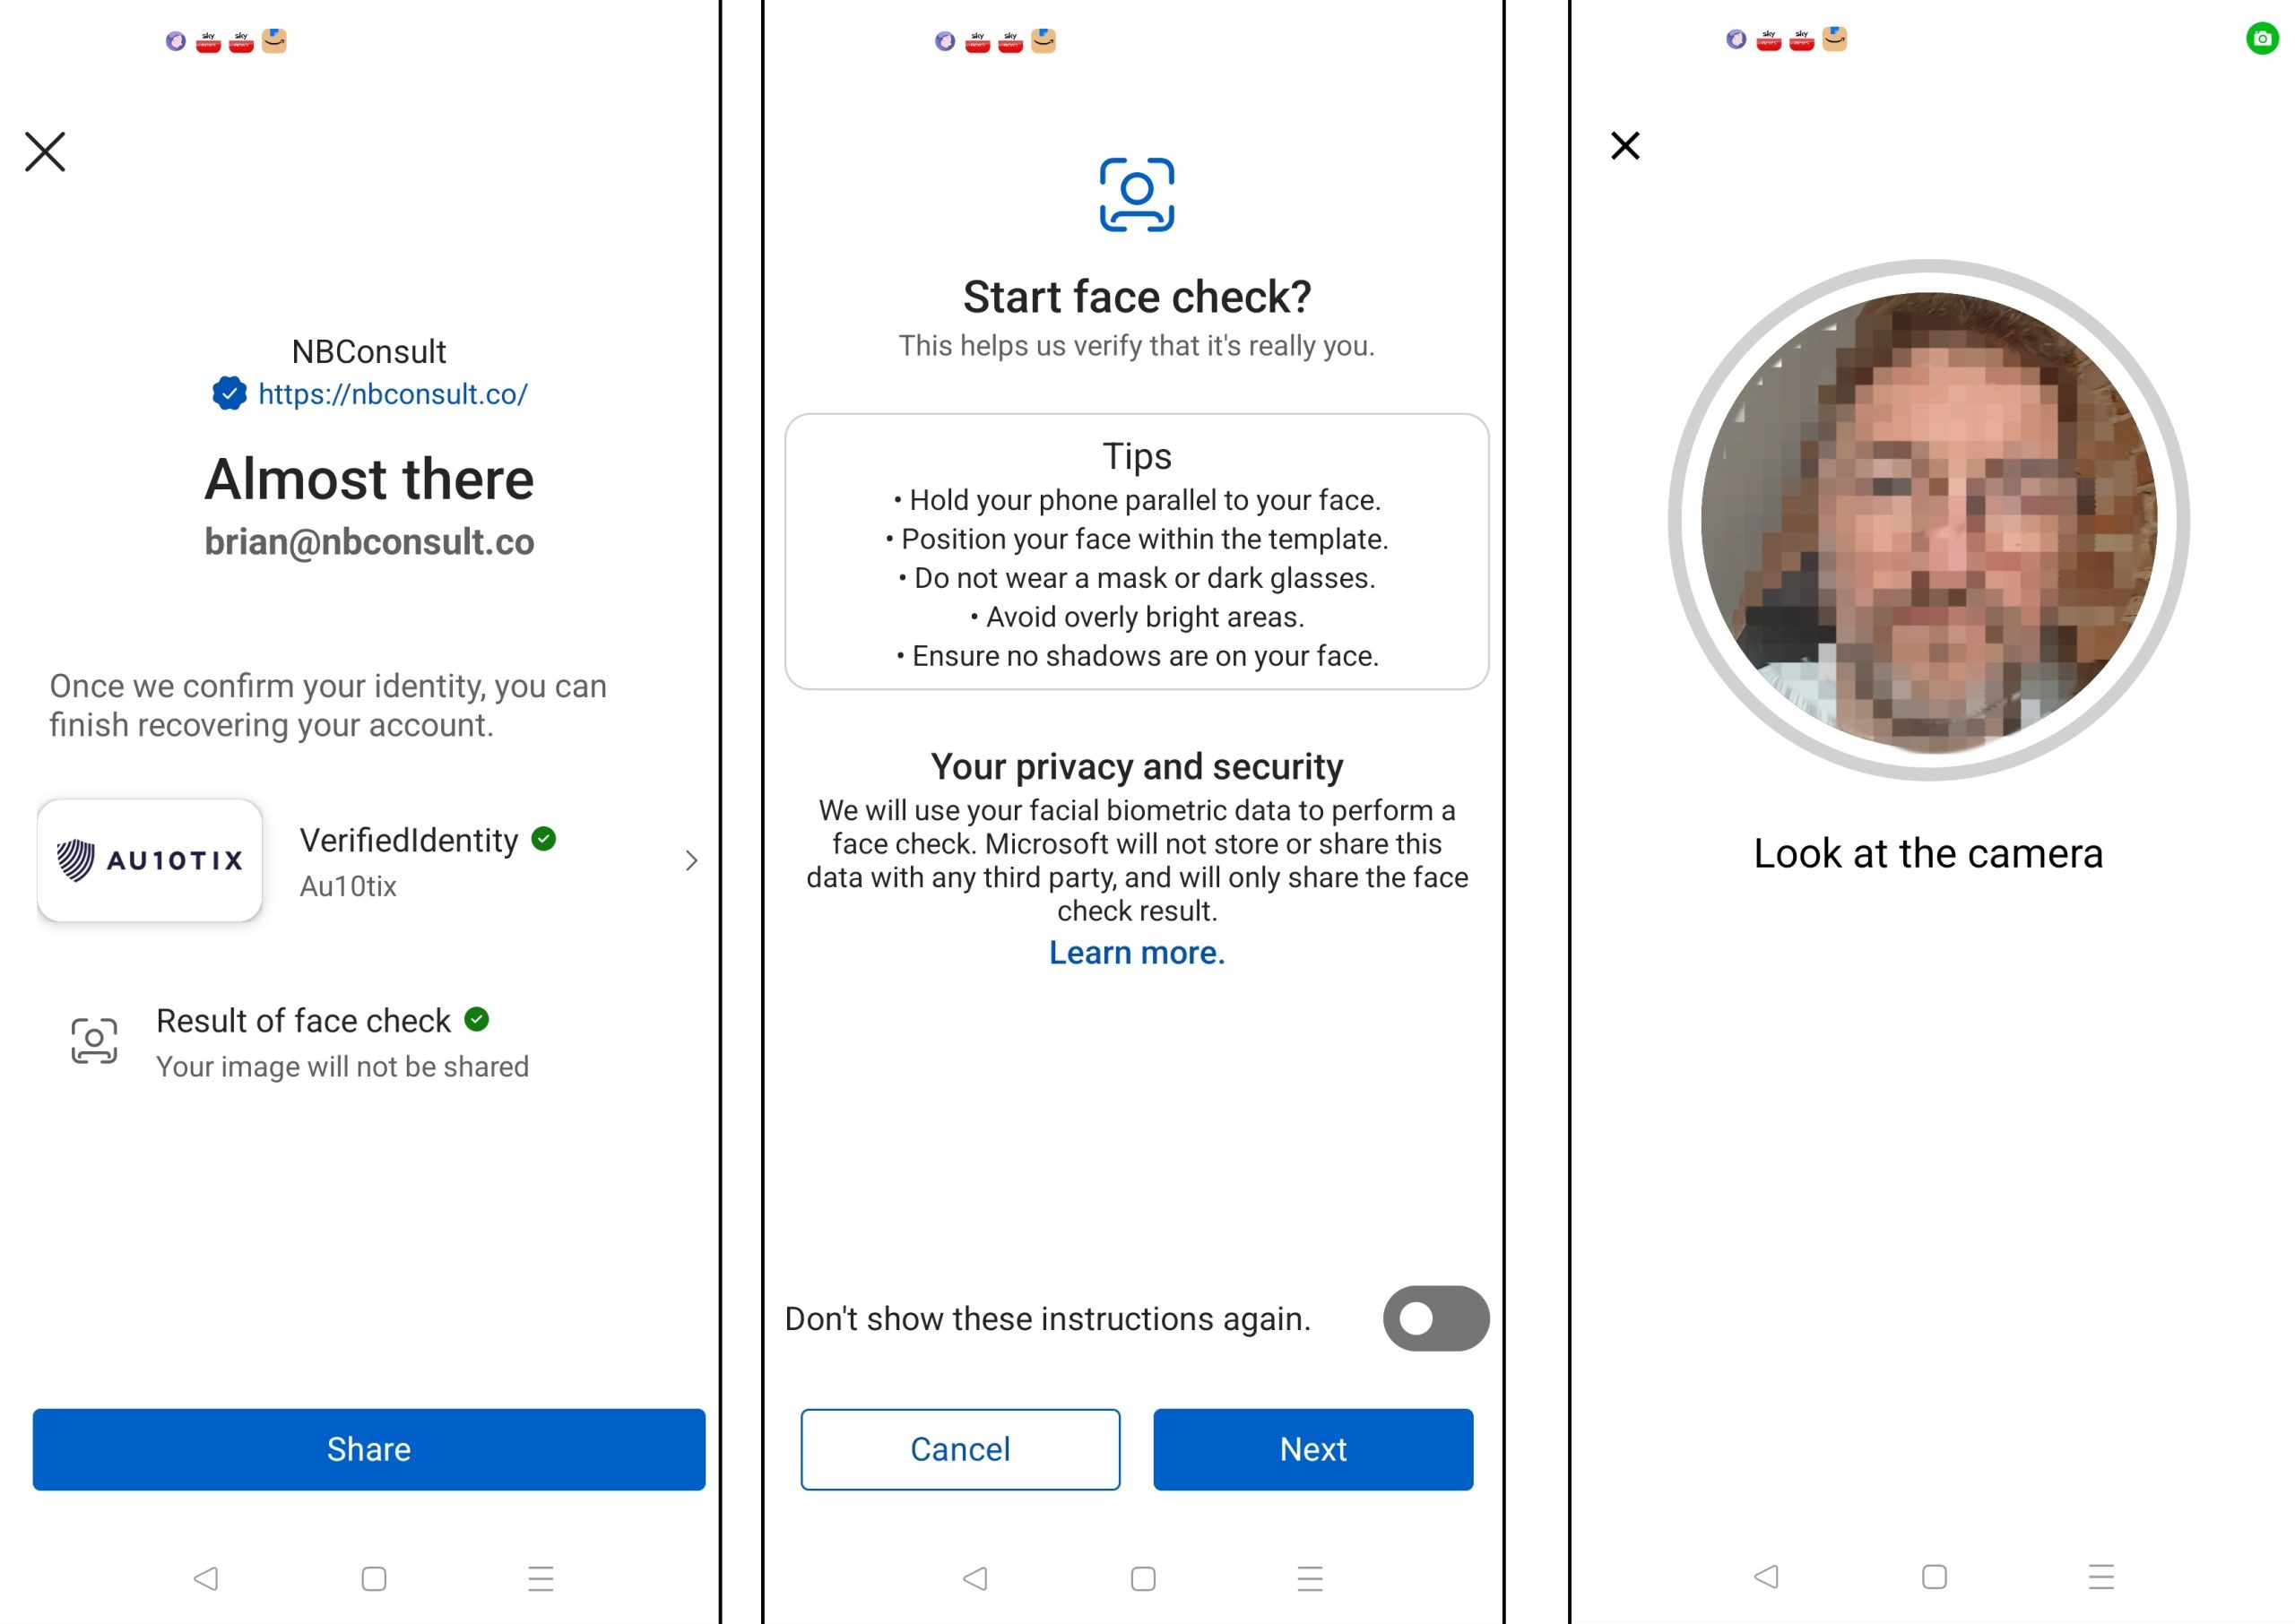
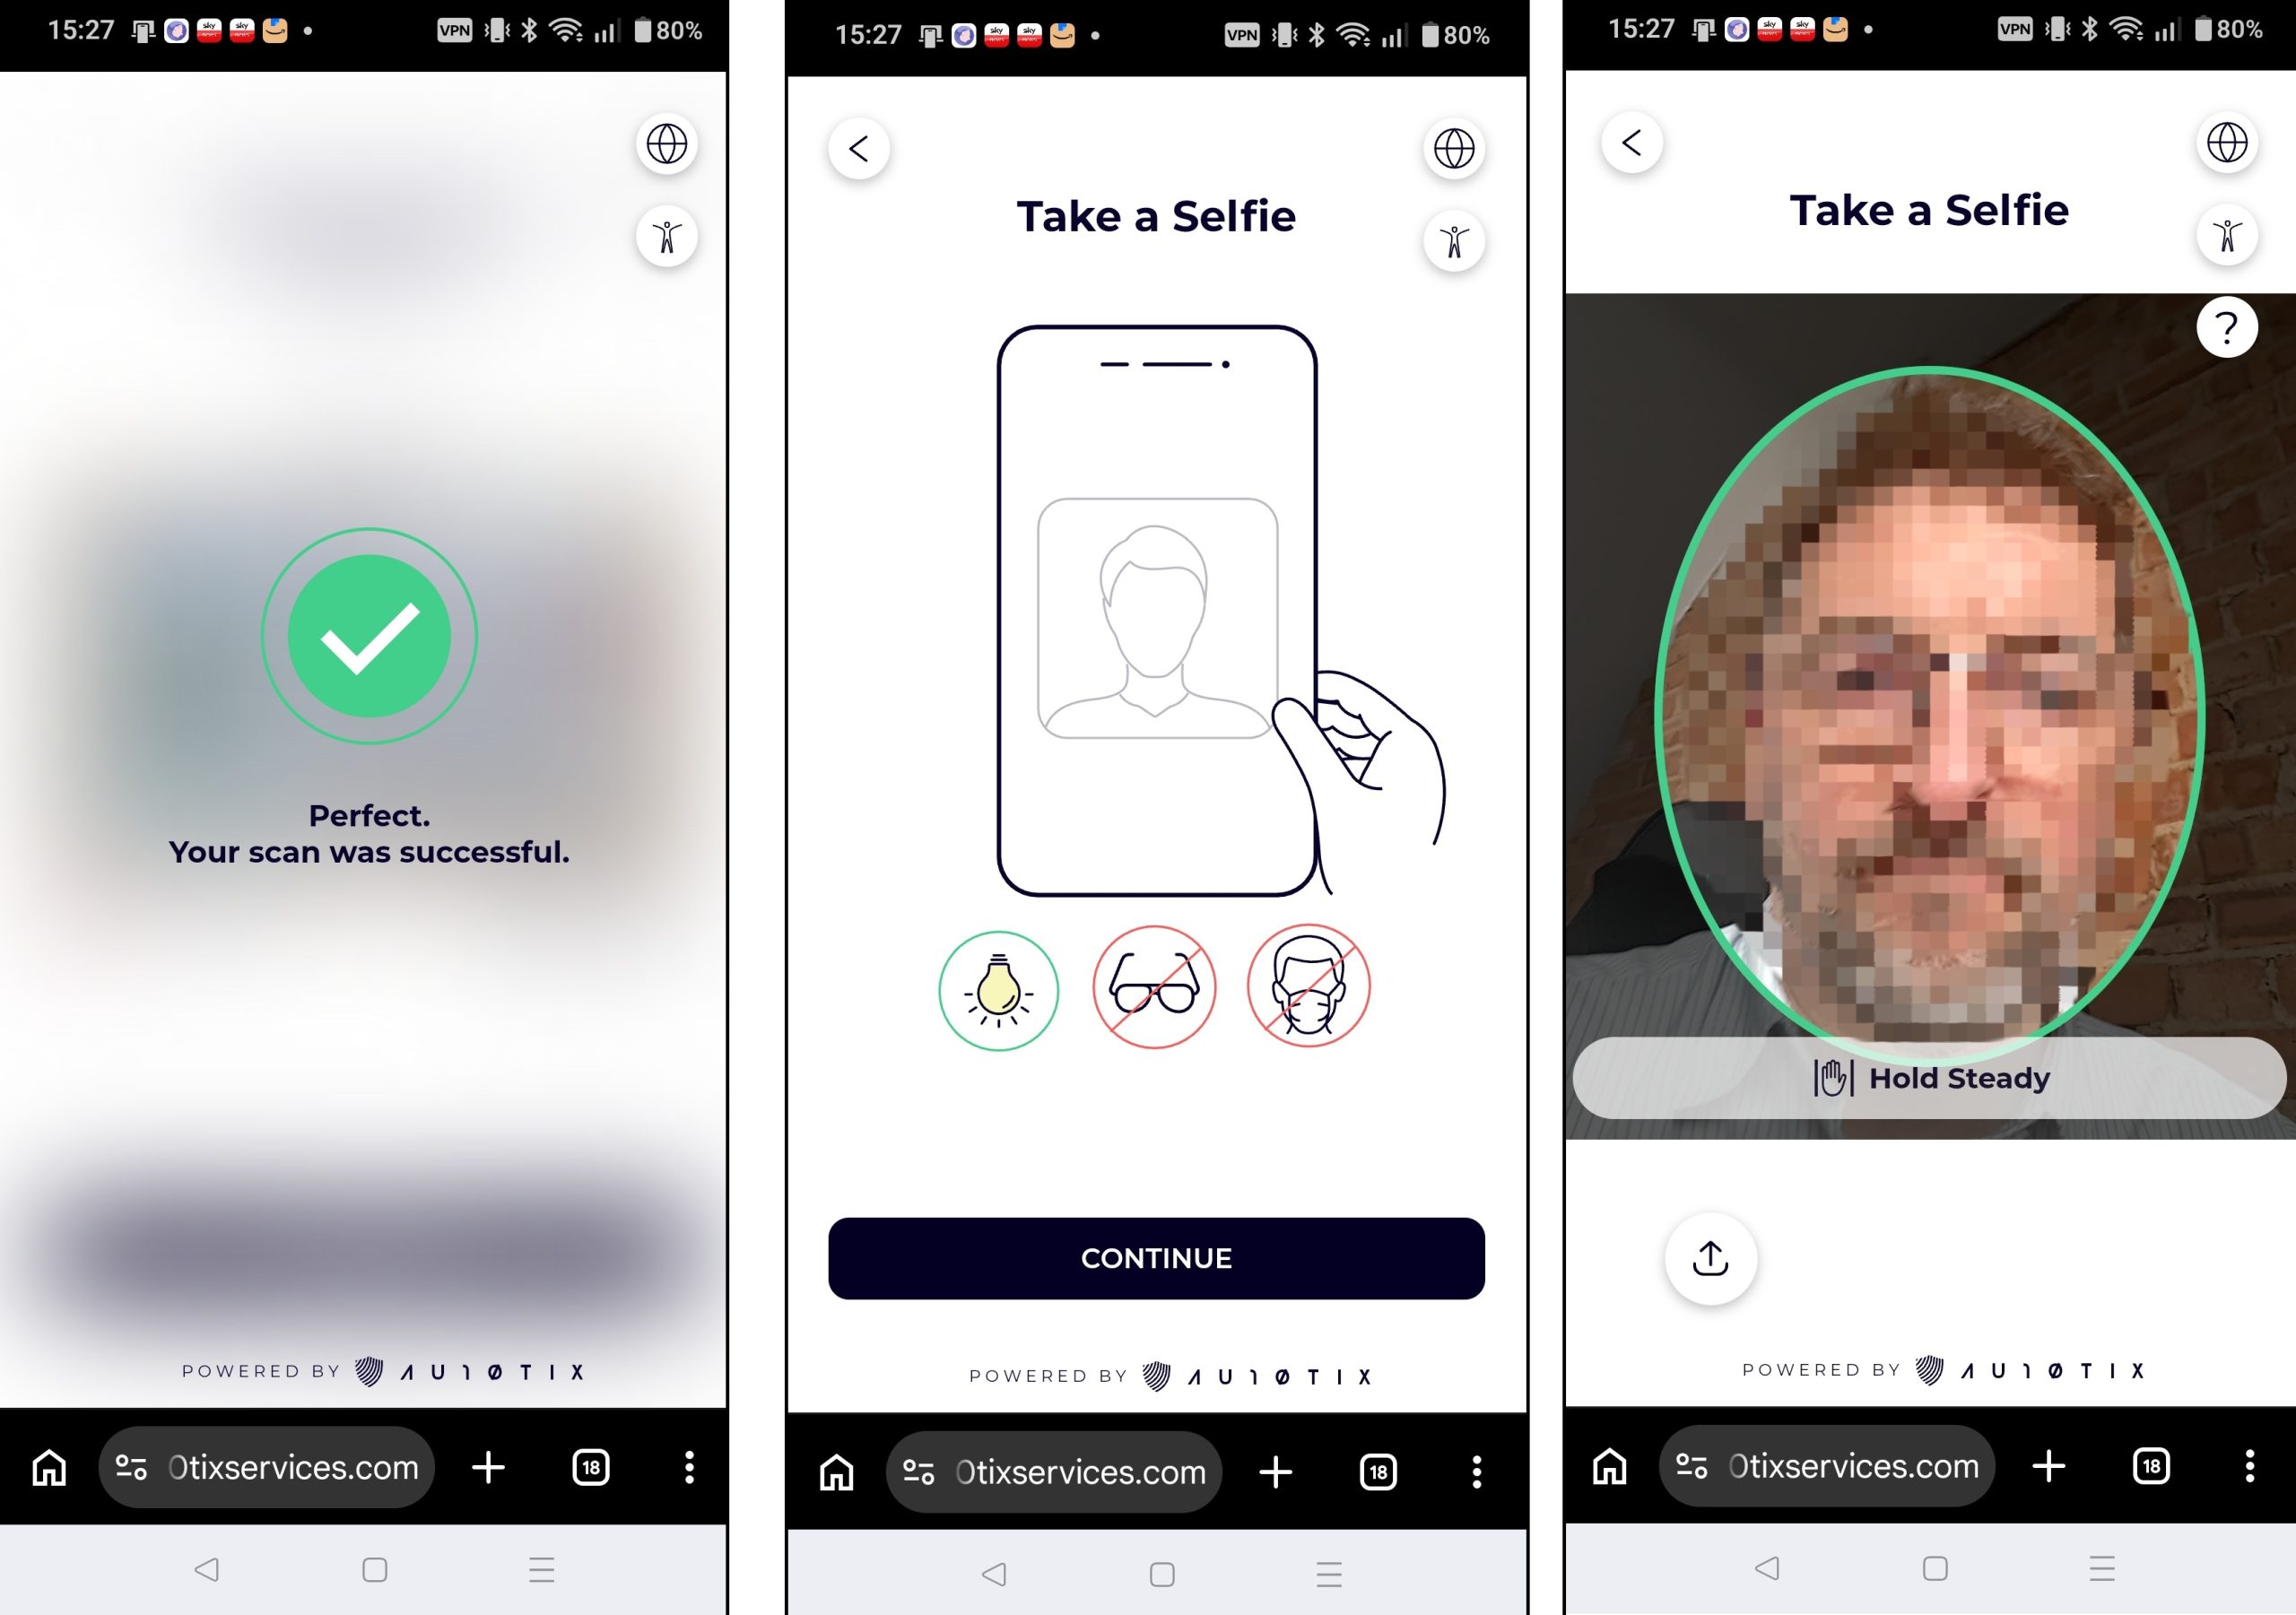
This second selfie is Face Check, and part of Verified ID and done by Microsoft and not the external ID verification company. Every Account Recovery you go through will make a new Verified ID on your device.
Face Check will ensure that the face is not a photograph by changing the brightness of the phone screen and ensuring that a matching change in the face brightness occurs. If it cannot verify that it is a face (rather than a photograph) it will ask for scans of the face in a few different directions
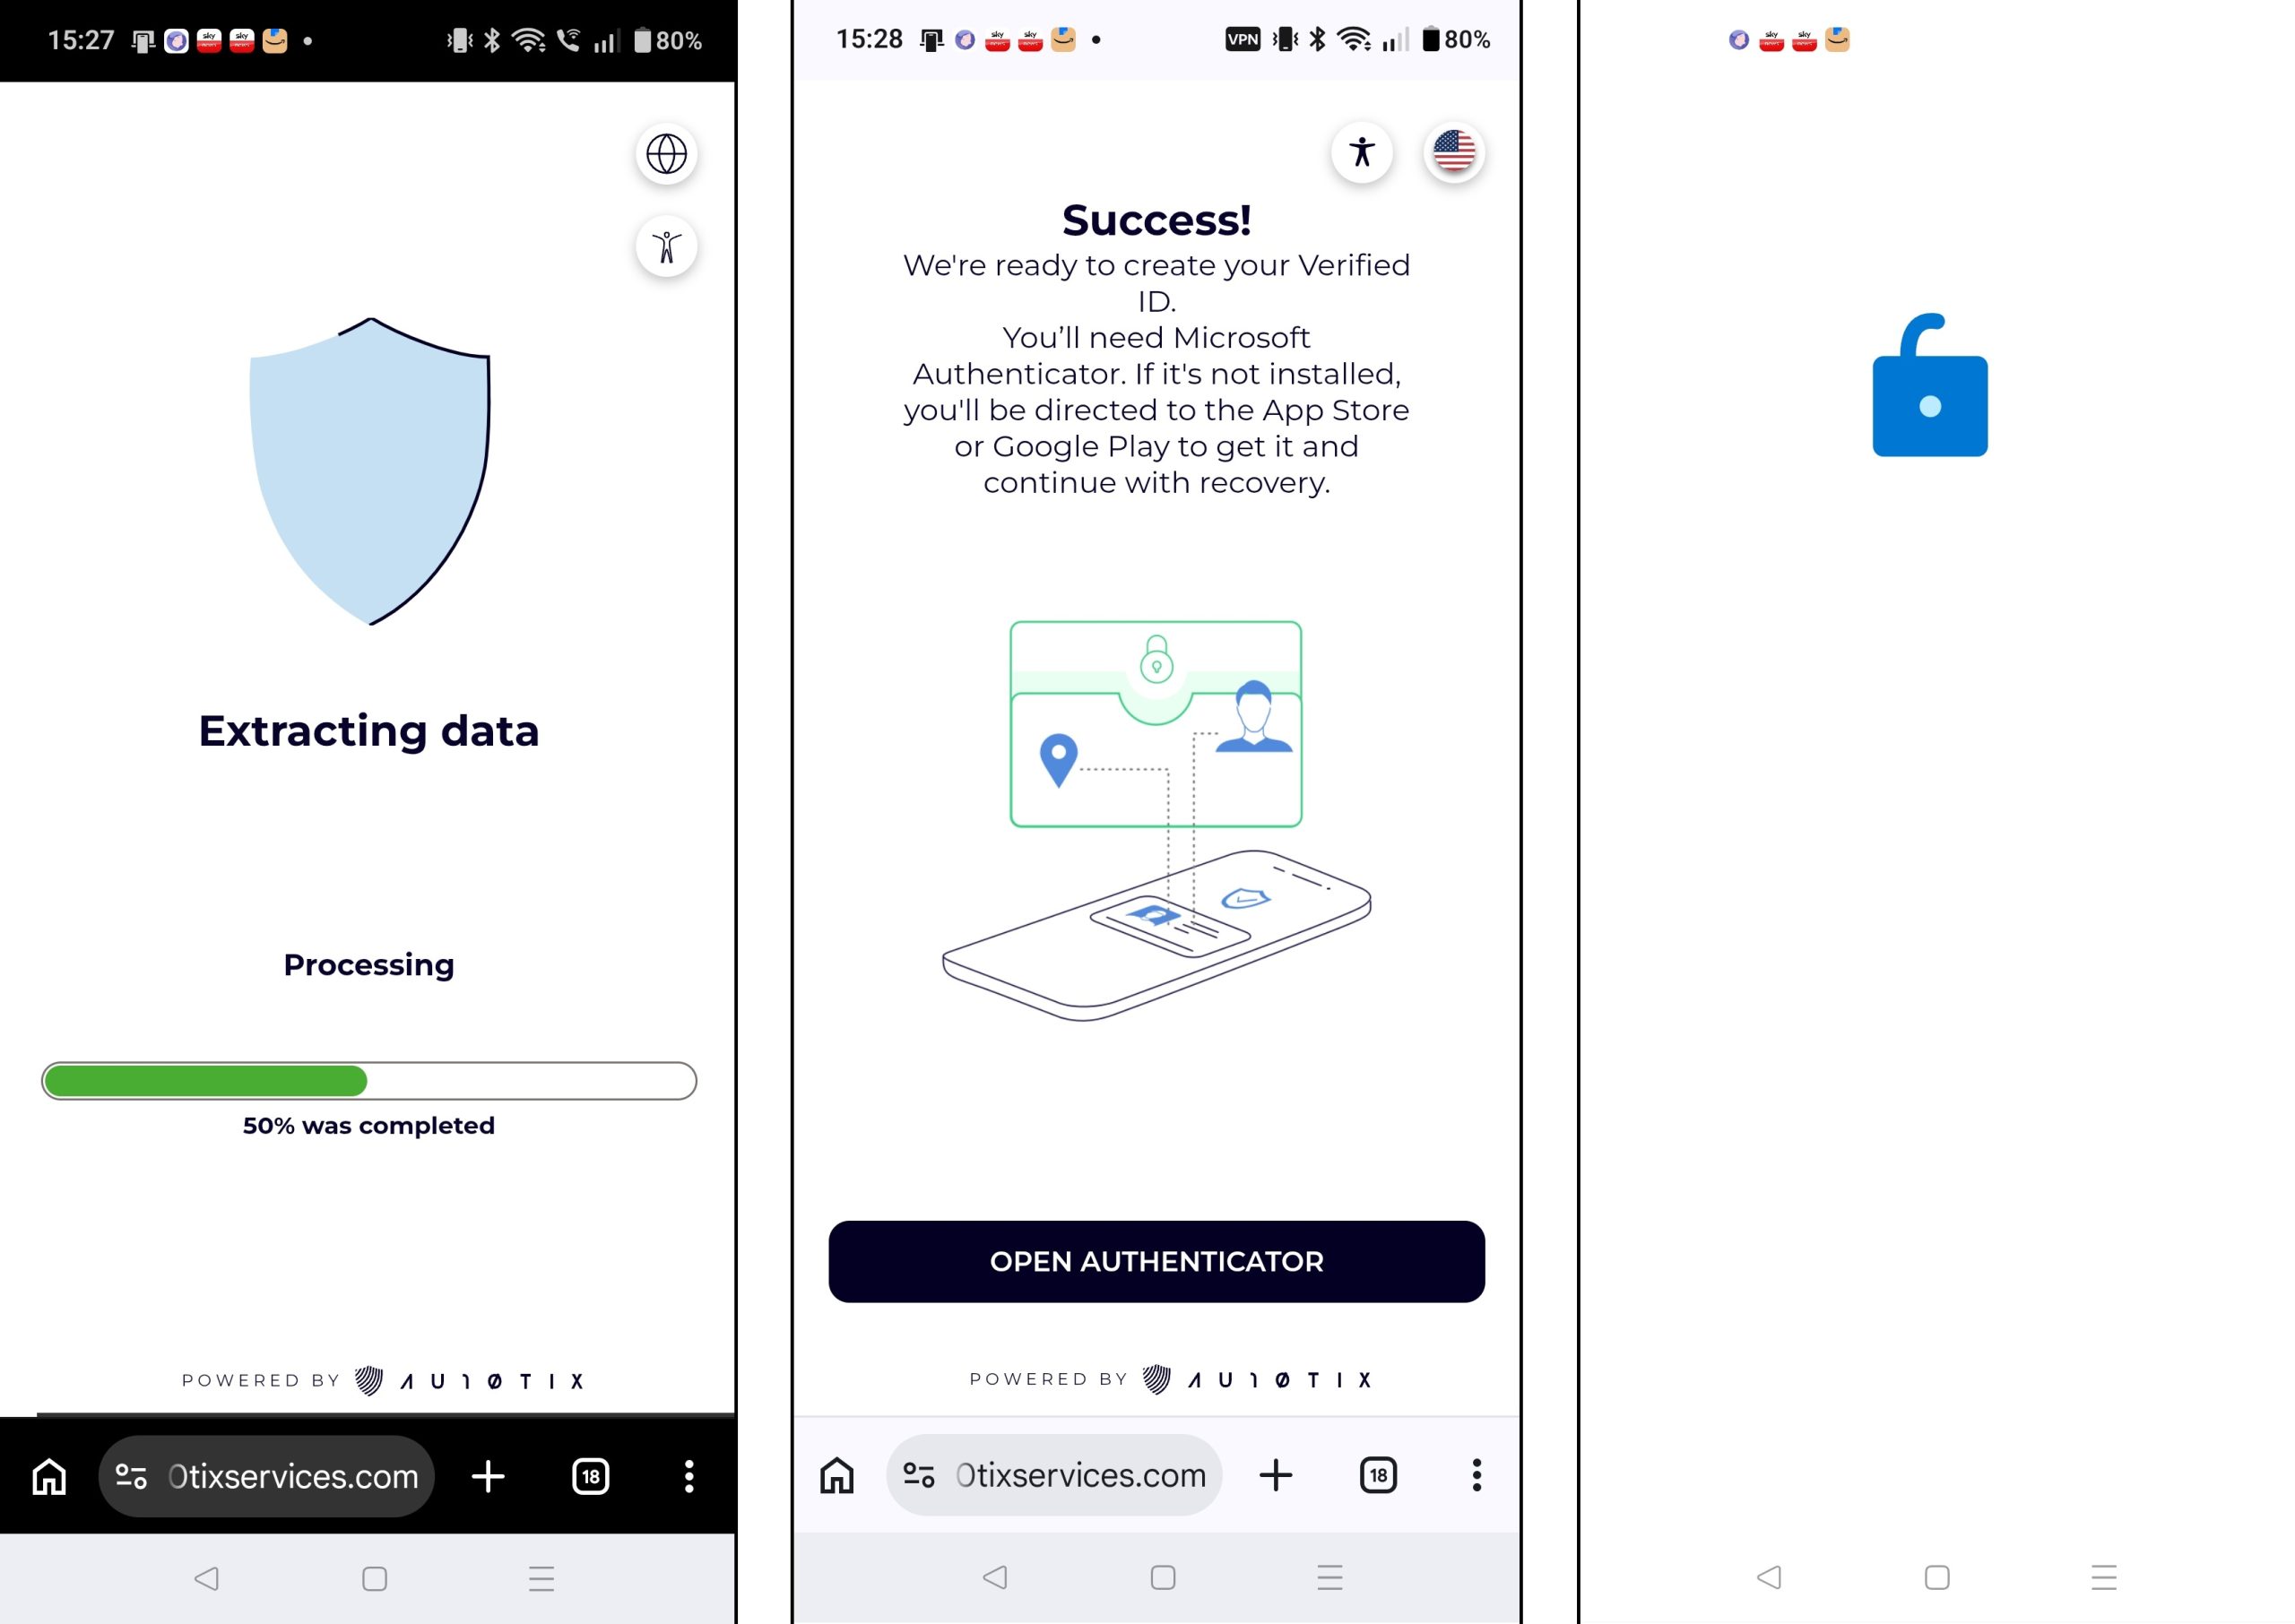
Finally you have got to the last step. The Verified ID is shared with Account Recovery in Entra and the information in the Verified ID is compared to the user being recovered. In preview, first and last name need to match as mentioned earlier. Once in General Availability other matches can be accepted and integrated with other services such as HR systems. Therefore during preview, as only first and last name are used, the user will fail if the checks do not pass.
For example, I had “Brian” as my first name in Entra ID, but my Government passport and driving licence both had my middle name as part of my first name. As I cannot change my Government ID for the purposes of a blog post, I needed to update my first name in Entra ID. This is shown below, redacted:
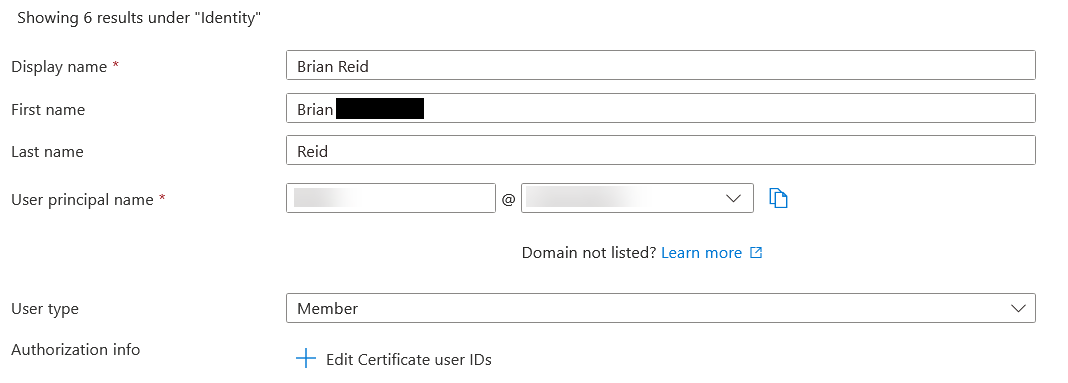
Other issues I found was ID checks would scan and confirm the wrong name (usually when using the camera on my desktop – phone was more reliable), for example I got Verified IDs issued to “BRIAAW” and that failed Account Recovery as the name did not match. By general availability, the passport number should be able to be used instead and I found that was much more reliably scanned.
Here are examples of what you see for failure and success in evaluation mode (on the right)
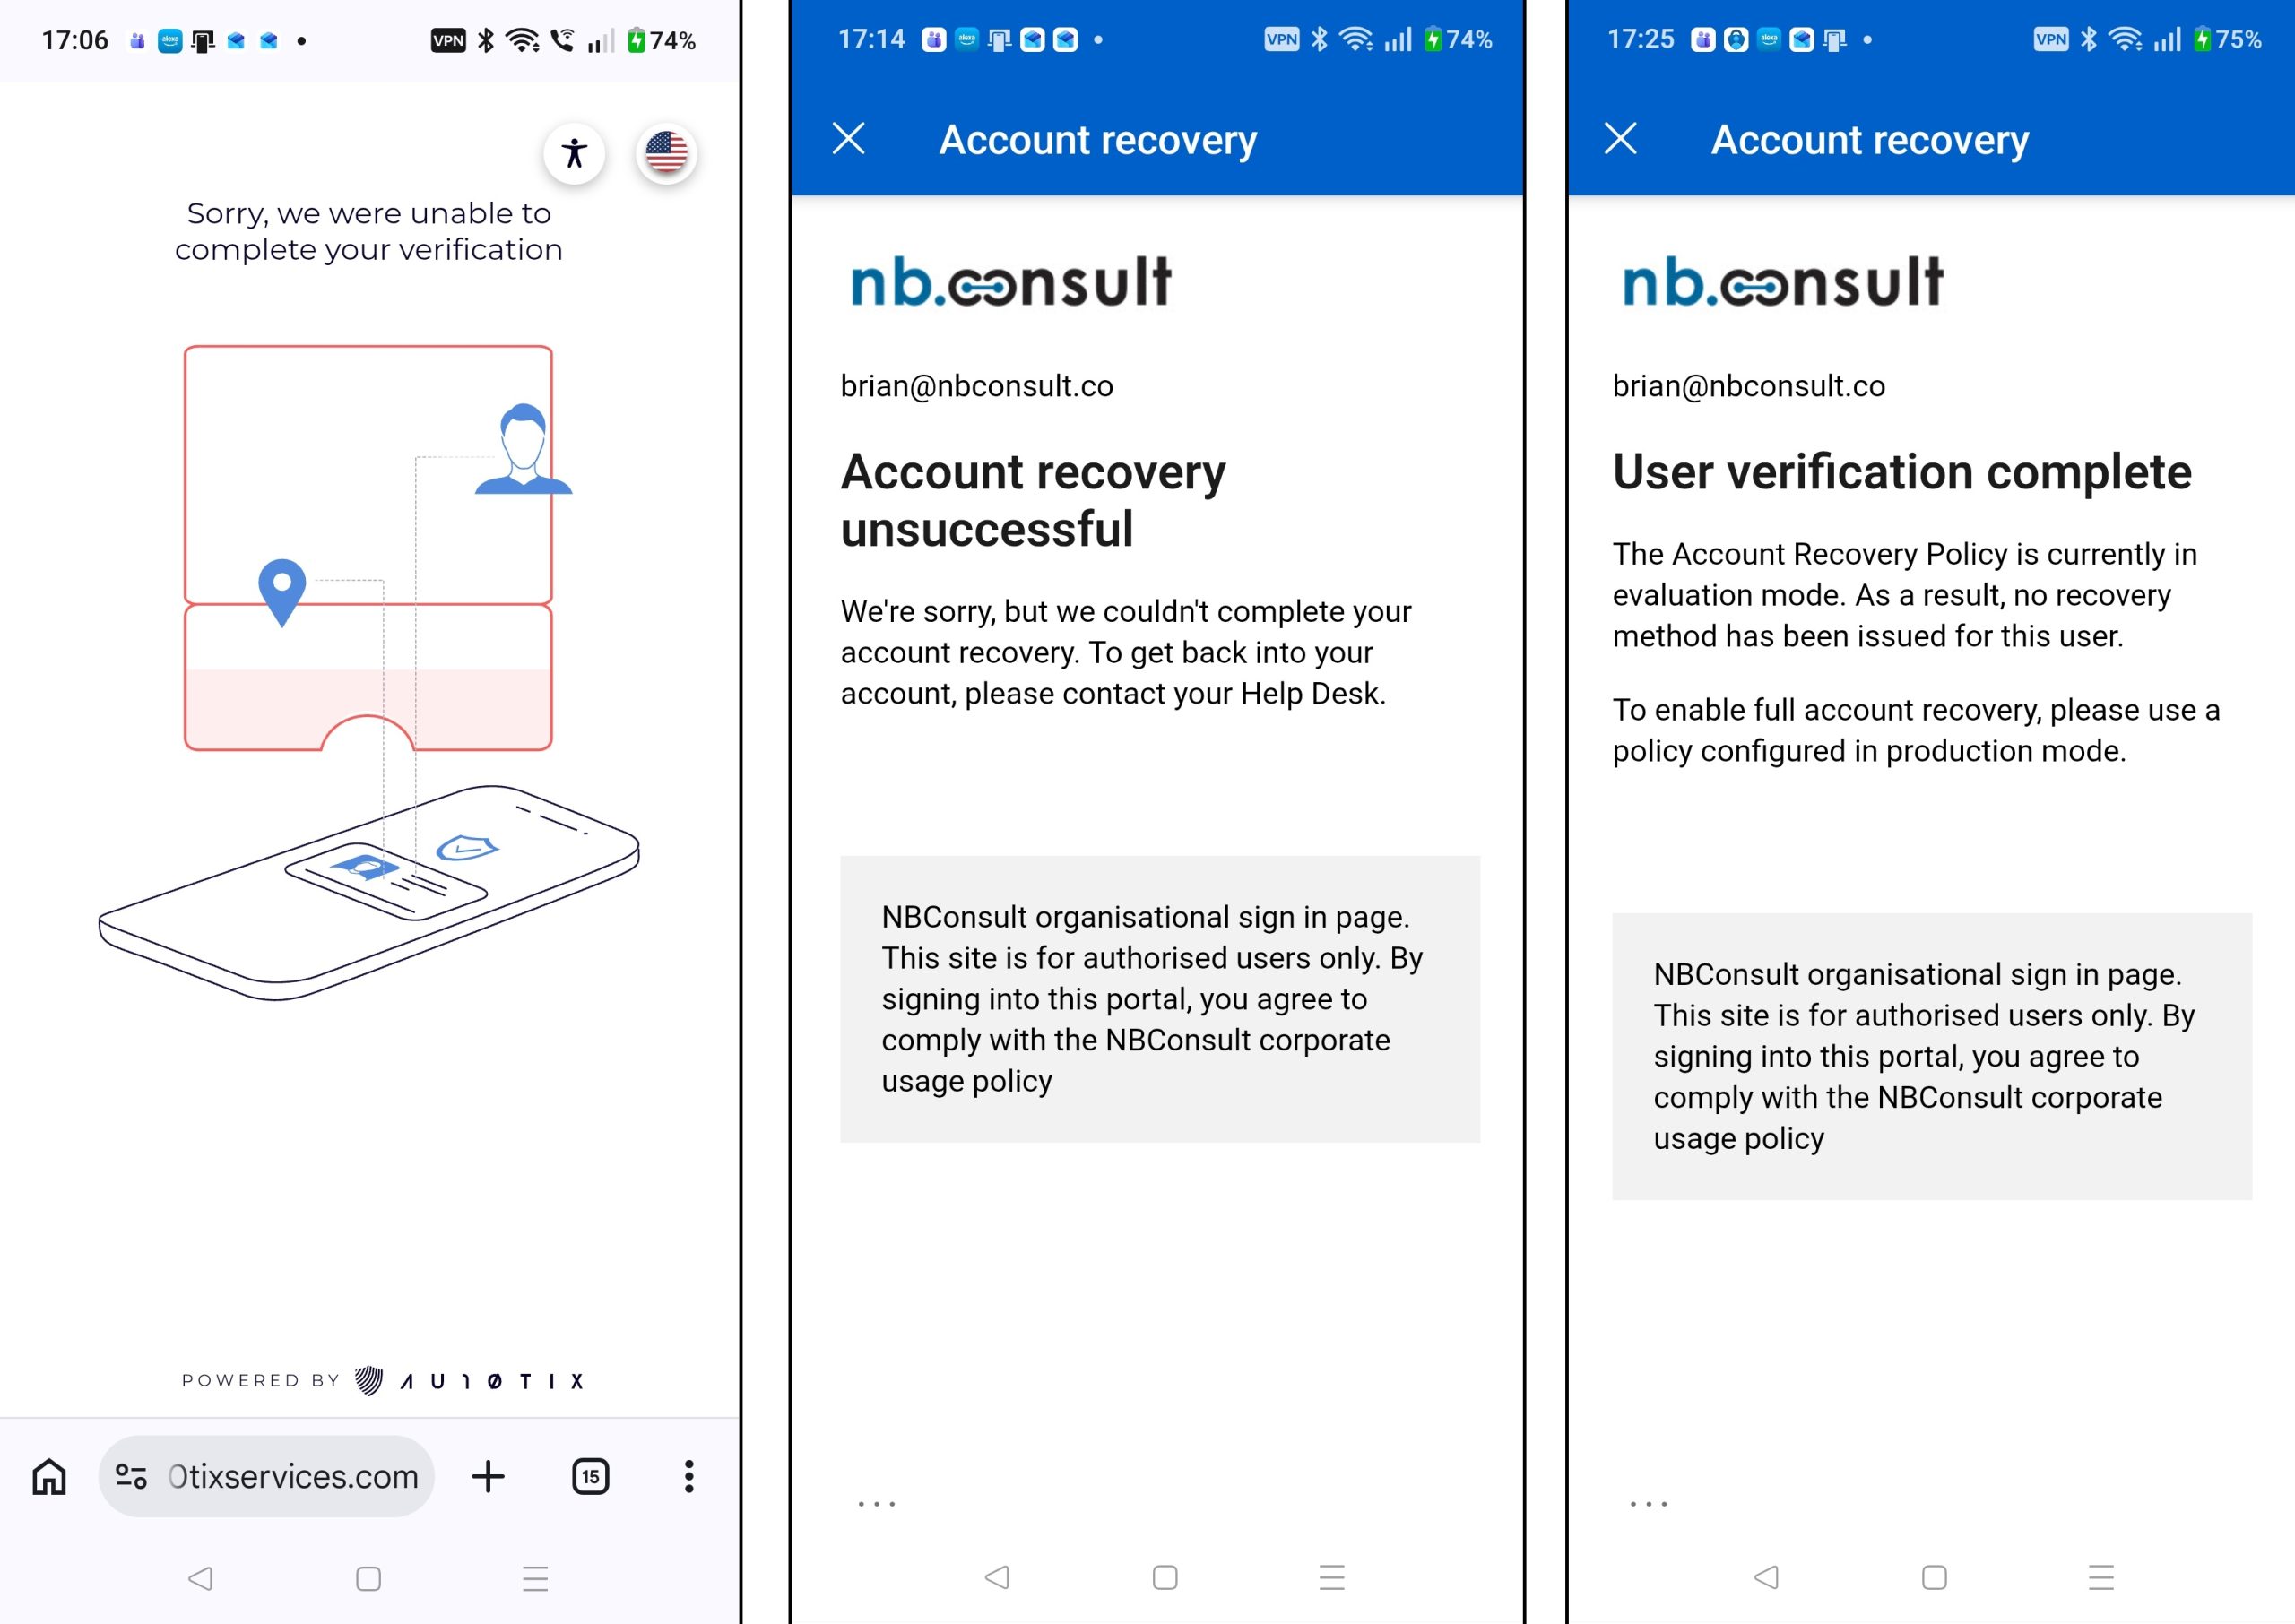
Here it is evaluation mode, so there is a message about verification being completed, but no recovery method issued for the user. For a recovery method to be issued we need to be in production mode.
Change to Production Mode
This change occurs in Entra ID, and on the initial Account Recovery screen you can click Manage and change to Production Mode:
You are also shown the groups and the ID verification provider. In the interests of fairness, I have also done these tests with LexusNexus provided service called TrueCredential. So the following selected screenshots and running production mode come from TrueCredential (AU10TIX was used for all the external verification screenshots above this point).
TrueCredential, though doing exactly the same thing as AU10TIX has a number of different stages and processes. Of interest was taking photos and uploading them (one step) and both front and back of ID was requested. Very usefully, the extracted data was presented during the process and separated out my middle name from my first name (so I needed to remove my middle name from Entra ID when using this provider).
As this run was production mode, it ended with telling me the Temporary Access Pass that had been created on my account, redirected me to login to my account with the Temporary Access Pass (which it had prompted me to copy and which I then pasted back to login). This TAP was a multi-use TAP that lasted 1 hour – these are the defaults for TAP that I have configured in my tenant – if you have different defaults you will get issued a TAP that suits those settings.
Once you have logged in with the TAP the passkey wizard starts. In my case I already had one because I was not actually recovering my account but presumably on a new device without an existing passkey this process would succeed. I was also able to view my other security info, and add new MFA methods or change my password if these options are supported in the Entra tenant for the account used.
Roll Account Recovery Out In Your Organization
Finally, its time to get it all working and train your help desk how to walk users through the process (and never reset credentials themselves). You could also update custom roles that help desk hold so they have no rights to change credentials as well.
So to fully go to production, update the groups so that help desk users can try out the process and use something like the above to document the important steps to make a plan that Helpdesk users can walk other employees through the process. Remove rights to change credentials as an recommended final step.
Photo by Zulfugar Karimov: https://www.pexels.com/photo/black-and-white-close-up-of-hanging-key-37003192/
Leave a Reply