
A new feature to the Entra External ID product is SAML authentication. External ID is used for authenticating your customers to your apps, rather than the “workforce” product for staff and guests. SAML has been in the workforce Entra ID (previously Azure AD) product for years.
This blog will walk through the steps to set this up in an existing tenant. You will need both an External ID instance configured with user flow that allows for sign in as well as an application that allows for SAML authentication. For this blog post I have used the demo miniOrange plug-in for WordPress.
This is easy to do. MiniOrange provide lots of instructions for this, but do not specifically cover External ID, though they do cover Entra ID at https://plugins.miniorange.com/saml-single-sign-on-sso-wordpress-using-azure-ad. First step is to install the plug in into your WordPress instance:
Once installed, activate it and from the plugin list, click Settings:

You are presented with a list of IdPs, and clicking these brings up the documentation and for some of them an additional plugin. For External ID I choose Entra ID/Azure AD (and not Azure B2C).
The simplest option is to exchange metadata from the WordPress plugin and External ID. In the miniOrange plugin we get this from the “Service Provider Metadata” tab:
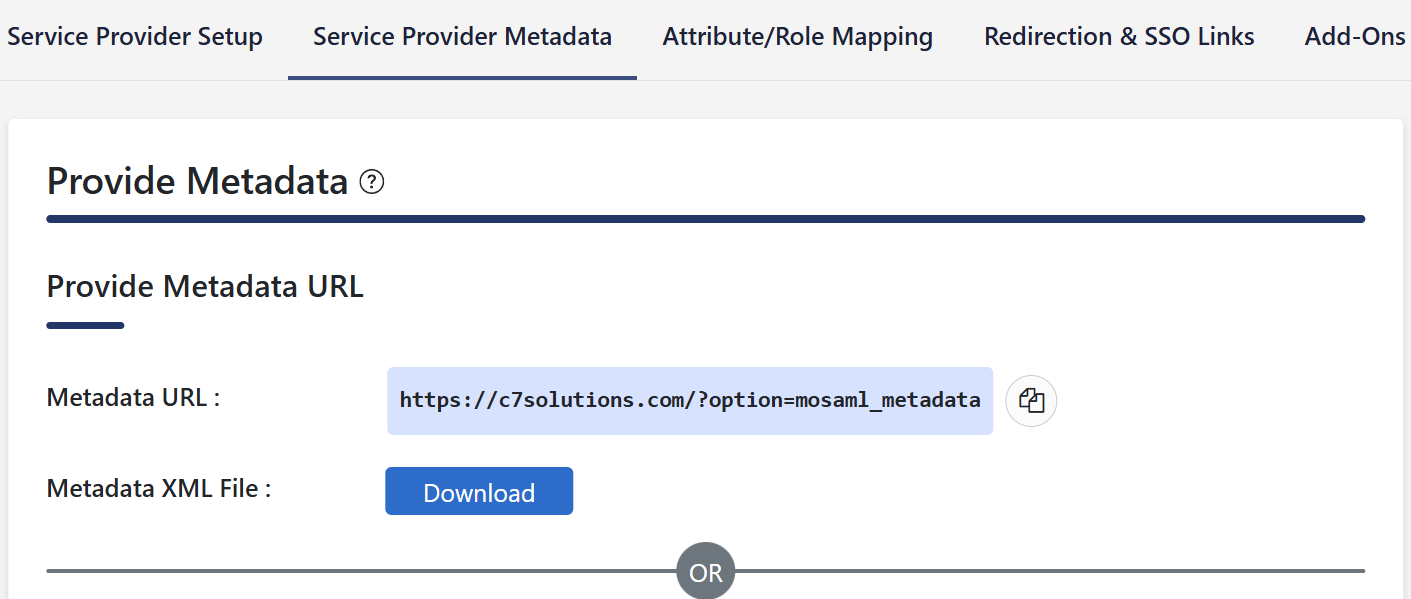
From this tab download the Metadata XML file.
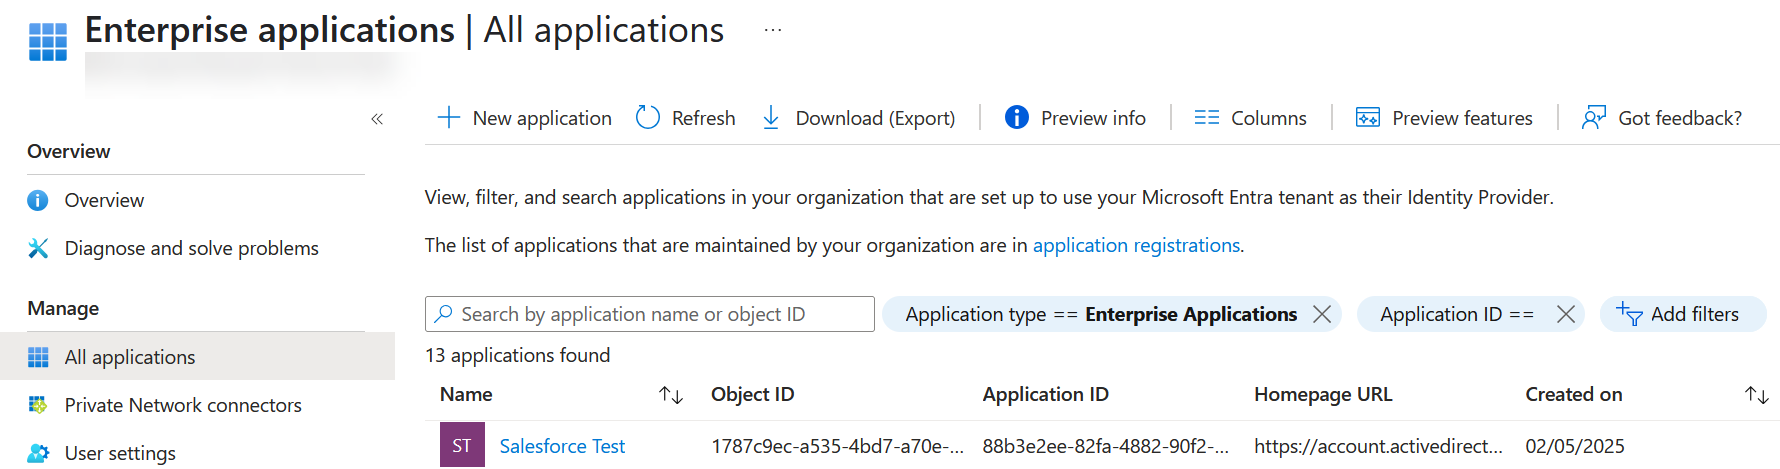
Now in External ID you need to add a new Enterprise Application. Not an App Registration as you would do for an OIDC app, but for SAML the (in preview at time of writing) Enterprise Applications page (under Applications) in https://entra.microsoft.com portal.
Create a “New Application” > “Create your own application” > “Integrate any other application you don’t find in the gallery”. Provide a name, and I will use “C7 WordPress” here. Do not pick the suggested WordPress.com application.
Click “Create”. Change to the Properties tab and enable all users to use the app (for testing) by turning off “Assignment required”. For a real deployment you would pick the users and groups to allow access to the app.
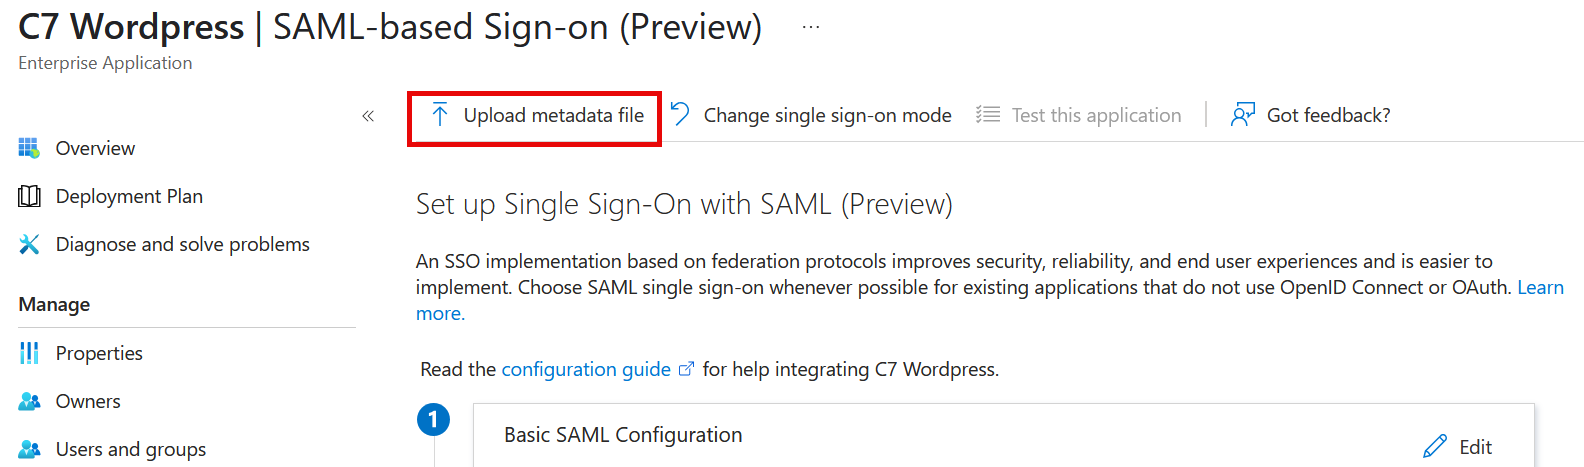
Save your change and move to the “Single sing-on” tab (also in preview at the time of writing) and click “SAML” (again currently a preview feature of Entra External ID).
Click “Upload Metadata” and select the file you downloaded from the WordPress plugin:
Once this is done you need the URLs for the endpoints, and optionally the Federation Metadata XML that you can download. In preview of External ID for SAML the Metadata file contains the wrong information (it contains the wrong URLs) and so you need to enter these values in the service provider manually). It also contains the certificate though, so you can use the XML to upload the certificate and then fix the URLs manually.
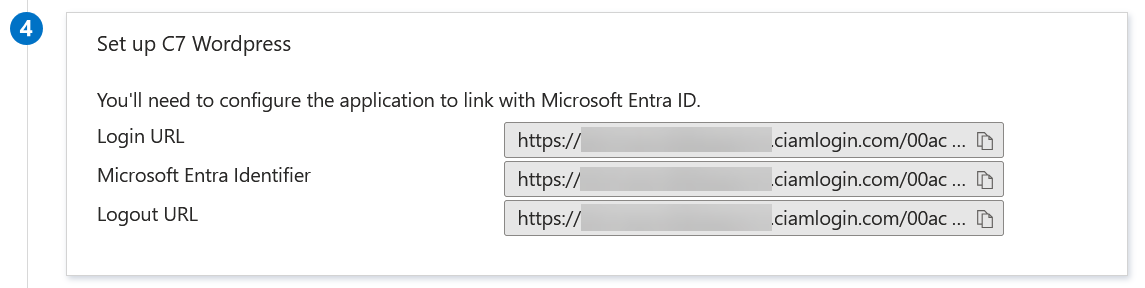
From Entra External ID SAML-based sign-on page, in section 4, you will see three URLs, the Login URL, the Microsoft Entra Identifier, and the Logout URL. These all contain the External ID domain of tenantname.ciamlogin.com (and not login.microsoftonline.com that Entra ID uses).
Edit the Federation Metadata XML file you just downloaded – it will be called “the name of your Enterprise App.xml” and change the login.microsoftonline.com values to the value found in “Microsoft Entra Identifier above. Also change all the sts.windows.net instances to a slightly different URL – this should be https://tenant-id.ciamlogin.net/tenant-id/. There should be six “microsoftonline” changes and two “sts” changes. Save the file and upload this metadata to WordPress under the Configure Service Provider tab of the plugin:

This will fill in all the URLs and the certificate in the Service Provider settings. The URLs now need fixing if you did not edit the file and these can all be provided manually from Entra External ID – you will need the Entity ID which is https://tenant-id.ciamlogin.net/tenant-id/ and the Login URL from Section 4 of the SAML Single Sign-In page – these are the IdP Entity ID and the SAML Login URL on the plugin.
Attribute mapping from the Entra External ID claims might be required at this point. You cannot do this in the free version of the plugin, but can with the trial and paid versions.
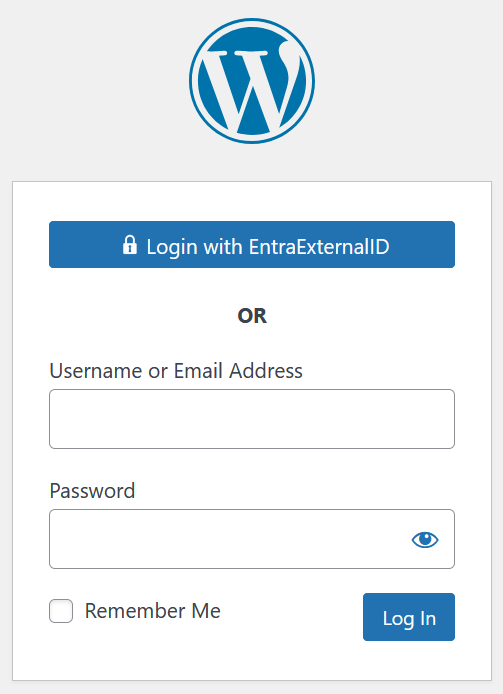
Finally, it is time to try your changes. Your WordPress site should have a “Single Sign-On” button on the WordPress login page (url/wp-admin). Open this in an in-private browser and test with a different user. The classic WordPress login remains functional – so you cannot lock yourself out of your site. The “Single Sign-On” button will have the name of the IdP in it, so in my example it reads “Login with EntraExternalID”.
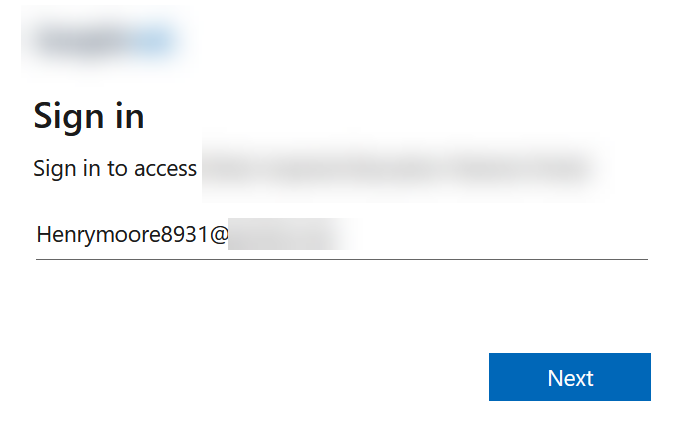
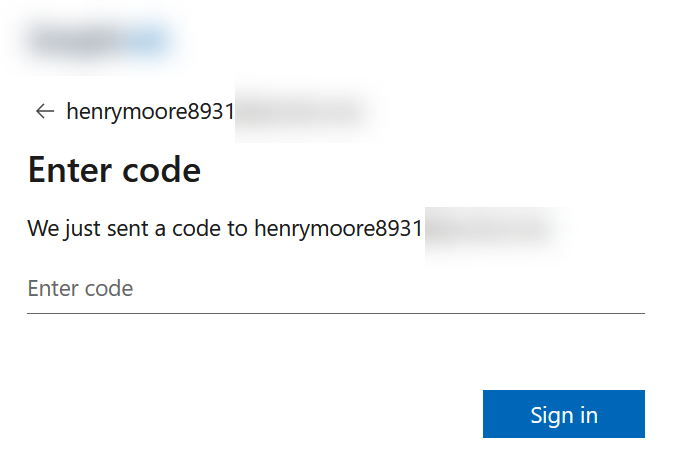
You will be redirected to your External ID sign-in page where you can enter the login credentials of a user in your External ID directory. How that user logs in depends upon the type of user it is, but this example shows mail and OTP login:
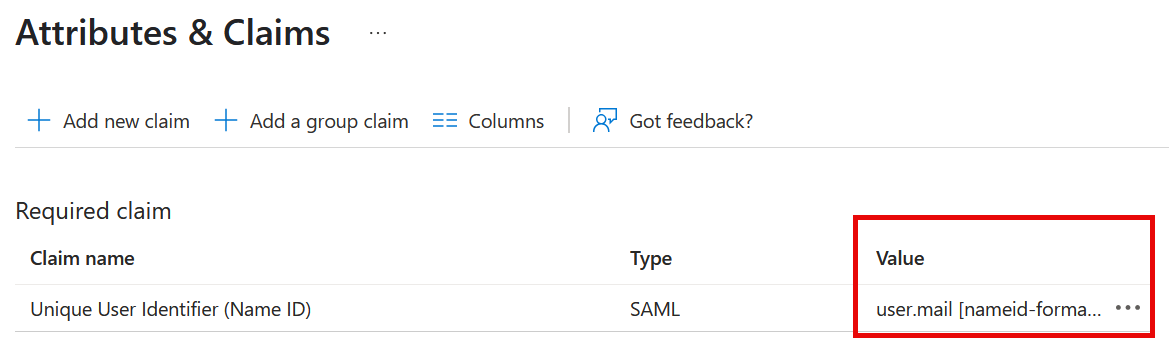
As long as this user is a user in WordPress they will be able to login. Errors that can occur include things like username too long (WPSAMLERR011) and this is fixed with changing the Name ID claim to user.mail instead of user.userprincipalname:
Success – logged in as a subscriber to my site using my Entra External ID instance:
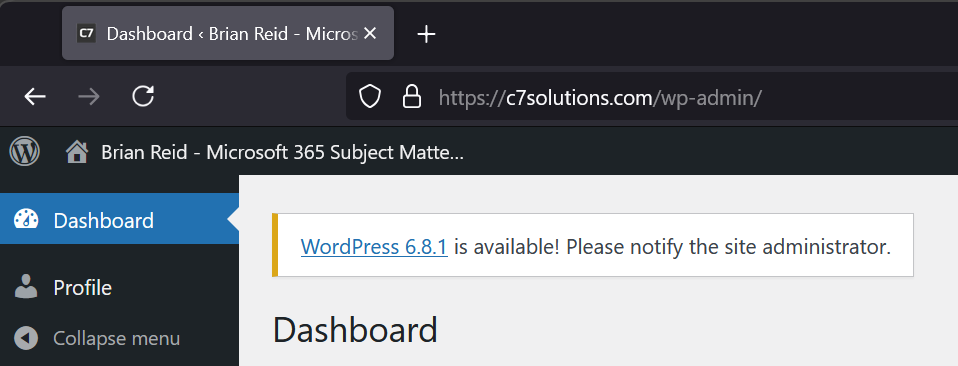
Photo by Valeriia Miller: https://www.pexels.com/photo/red-telephone-booth-near-green-trees-3715166/
Leave a Reply