
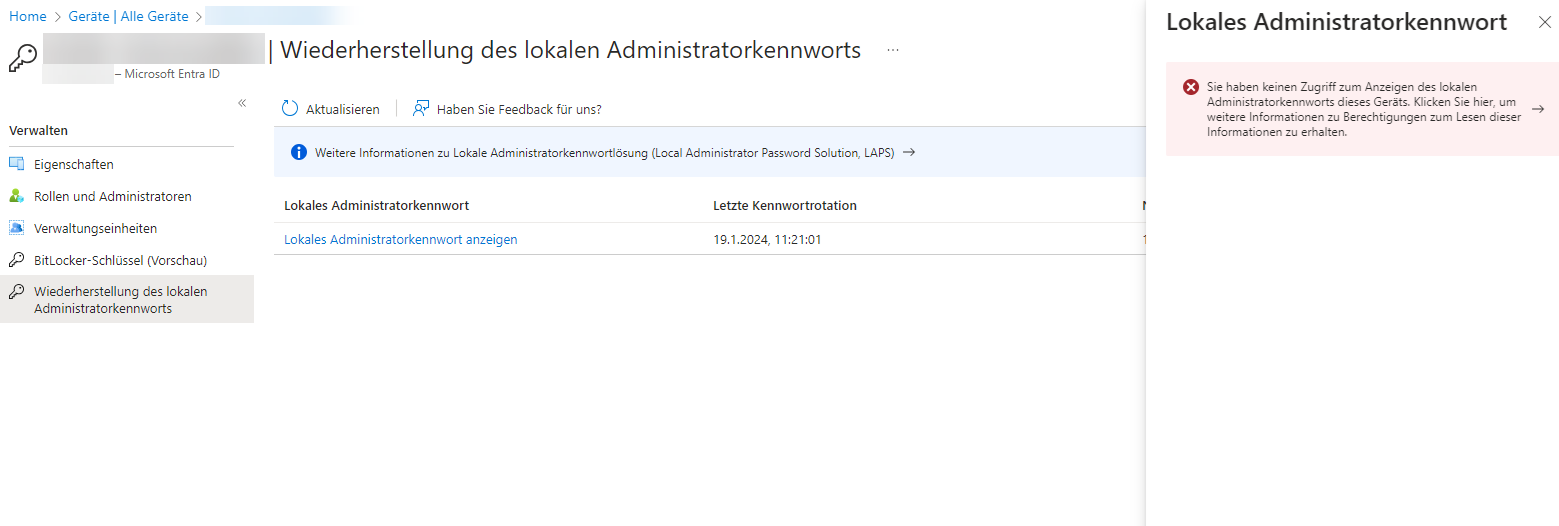
This blog post discusses how to create both a custom admin role for reading the LAPS password and settings stored in Entra ID and then assigning that role so that only device administrators of an Entra ID Administrative Unit can see the local admin password for the subset of devices they are able to manage. Without this permission/role, your admin unit administrators will not be able to see the LAPS password for the devices they manage:

This article assumes you already have a role based group for permissions in your administrative units already, but if not create a new group that can have Entra roles assigned to the group. You can only do this step at group creation and not later on:

We also assume for this blog post that the existing admin group as already got some roles against your existing Administrative Unit, and so of course that administrative unit already exists as well.
To start the things you need to do to achieve the aim of being able to administer LAPS for your admin unit devices your Global Administrator needs to create a new custom role. This is done from https://entra.microsoft.com > Identity > Roles & Admins > Roles & Admins. From here click “New Custom Role”:
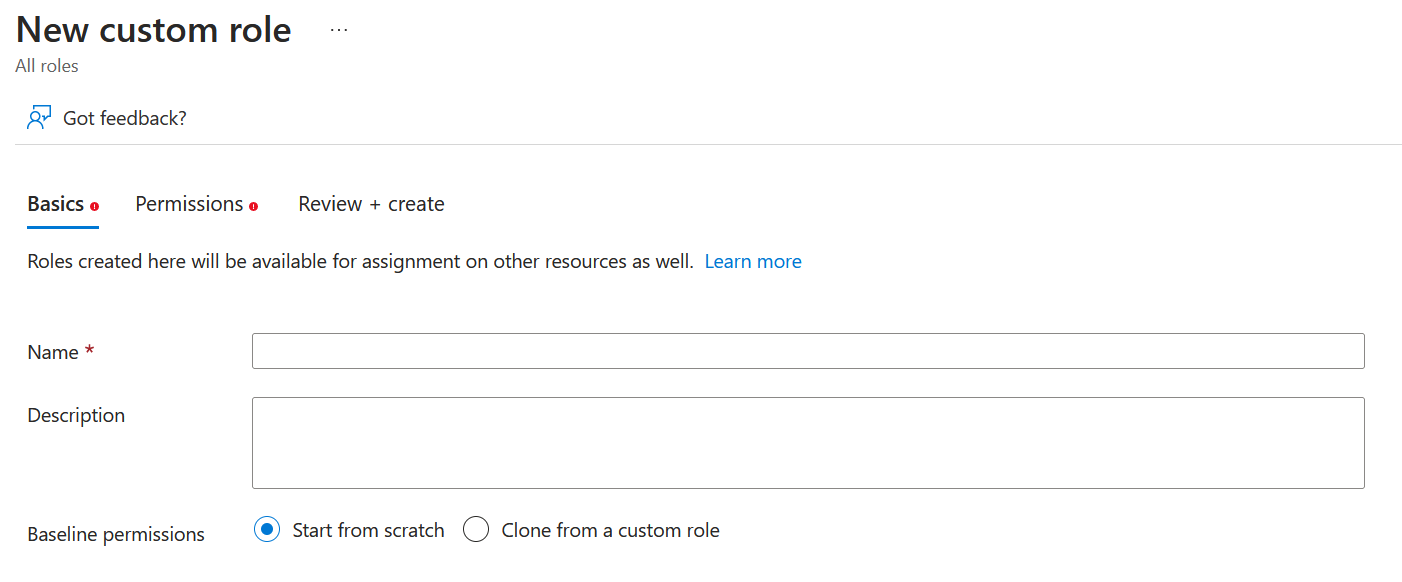
Give the role a name and description, for example:
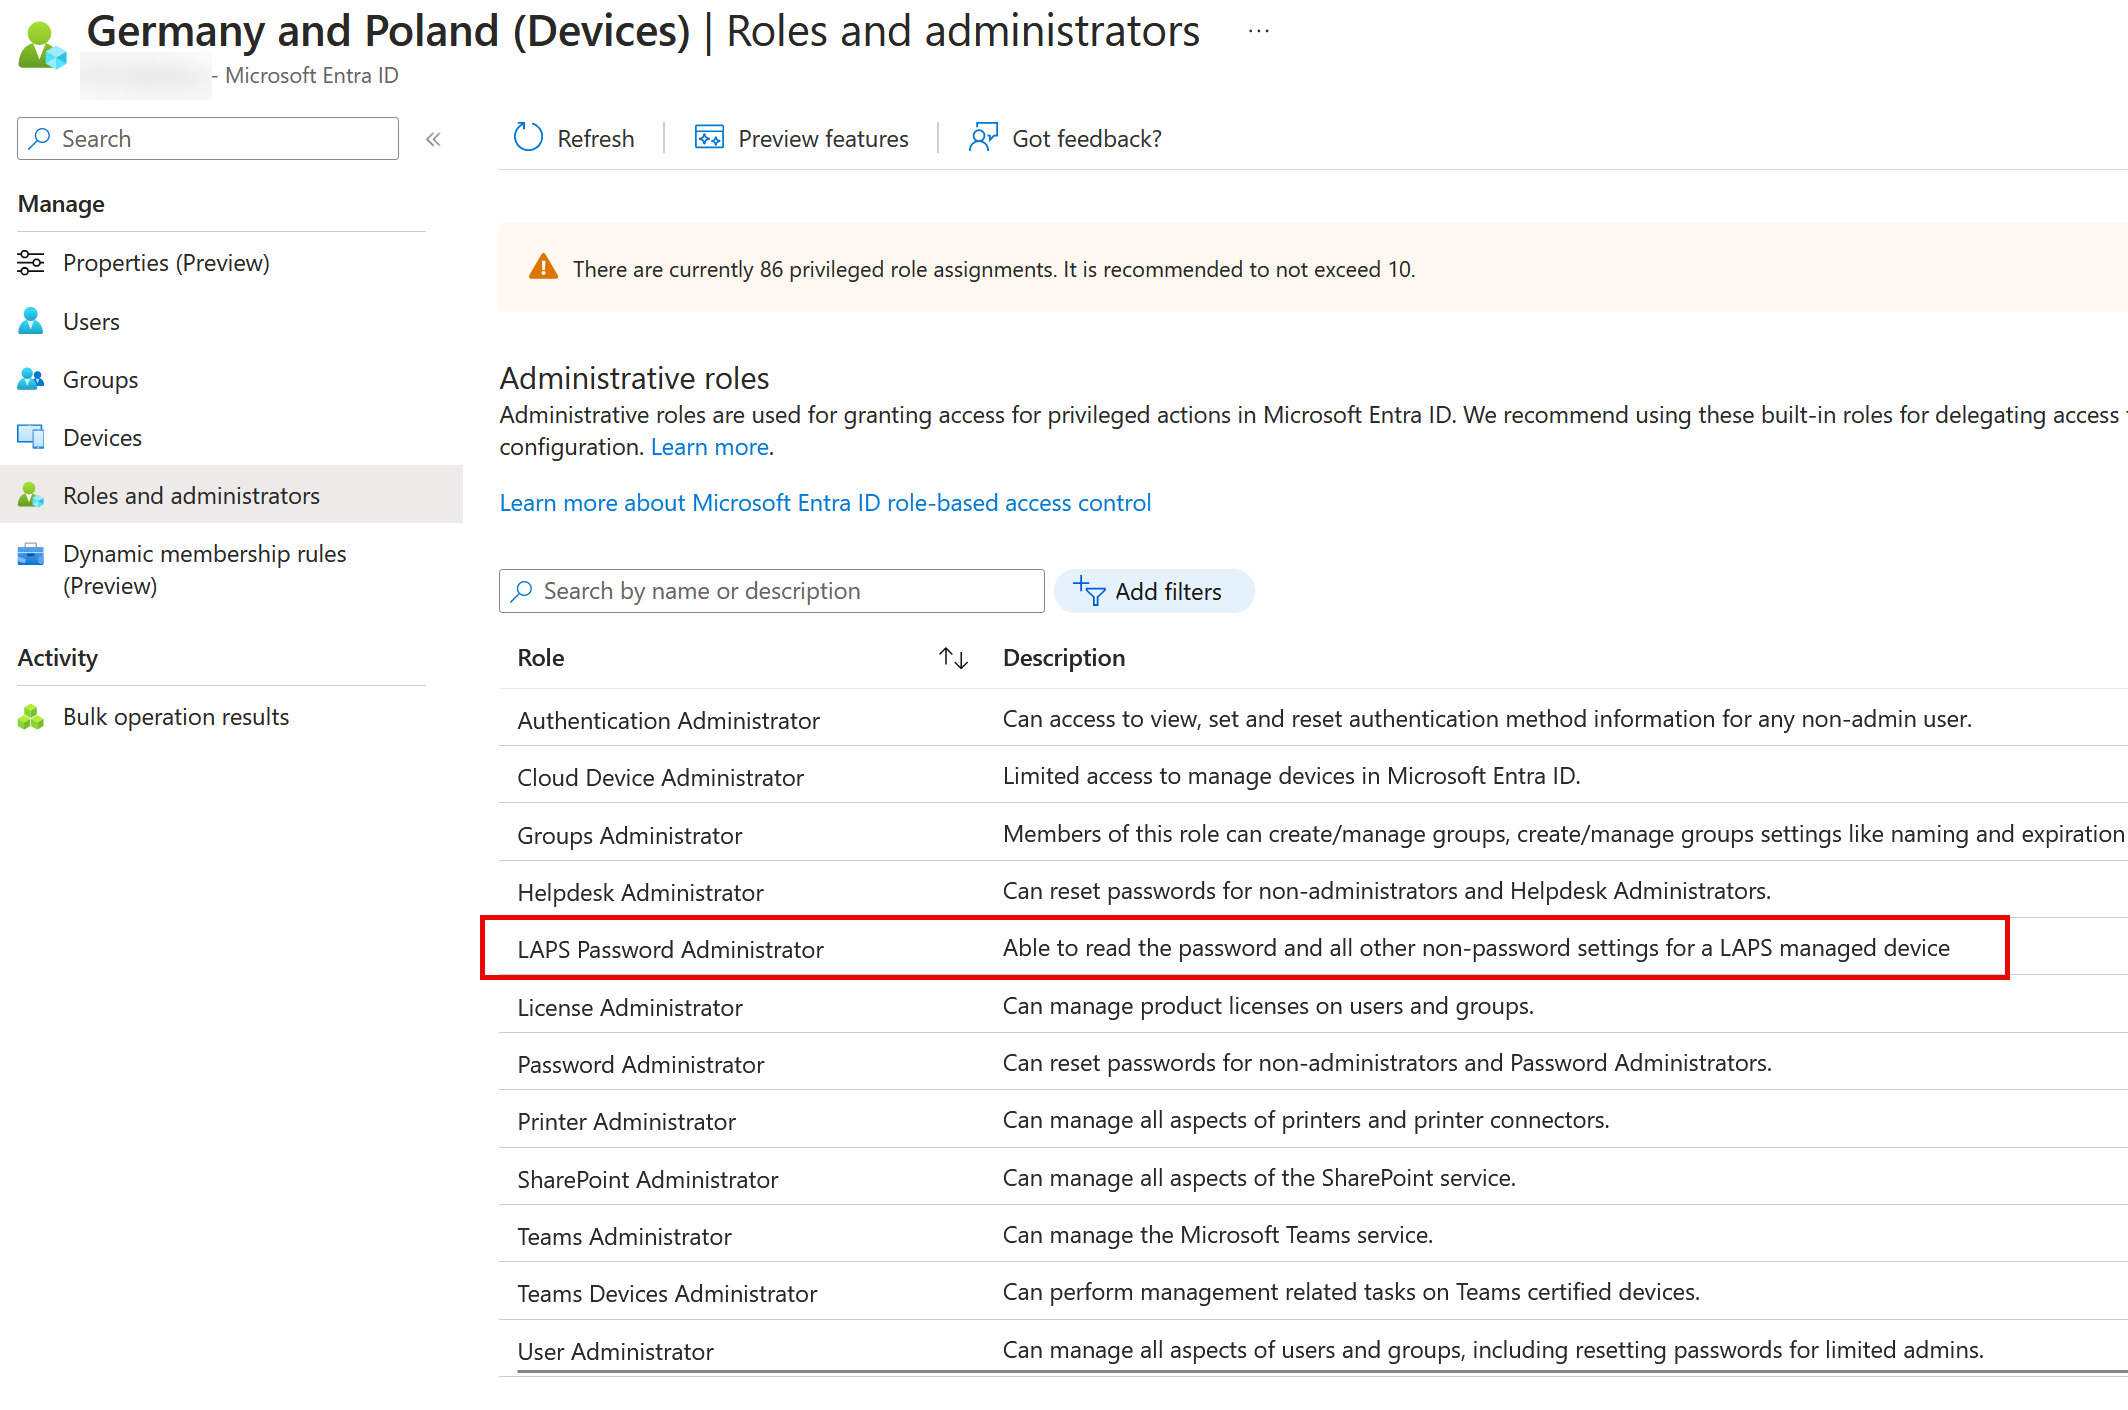
- LAPS Password Administrator
- Able to read the password and all other non-password settings for a LAPS managed device
Click Next, and on the Permissions tab, search for permissions by entering “deviceLocalCredentials”. This will return two permissions, one which allows you to view all the LAPS settings including the password, and one that is all the settings excluding the password.
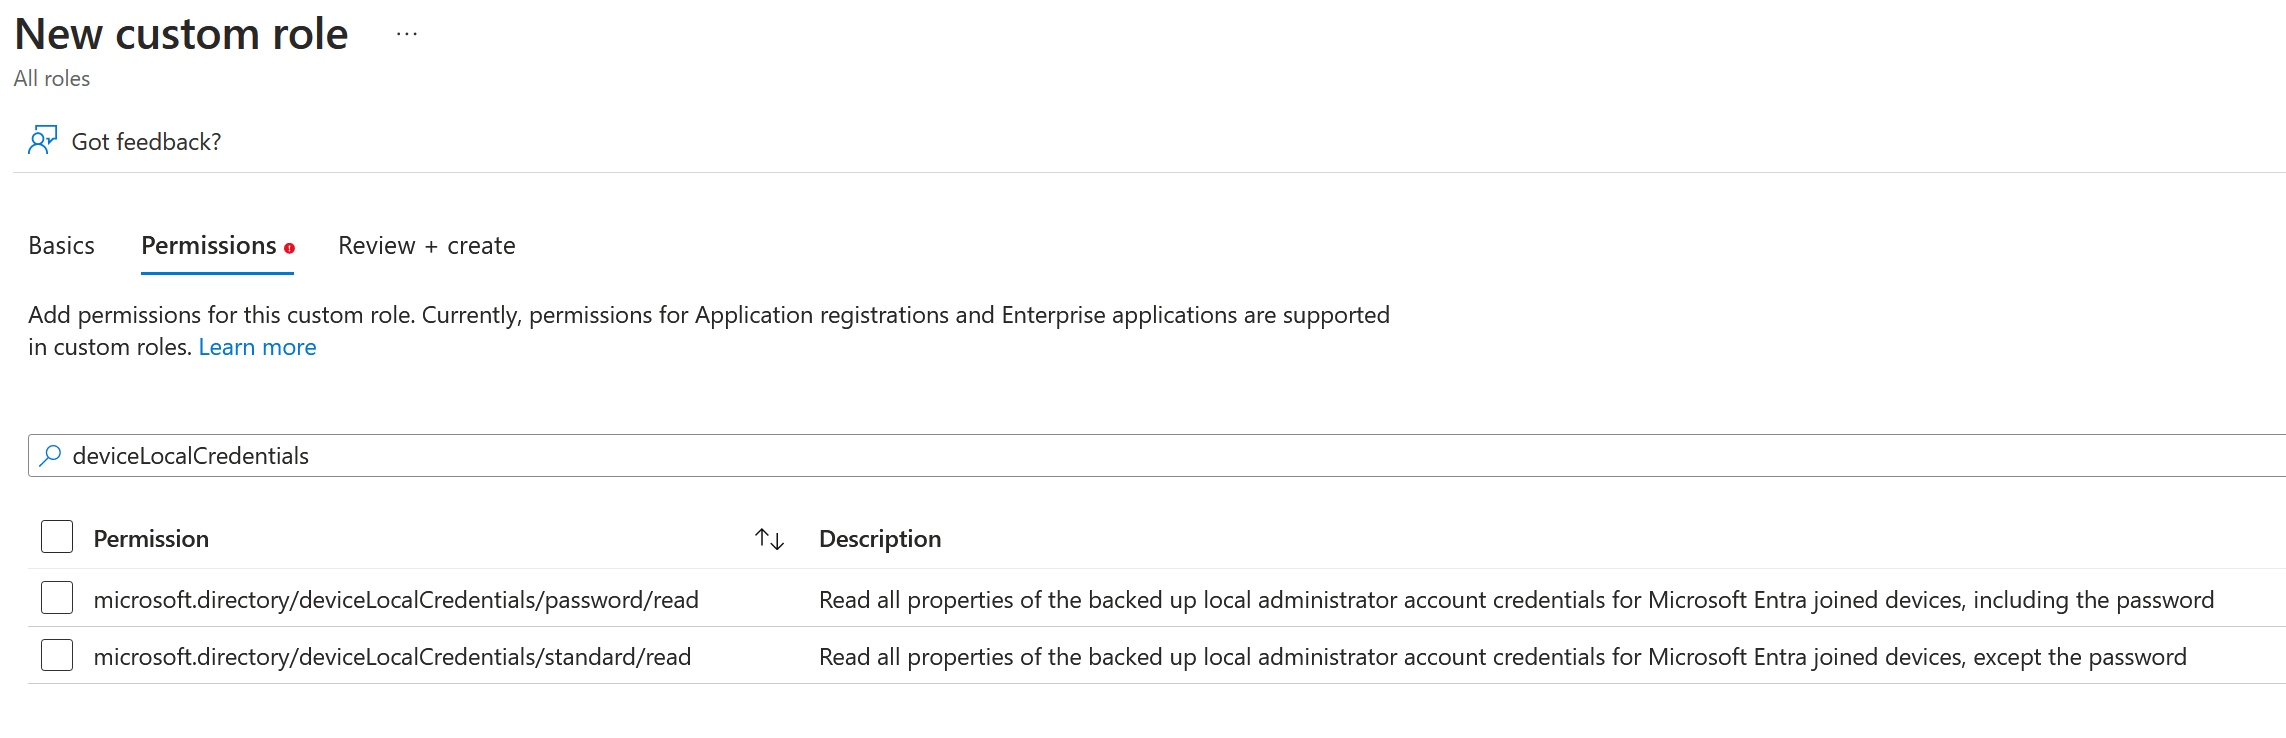
Select the permission that includes viewing the password – microsoft.directory/deviceLocalCredentials/password/read – and click Next. You might consider creating a second role that allows viewing of everything but the password (for example the password last changed time) for assignment to “reader” rather than “admin” users.
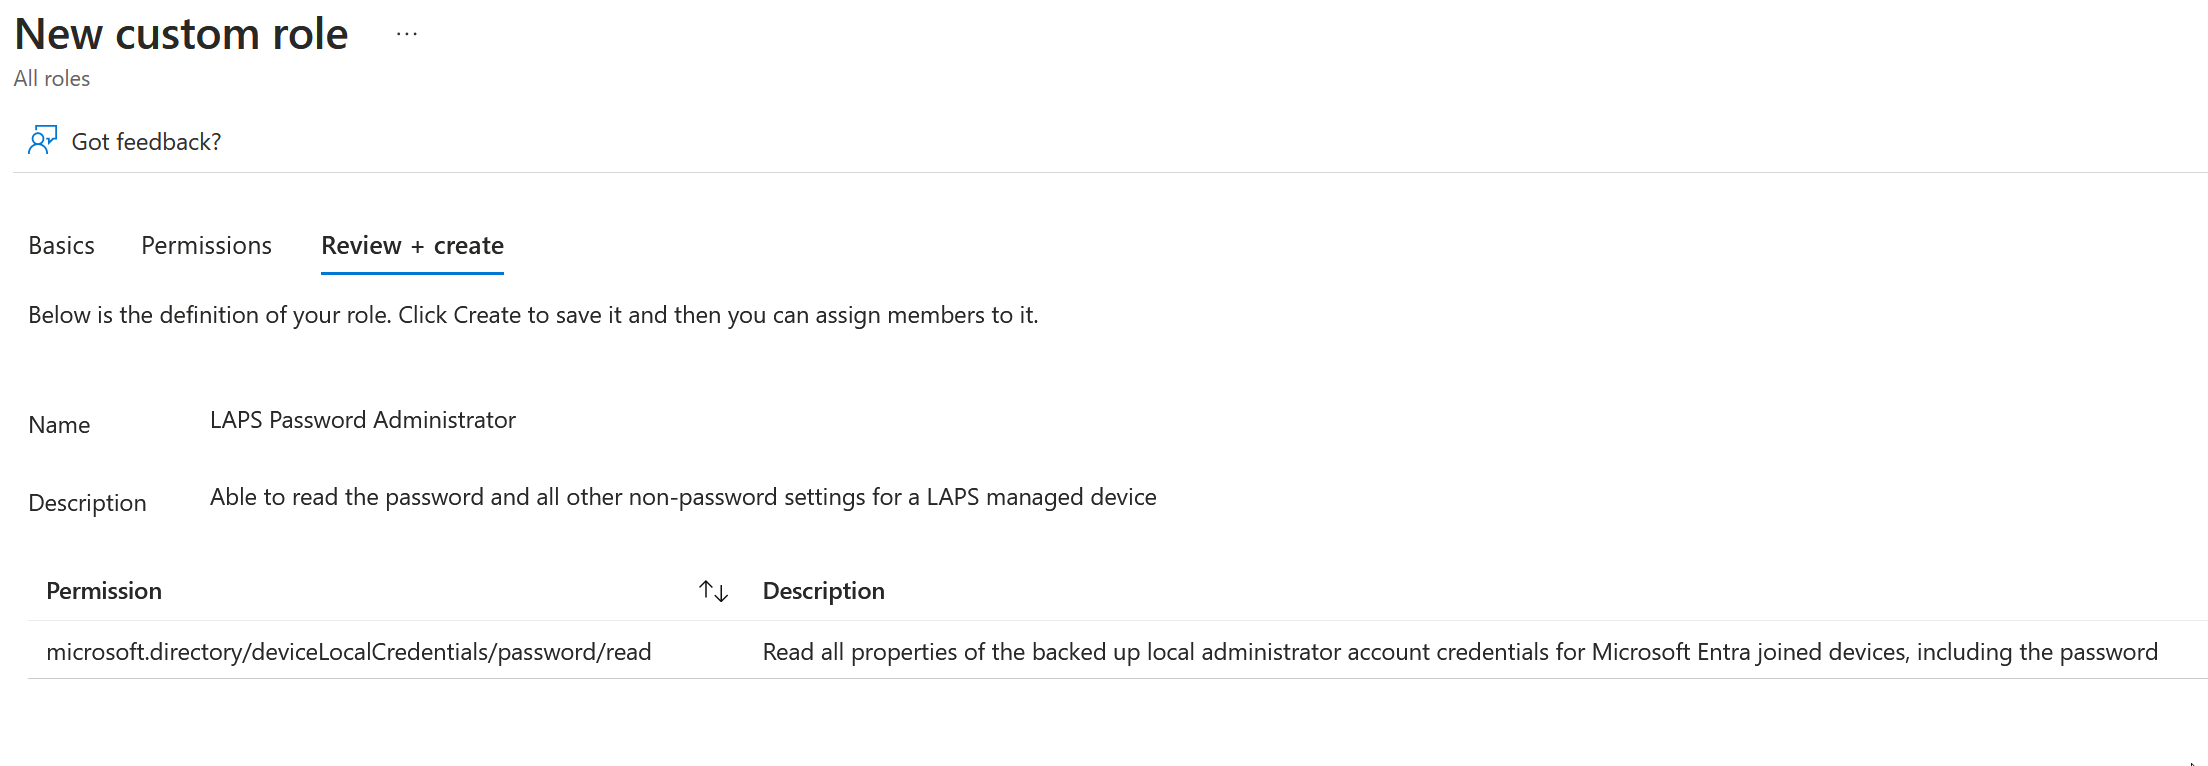
Review your choices and click Next.
You can now assign this role to your existing admin role group at the directory level (so members can view the LAPS password for all devices in the directory), but to assign the role to the admin unit only you need to use the Graph PowerShell.
Before we do this though, and as we do it, we will need to obtain some values to use in later cmdlets. These are the Object ID values which you can obtain from the Entra ID portal or Graph PowerShell for the following. Make a note of these ID and their associated values (to be determined, and which will be different in your tenant than in mine):
- Delegated Admin Group Object ID: ($AUAdminGroup in the script)
- Administrative Unit ID: ($adminUnitDevices in the script)
- LAPS Password Admin Role Template ID: ($roleIdCustomLAPSAdmin)
If you do not have the Graph PowerShell installed, look elsewhere for the instructions and then return here.
Load the PowerShell module and connect to your tenant as Global Administrator:
Import-Module Microsoft.Graph
$RequiredScopes = @(
    "RoleManagement.ReadWrite.Directory",
    "AdministrativeUnit.ReadWrite.All"
    )
Connect-MgGraph -Scopes $RequiredScopes -TenantId xxxxxxxx-xxxx-xxxx-xxxx-xxxxxxxxxxxx -NoWelcome
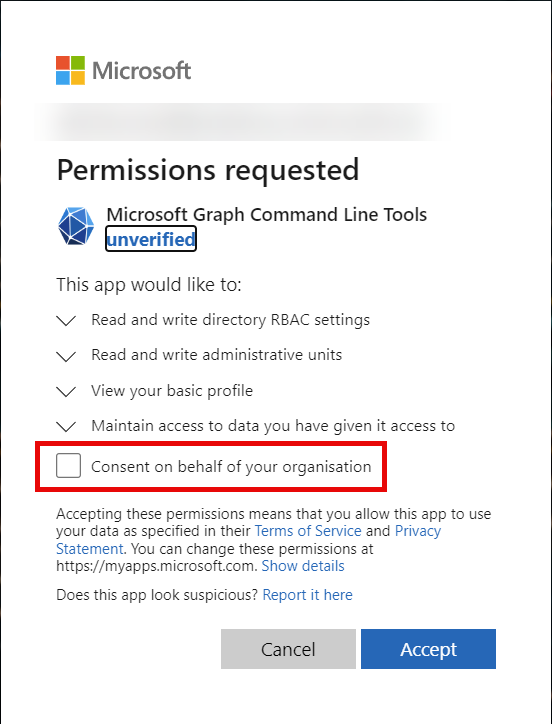
Consent to these Graph permissions if needed:
$AUAdminGroup = Get-MgGroup -GroupId xxxxxxxx-xxxx-xxxx-xxxx-xxxxxxxxxxxx
$adminUnitDevices = Get-MgDirectoryAdministrativeUnit -AdministrativeUnitId xxxxxxxx-xxxx-xxxx-xxxx-xxxxxxxxxxxx
$roleIdCustomLAPSAdmin = "xxxxxxxx-xxxx-xxxx-xxxx-xxxxxxxxxxxx"

$uri = "https://graph.microsoft.com/v1.0/roleManagement/directory/roleAssignments"

$params = @{
	principalId = $AUAdminGroup.Id
	directoryScopeId = "/administrativeUnits/"+$adminUnitDevices.Id
	roleDefinitionId = $roleIdCustomLAPSAdmin
}
$json = ConvertTo-Json -InputObject $params

Invoke-MgGraphRequest -Uri $uri -Method POST -Body $json -ContentType "application/json"
On completion of running this script you should see the admin role group ($AUAdminGroup) has got an active assignment to the custom role ($roleIdCustomLAPSAdmin) that you created earlier and scoped only to the administrative unit ($adminUnitDevices)
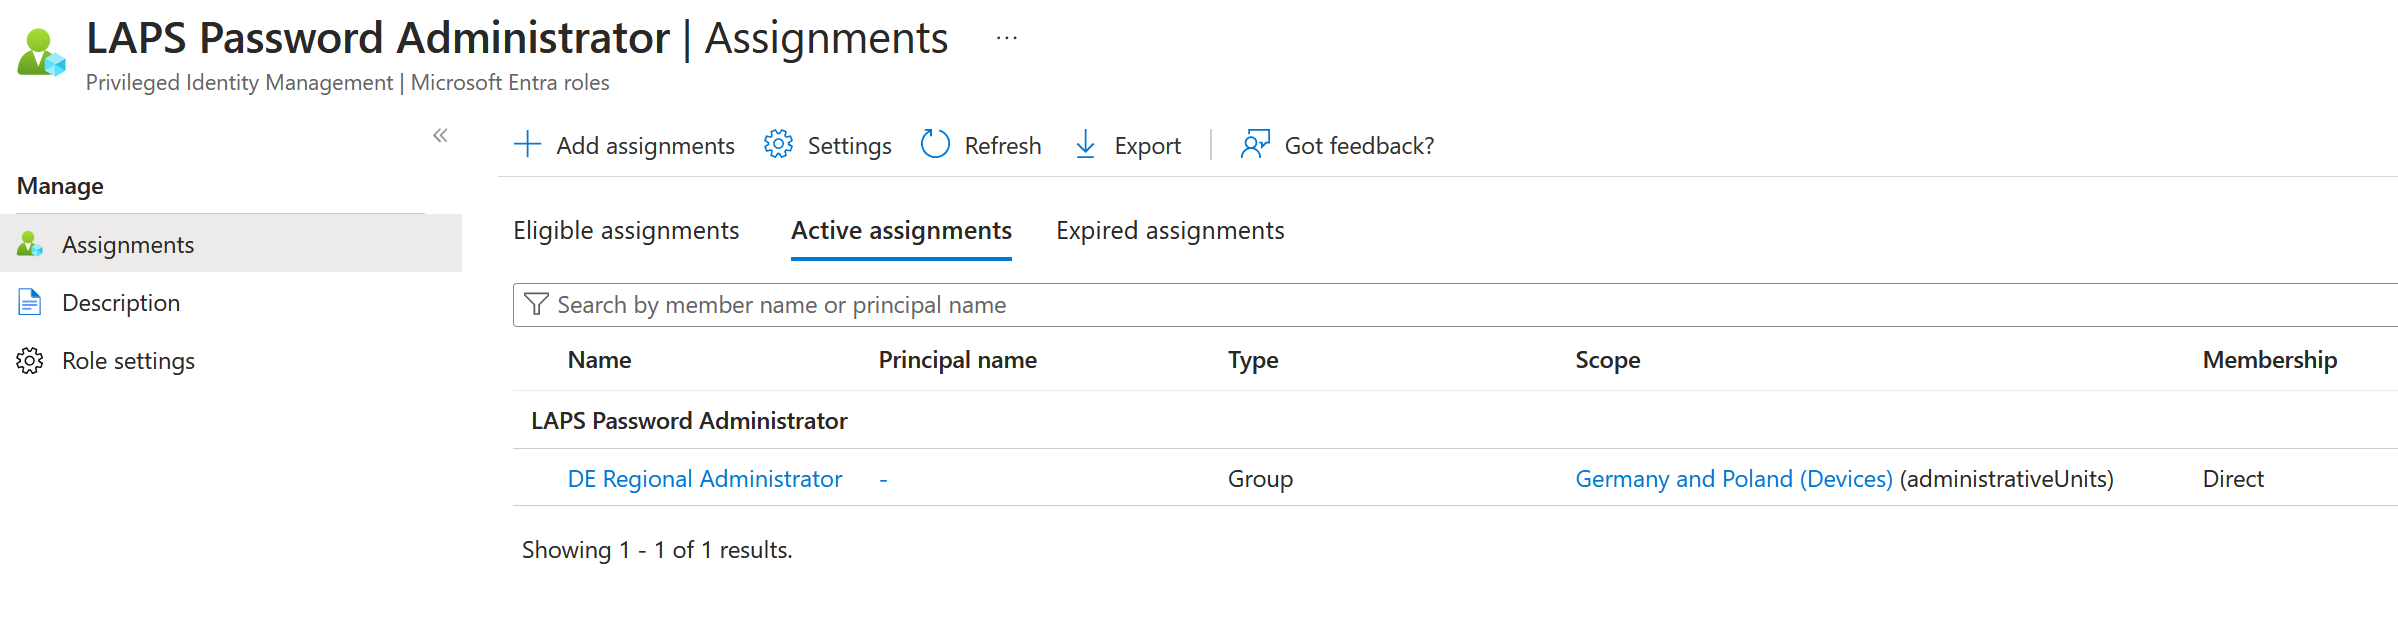
Or, that the Administrative Unit now has a new role group assigned, which if you examine the details of will be scoped to the admin role only (and will show you the above image):
Intune Roles
Once you have granted the rights to the administrative unit and role, you might want also to grant the role in Intune. Intune is optional, because you can always go to Entra ID to get the information you need – but if you have granted any roles in Intune you might want to customise this grant.
In Intune, and the full steps are outside the scope of this blog post, you can grant roles to users or groups and have those users manage objects with a set “scope tag”.
To modify an existing role grant in Intune, the Intune admin goes to https://intune.microsoft.com > Tenant administration > Roles > select your existing custom Intune role > Properties > click Edit next to Permissions.

Scroll down all the role groups until you get to Remote Tasks. Scroll down to the bottom of these until you see “Rotate Local Admin Password” and change this to Yes:

Review and save your changes. At your next login you will be able to see LAPS Password via Intune as well.
Photo by DEELIN: https://www.pexels.com/photo/a-police-officer-standing-near-white-concrete-pillars-of-a-building-3659582/
Leave a Reply