
At the time of writing this blog post, the Microsoft guide for doing an AADConnect to Entra ID Cloud Sync migration is lacking quite a lot of detail. It contains the sum of two self referencing documents, one of which is a guide to doing the migration in a lab environment and the other is a table of high level points.
So here is how you go about doing this from beginning to end, with some pictures – it is quite long!
You cannot just cutover to Entra Connect Cloud Sync if you are already running AADConnect. There is no supported way to allow both sync engines to sync the same content at the same time. The general process is to customize the sync rules in AADConnect so that you import but do not export the OUs or group that contains the items you want to migrate. In this article we will do the migration via OU, but group is similar.
Prep for Pilot
Start therefore by creating a new OU as a child OU under an existing synced OU. This will contain our pilot objects. Move into this OU a few users, a few groups and a few contacts. At the time of writing Cloud Sync does not sync devices if it ever will and so we are not concerned with migrating devices. If you are syncing devices then you are not migrating to Cloud Sync (based on functionality in Oct 2023). The pilot users should be members of the groups. For a fuller test create another group in a different OU that AADConnect is syncing and place you pilot users in that group as well. That will cover scenarios where the user is migrated but the group is not (yet) migrated to Cloud Sync.
Your users should have membership of some cloud groups and should be licenced. This way you can ensure that these changes do not impact this functionality as well. Keep a record of what groups and licences your test users have so that you can check as the migration goes on that nothing changes. For example:

All non-pilot users will remain in the existing OUs when we come to process those. It is only the pilot users that we move to a dedicated and new OU for the purpose of pilot.
AADConnect Sync Rule Modifications
Next is to create three new Inbound sync rules for AADConnect. This needs to be done per seperate OU tree that you currently sync, starting with just the pilot OU.
First disable the sync scheduler. This is done via PowerShell on the AADConnect server.
Stop-ADSyncSyncCycle
Set-ADSyncScheduler -SyncCycleEnabled $false
This stops any current sync and disables the scheduler. You can always run manual syncs during this time if you need to, but it will not run every 30 minutes automatically.
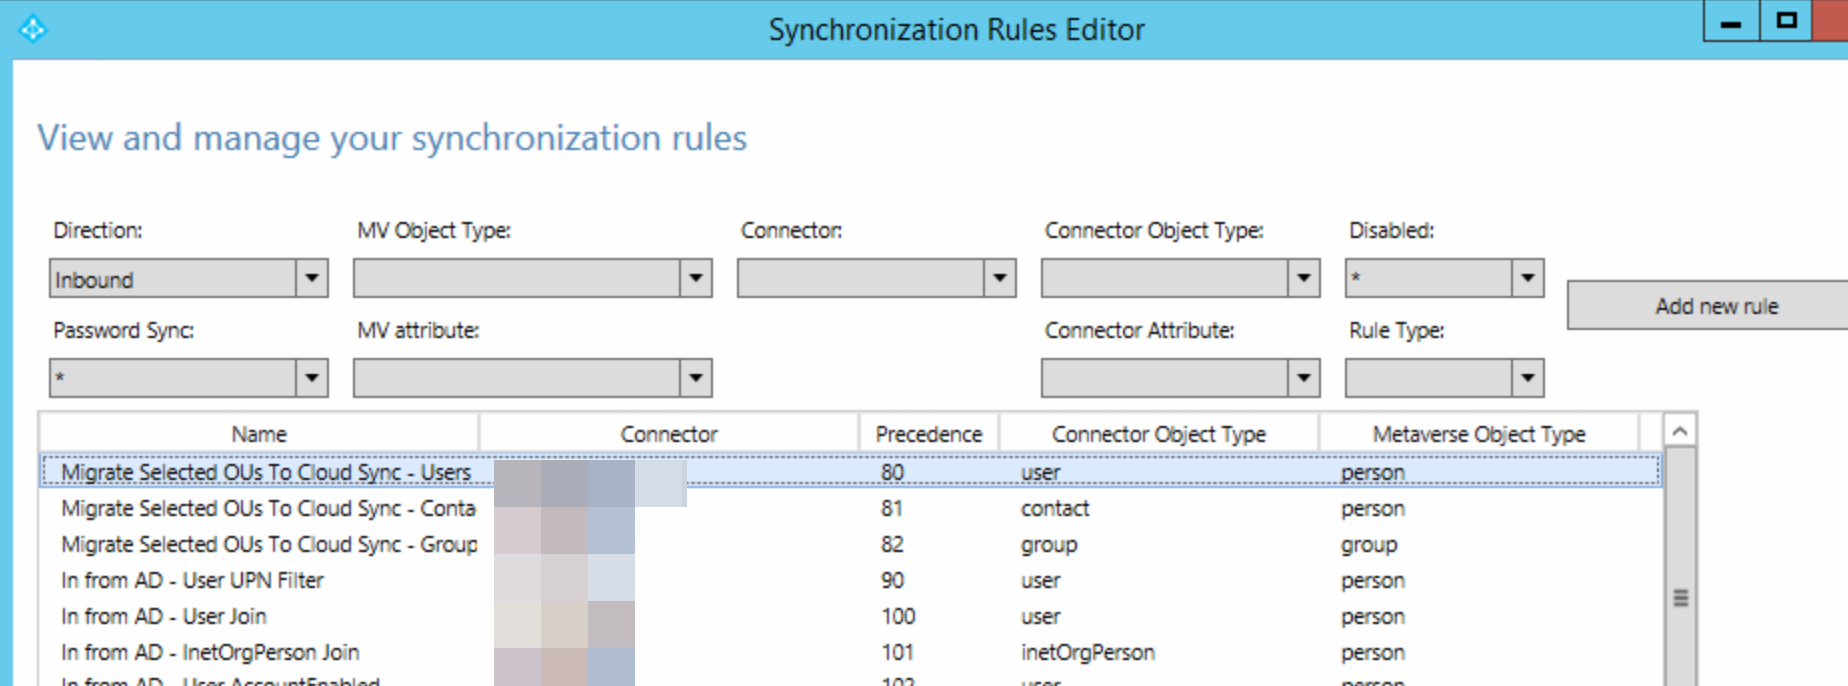
In the Synchronization Rules Editor application, add a new Inbound rule. One for “users/person”, one for “group/group” and one for “contact/person”. If you dont sync these objects, i.e. contacts, you do not need the rule.
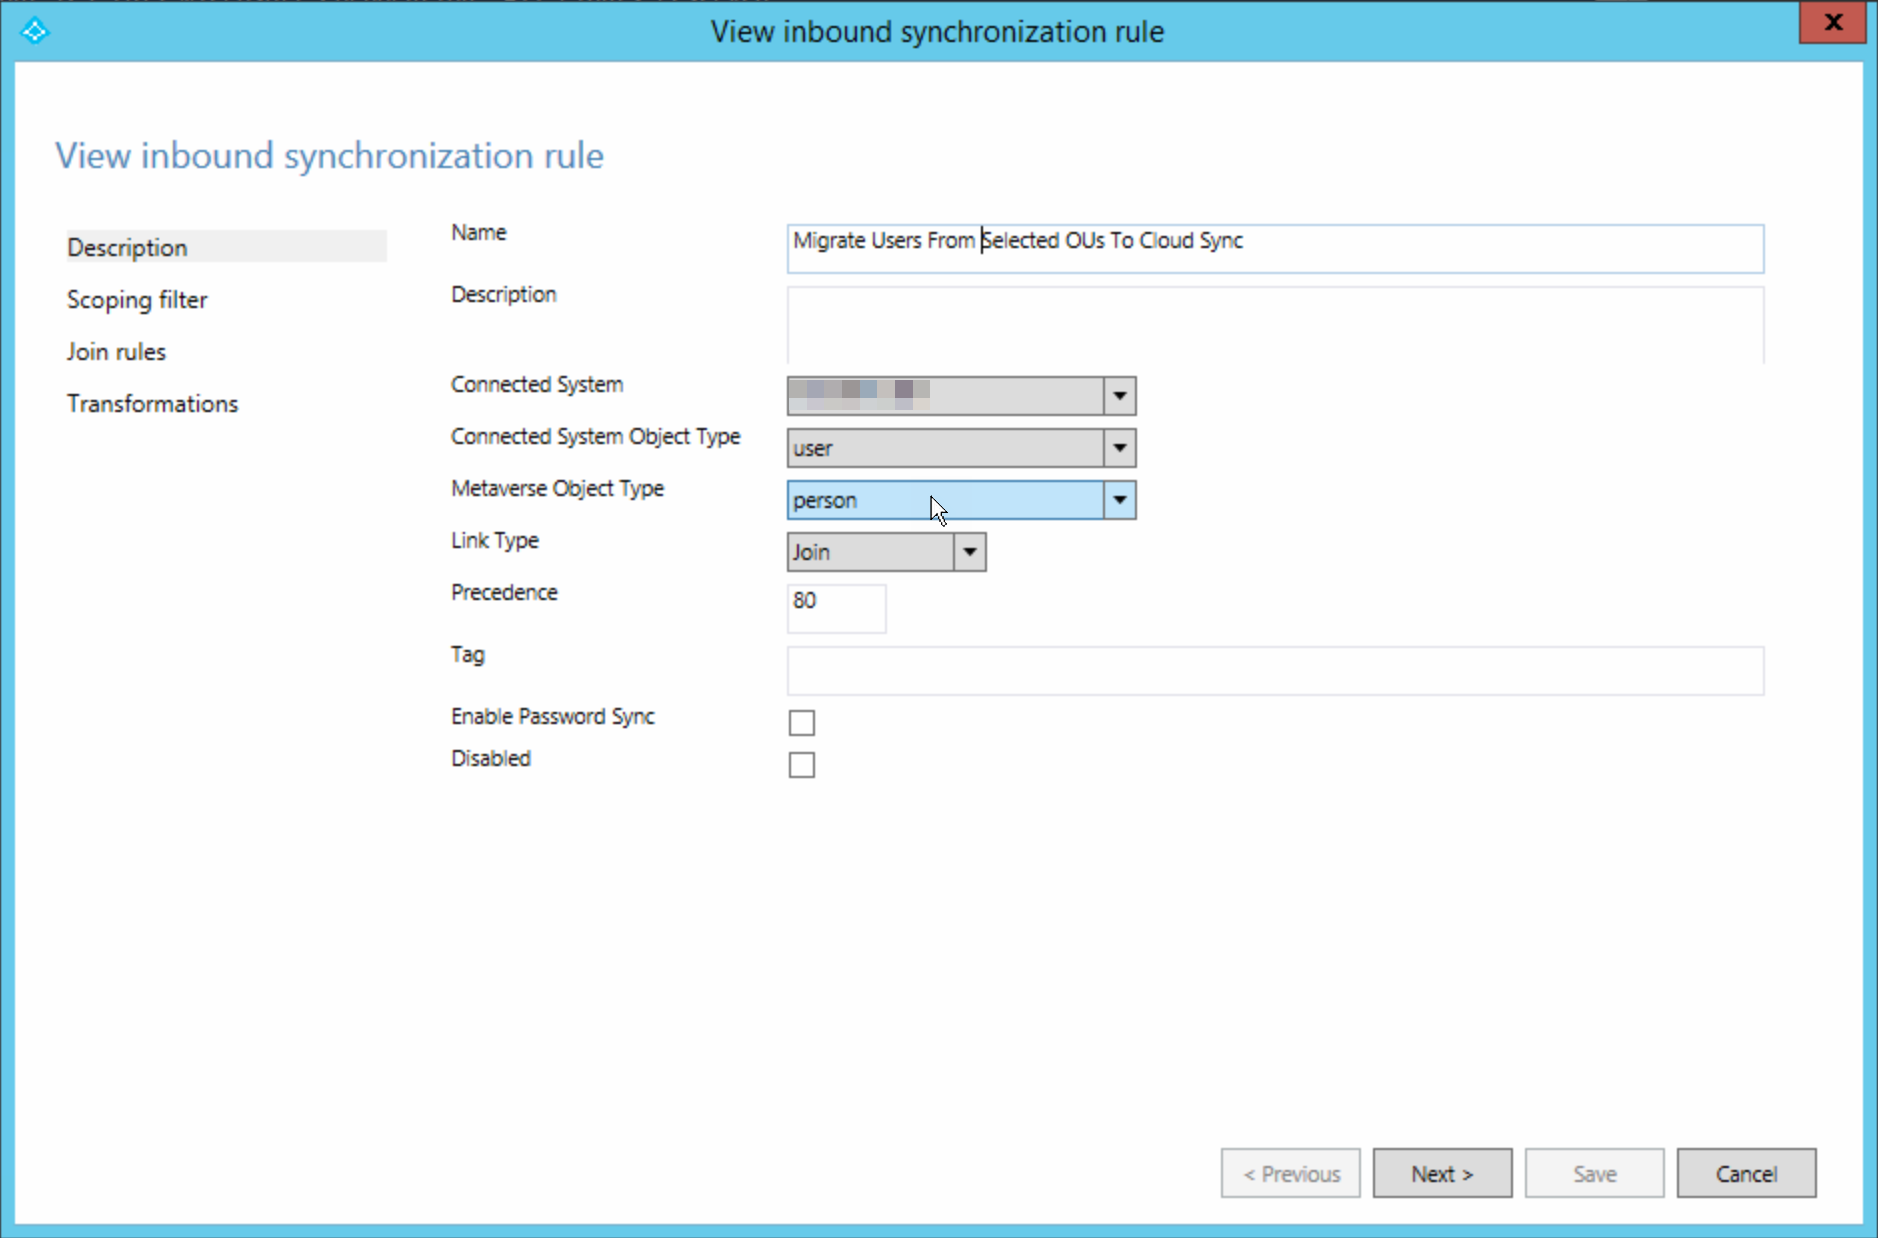
The Name should indicate the object type (user/person in the above), and which OU it is doing. Link type here is join. I have set precedence 80 and will use 81 and 82 for group and contact. This needs to be unique across all inbound and outbound rules.
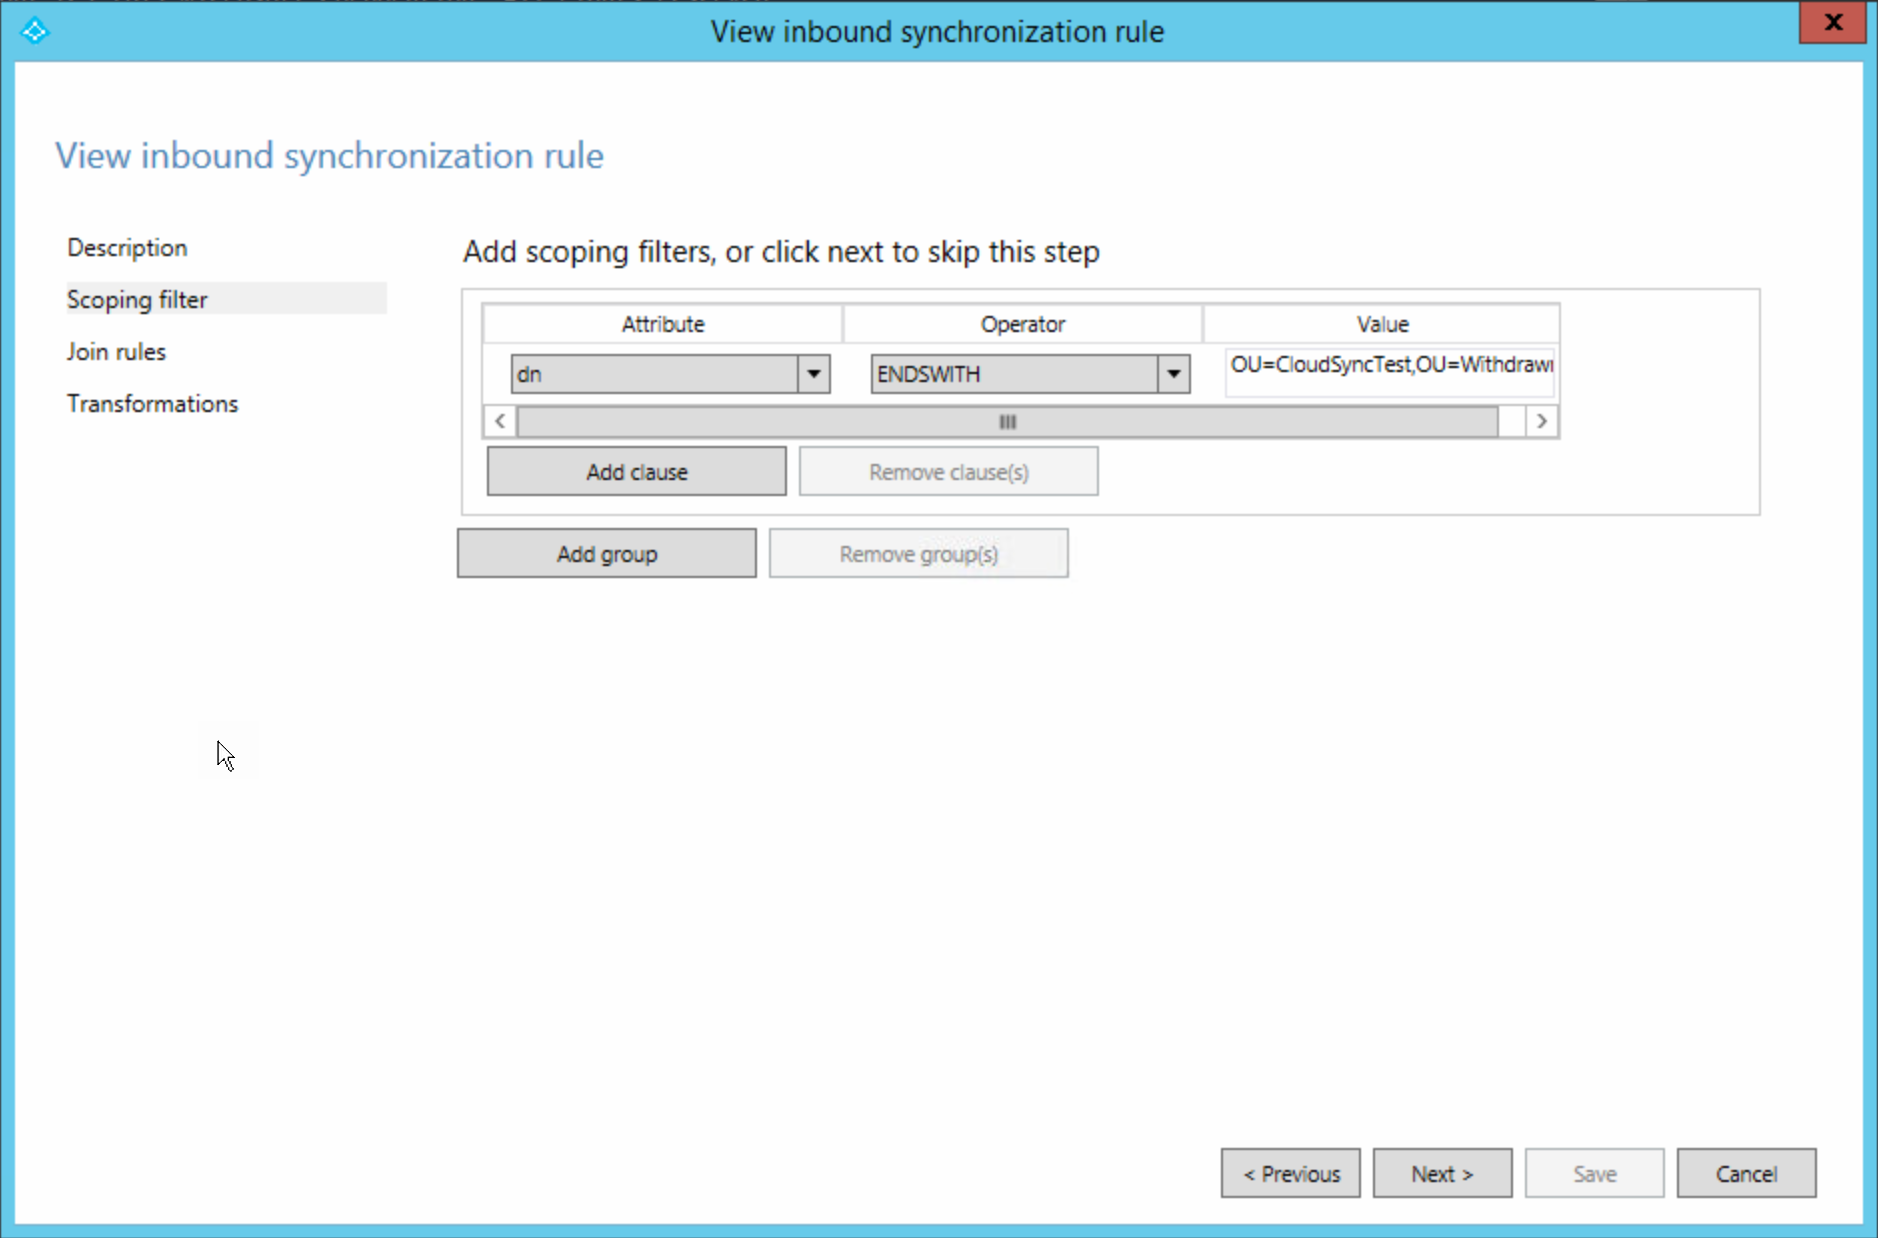
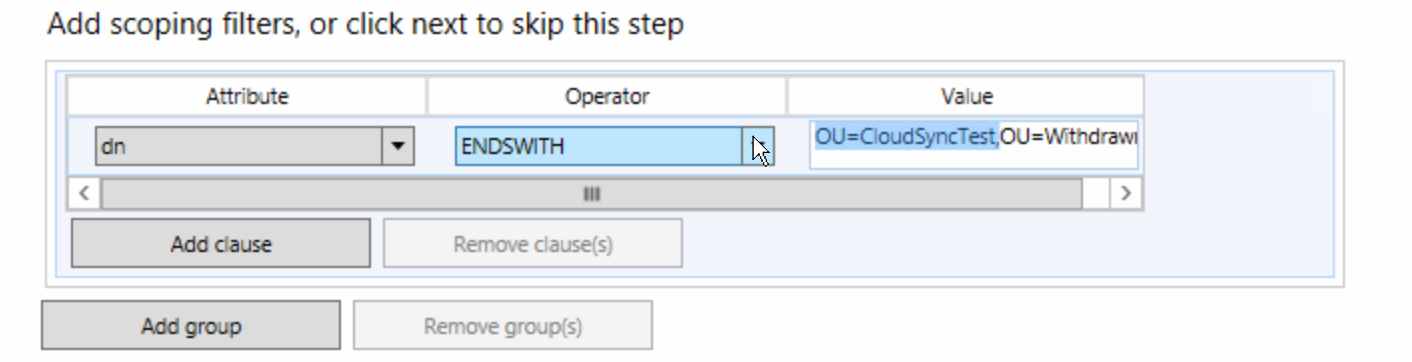
The scoping rule is dn ENDSWITH the pilot OU dn. This means it will include all users in the pilot OU.
There is no join rule.
Finally the transform rule:
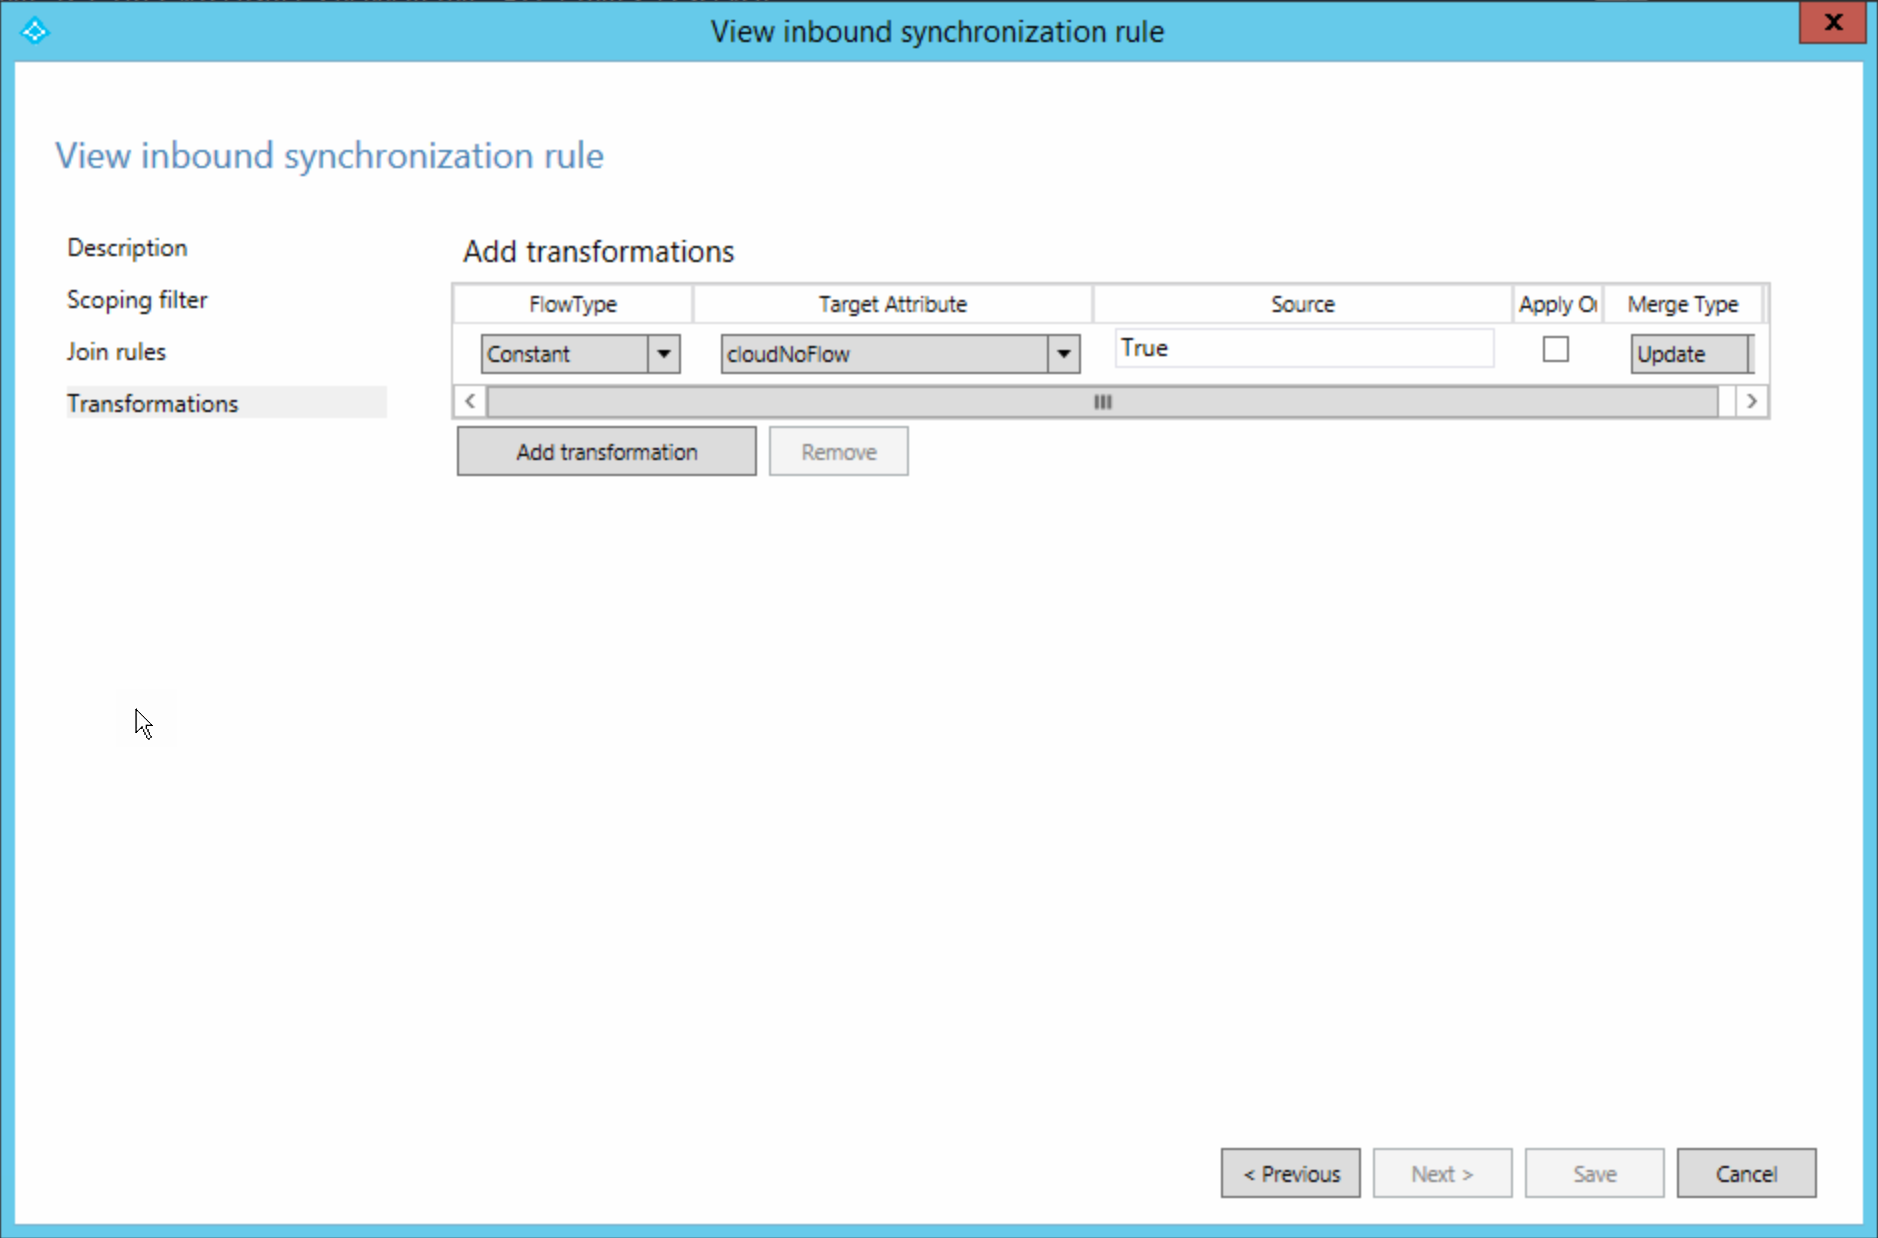
The transform rule is a Constant of target Attribute cloudNoFlow set to True. Your AADConnect server needs to be running version 1.5 or later for this option to be available. You should be on v2 as 1st October 2023 is here, which is the last date for v1 to work – but if you are reading this and v1 is still in place, not syncing and you need to migrate to cloud sync, then you need to install the latest v2 instead to get a working sync engine and then migrate from there.
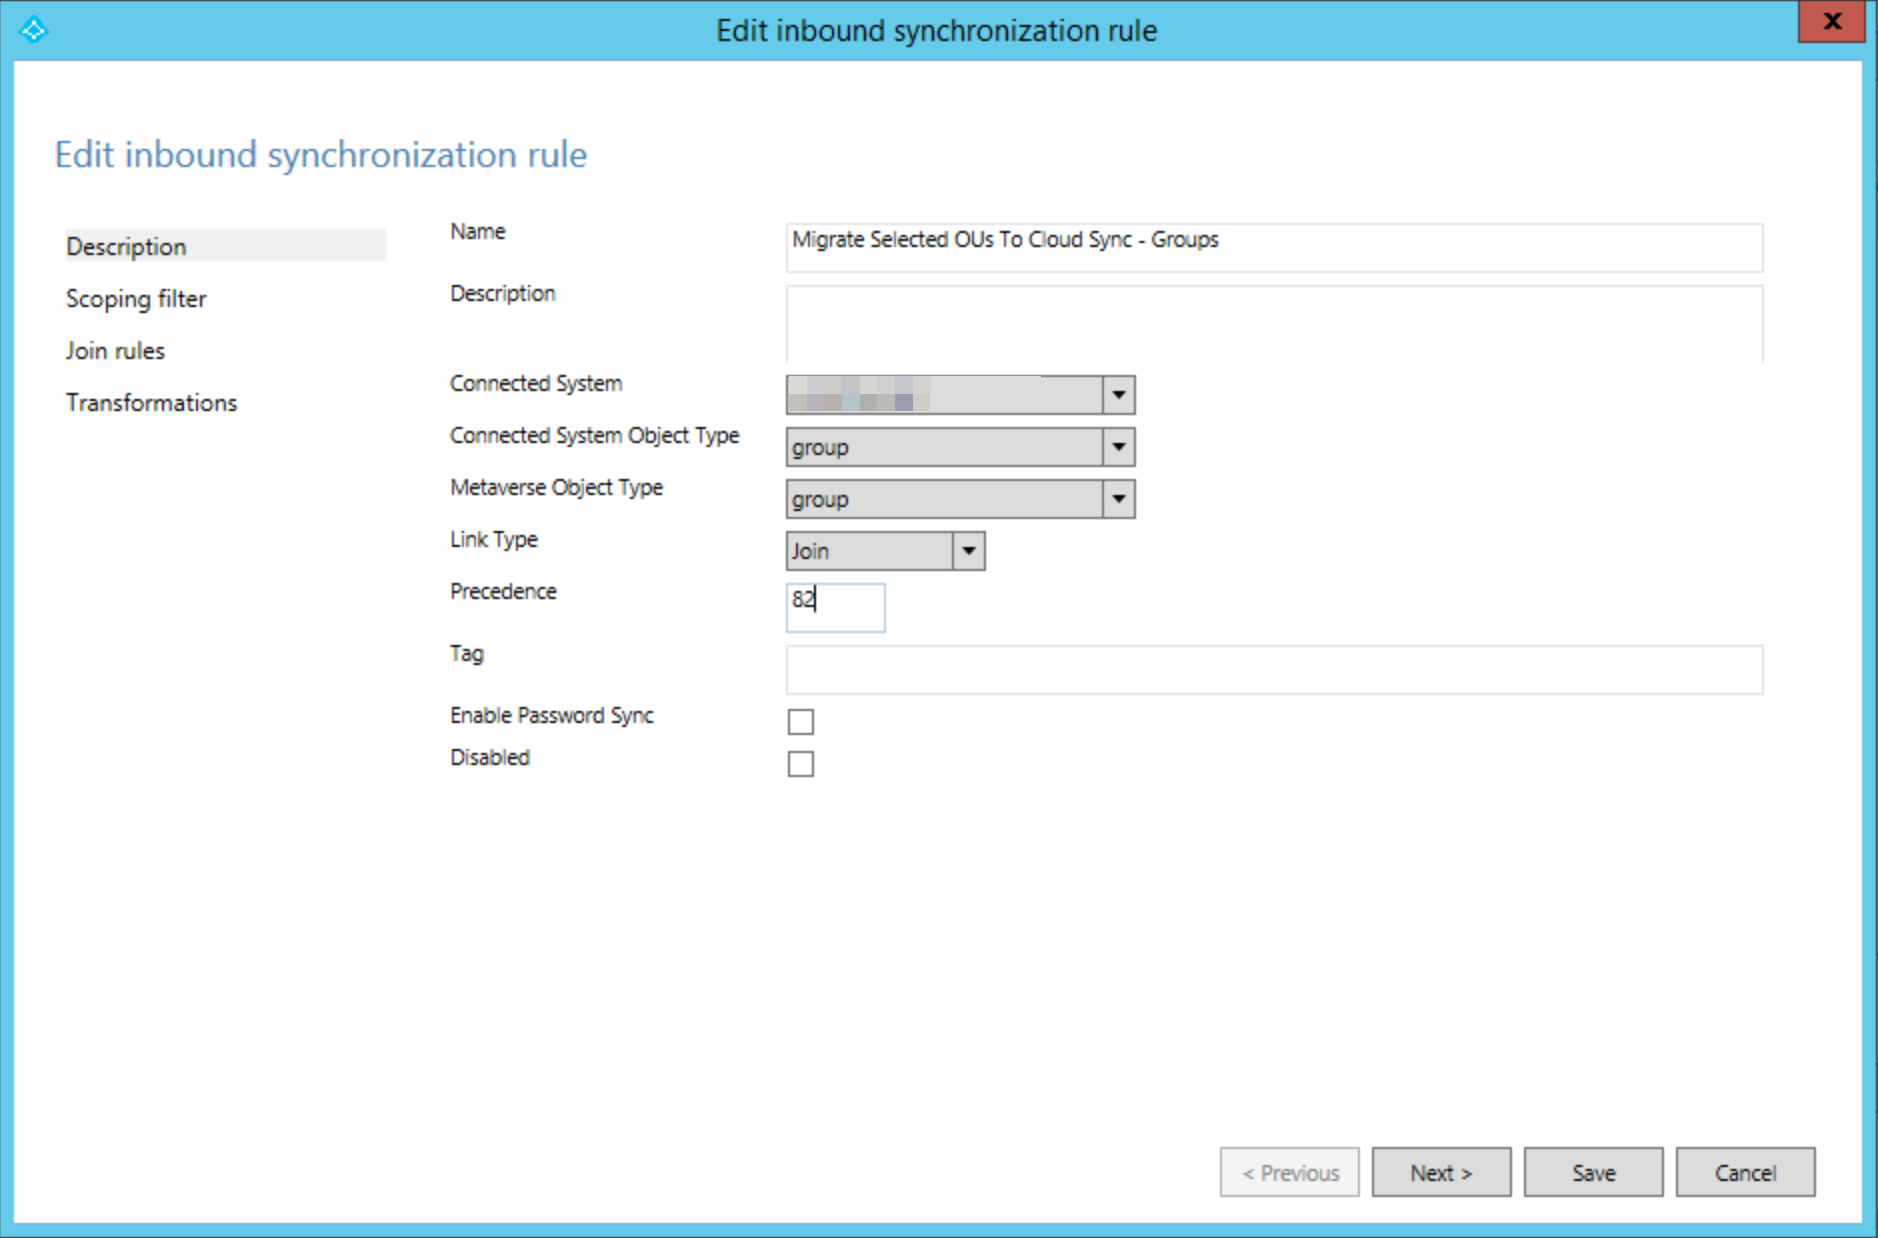
Save the rule and then create one more for groups (metaverse object type is group) and then another for contacts (object type is person).
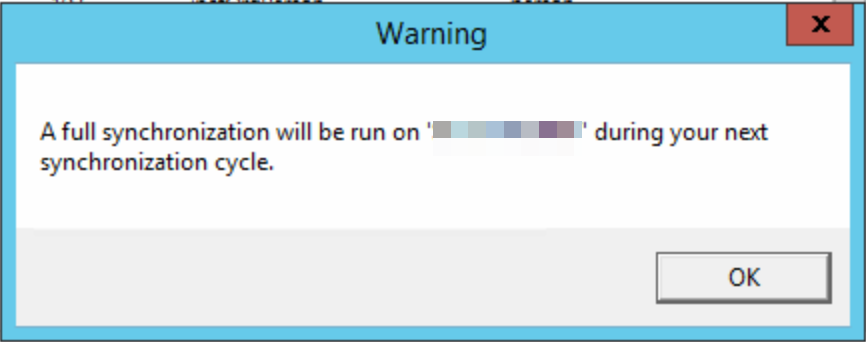
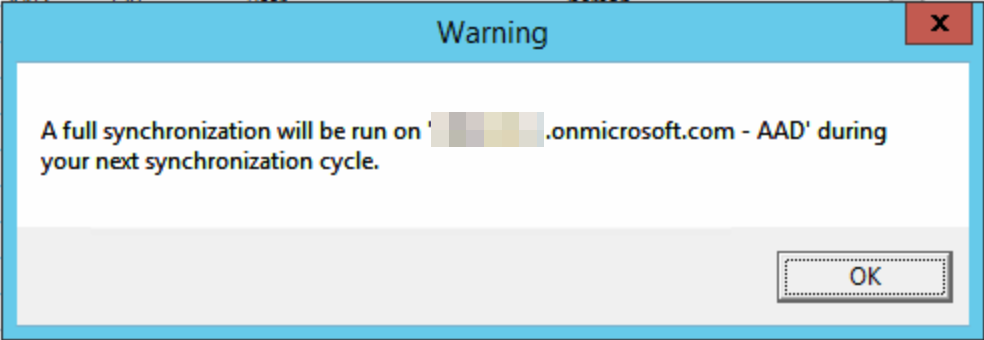
You will be told a full sync will happen on the next run of the sync engine after each rule addition:
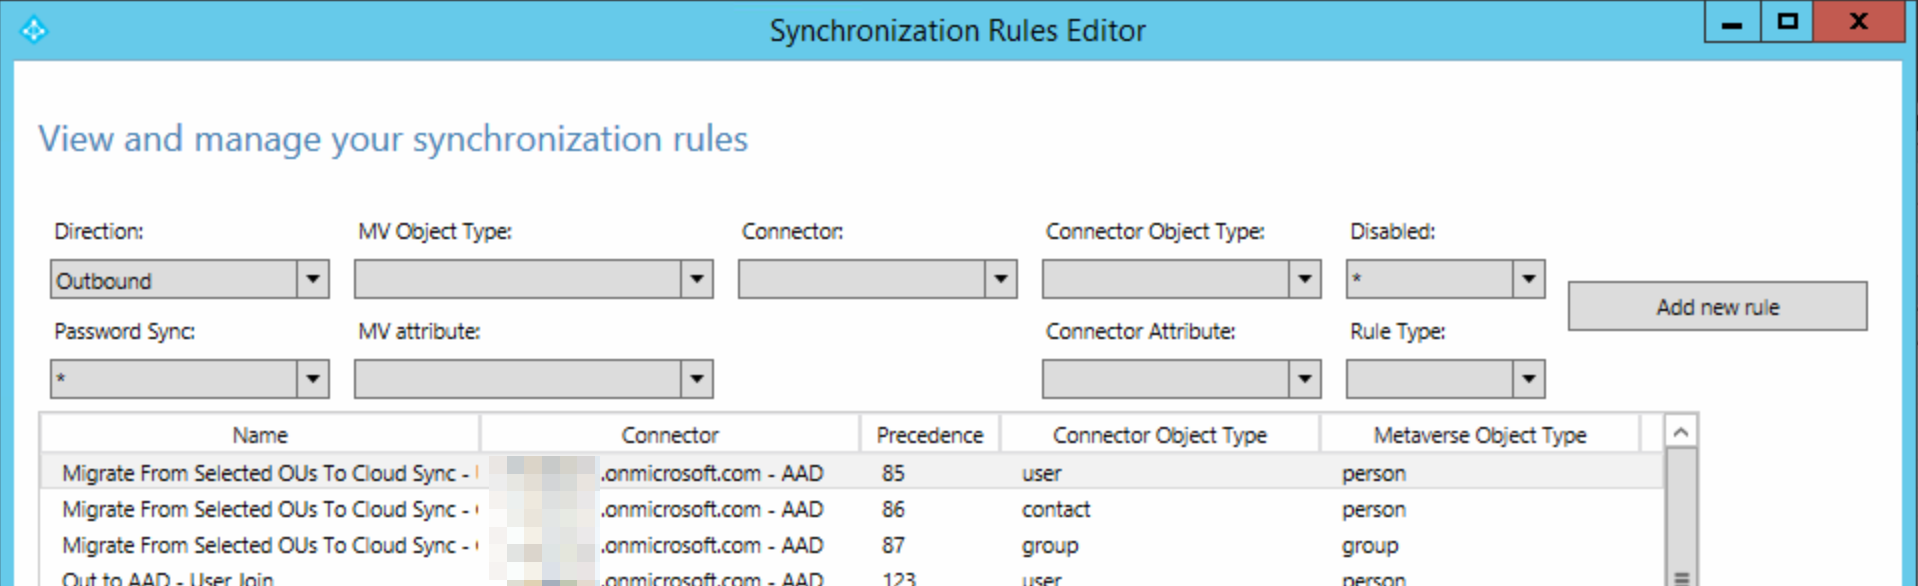
You will finish with the following Inbound rules:
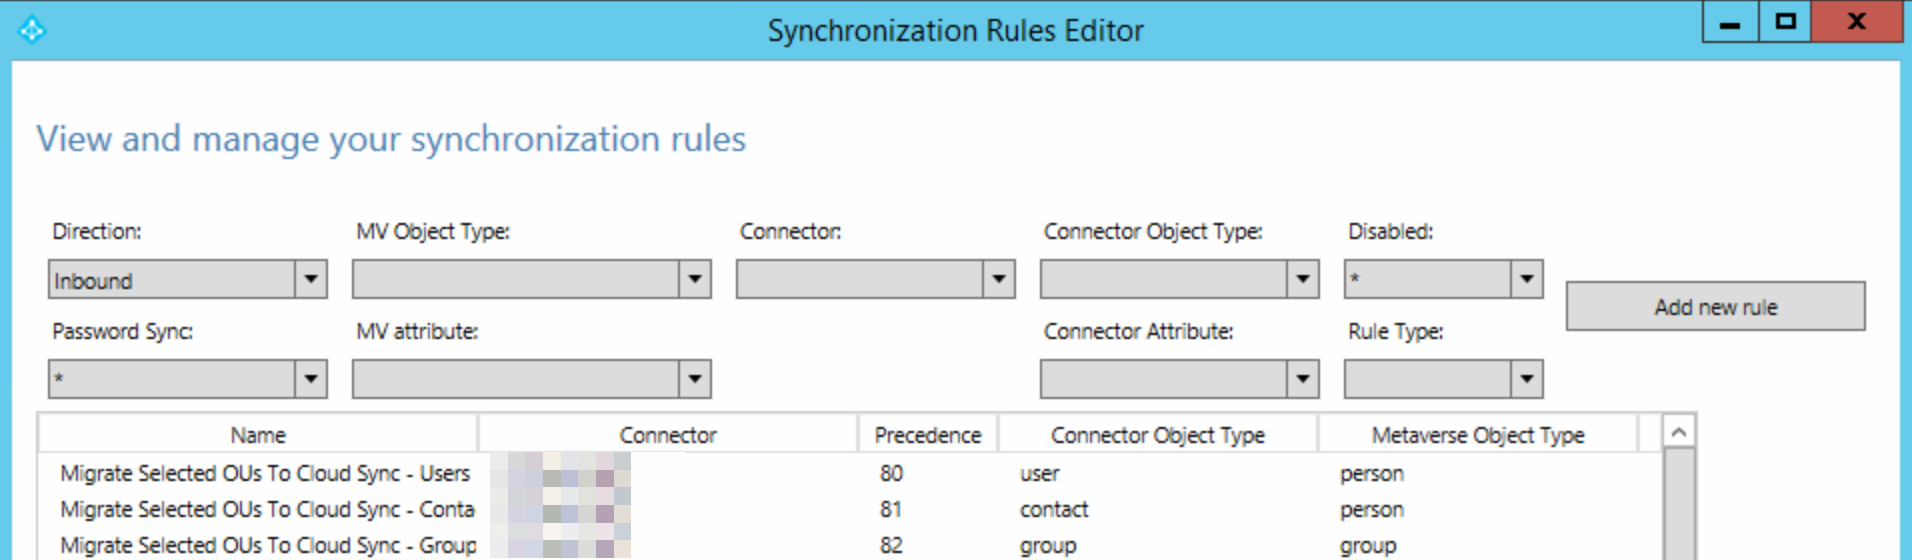
You now need to make three outbound rules. These three rules will be the only outbound rules you will need. You will need more inbound rules if you have lots of seperate OU hierarchies to sync, but only ever these three outbound rules.
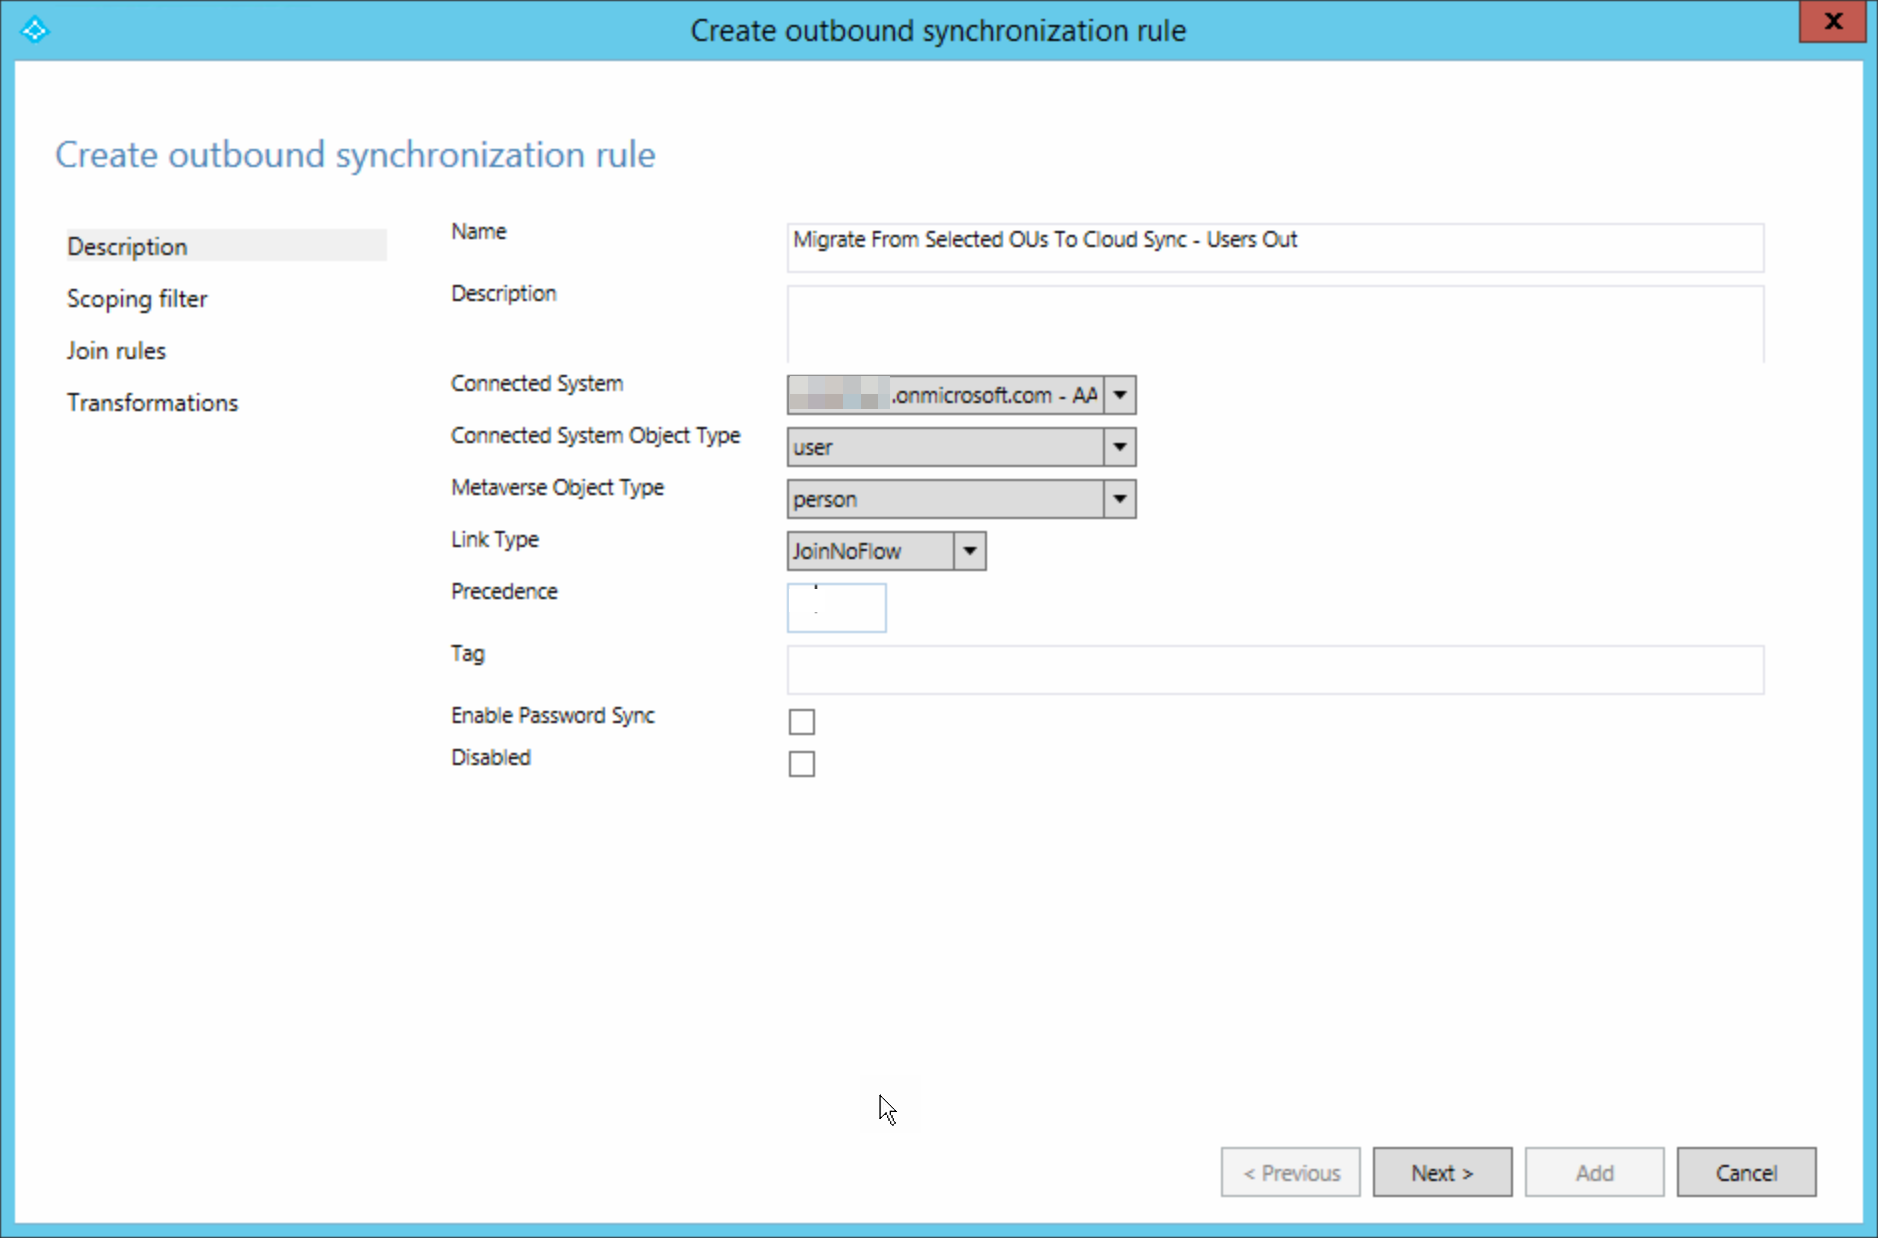
The “Users Out” rule needs a unique precedence, for example I used 83, 84 and 85 for Users Out, Groups Out and Contacts Out. This is a rule that connects to Entra ID (onmicrosoft.com, not Active Directory like the earlier rules) and the Link Type is JoinNoFlow
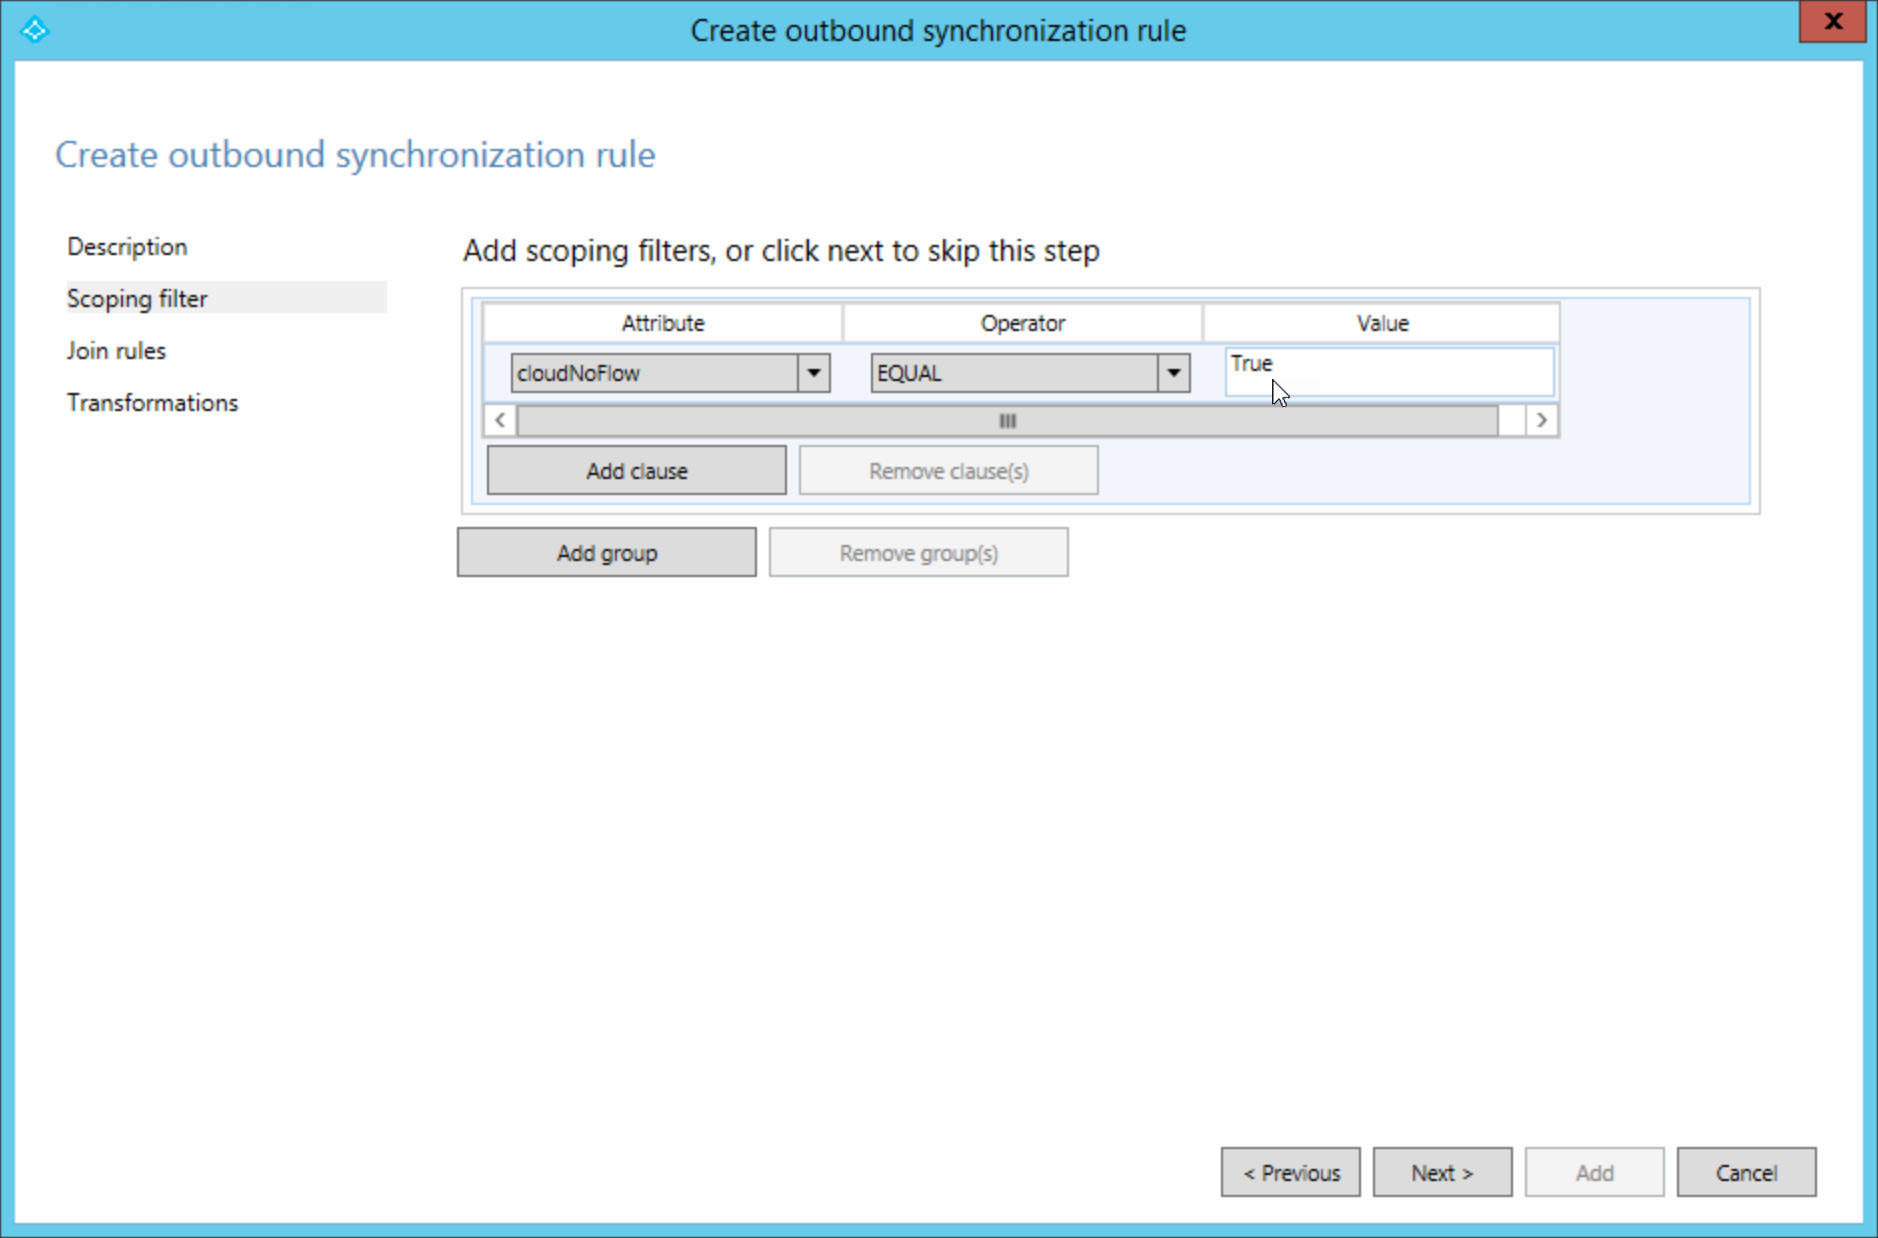
For the scoping filter, the Attribute is CloudNoFlow EQUALS True. This will stop any imported object from the previous rules being synced (or exported) to Entra ID.
There are no join rules or transform rules needed.
Create two more, one for groups and one for contacts. Remember the join type is JoinNoFlow for these rules. All with unique precedences.
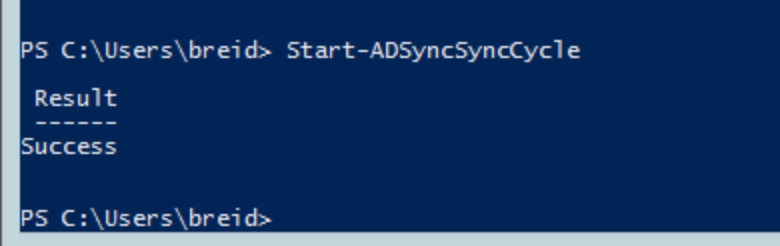
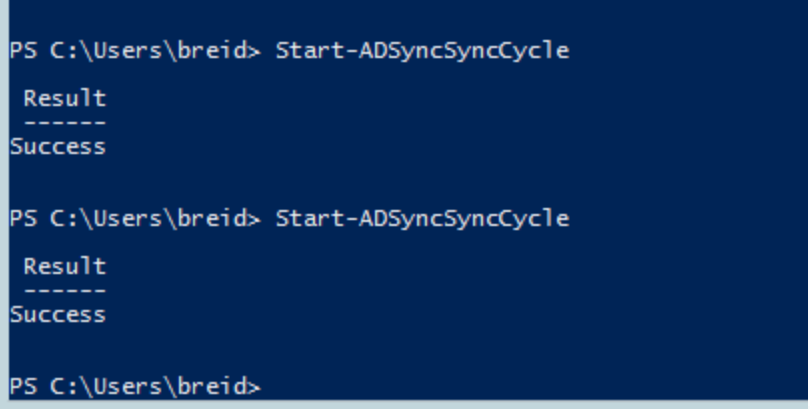
Run a manual sync (remember the scheduler is turned off at this point) using PowerShell
Start-ADSyncSyncCycle
This will perform the full sync steps are mentioned in the rules editor a number of times.
Installing the Cloud Sync Agent
At this point we install a single cloud sync agent. For high availability we need to install more, but that can be done later. Do not install multiple agents at the same time as the first one.
There are a number of things that can go wrong here. I have found that if you run the agent on domain controllers it needs a lot of care to make it work. This guide now lists some of the issues I found as well.
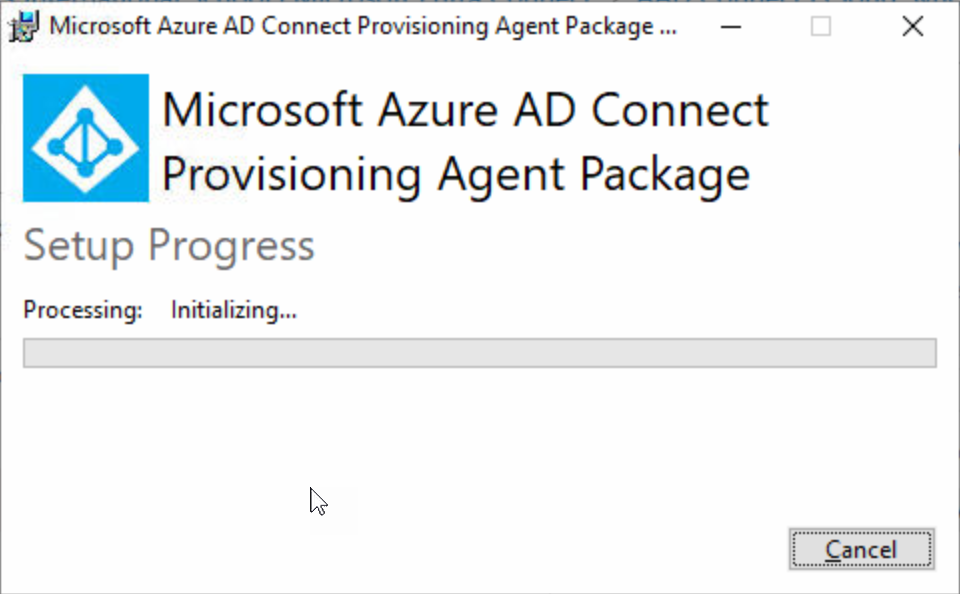
Download the install the provisioning agent from the Entra Connect Cloud Sync portal
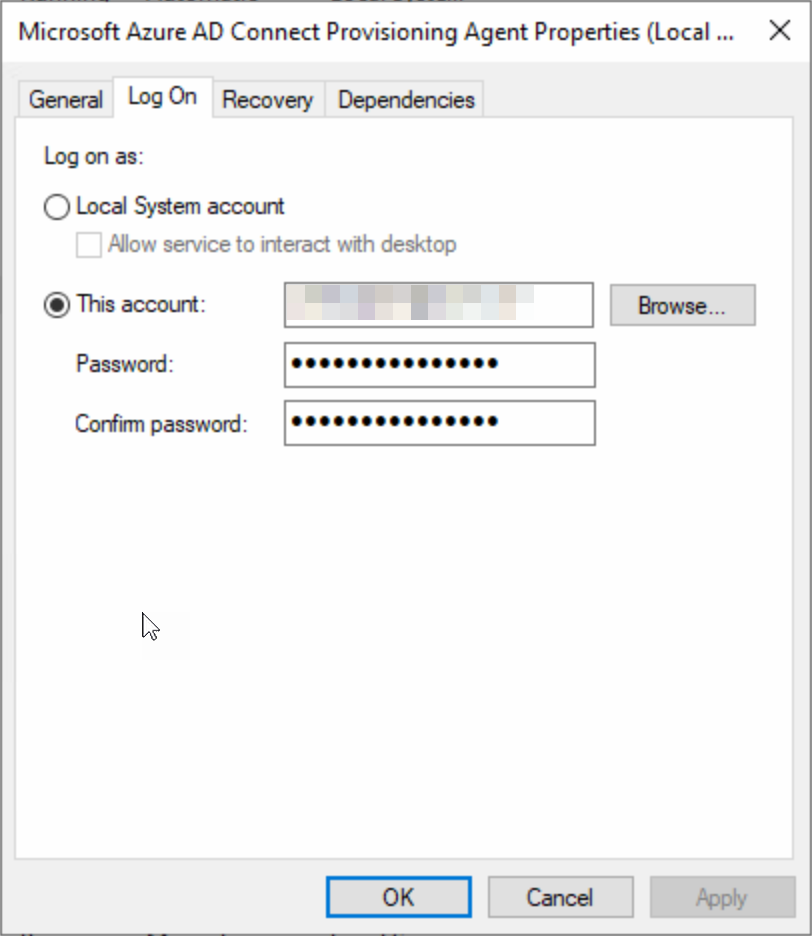
If the agent fails to start the service and you get this:
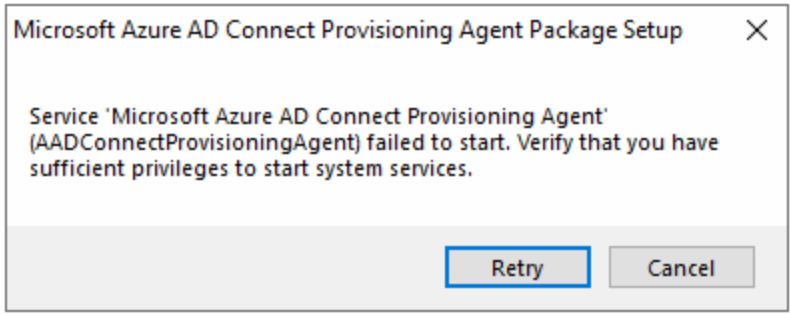
Then change the service to Log On as the domain administrator account and then click Retry. The service is changed to a dedicated account later on and does not remain as the domain administrator:
Once the agent is installed, the configuration wizard starts. There is an icon for this on the desktop (just like AADConnect) should you need to restart it.
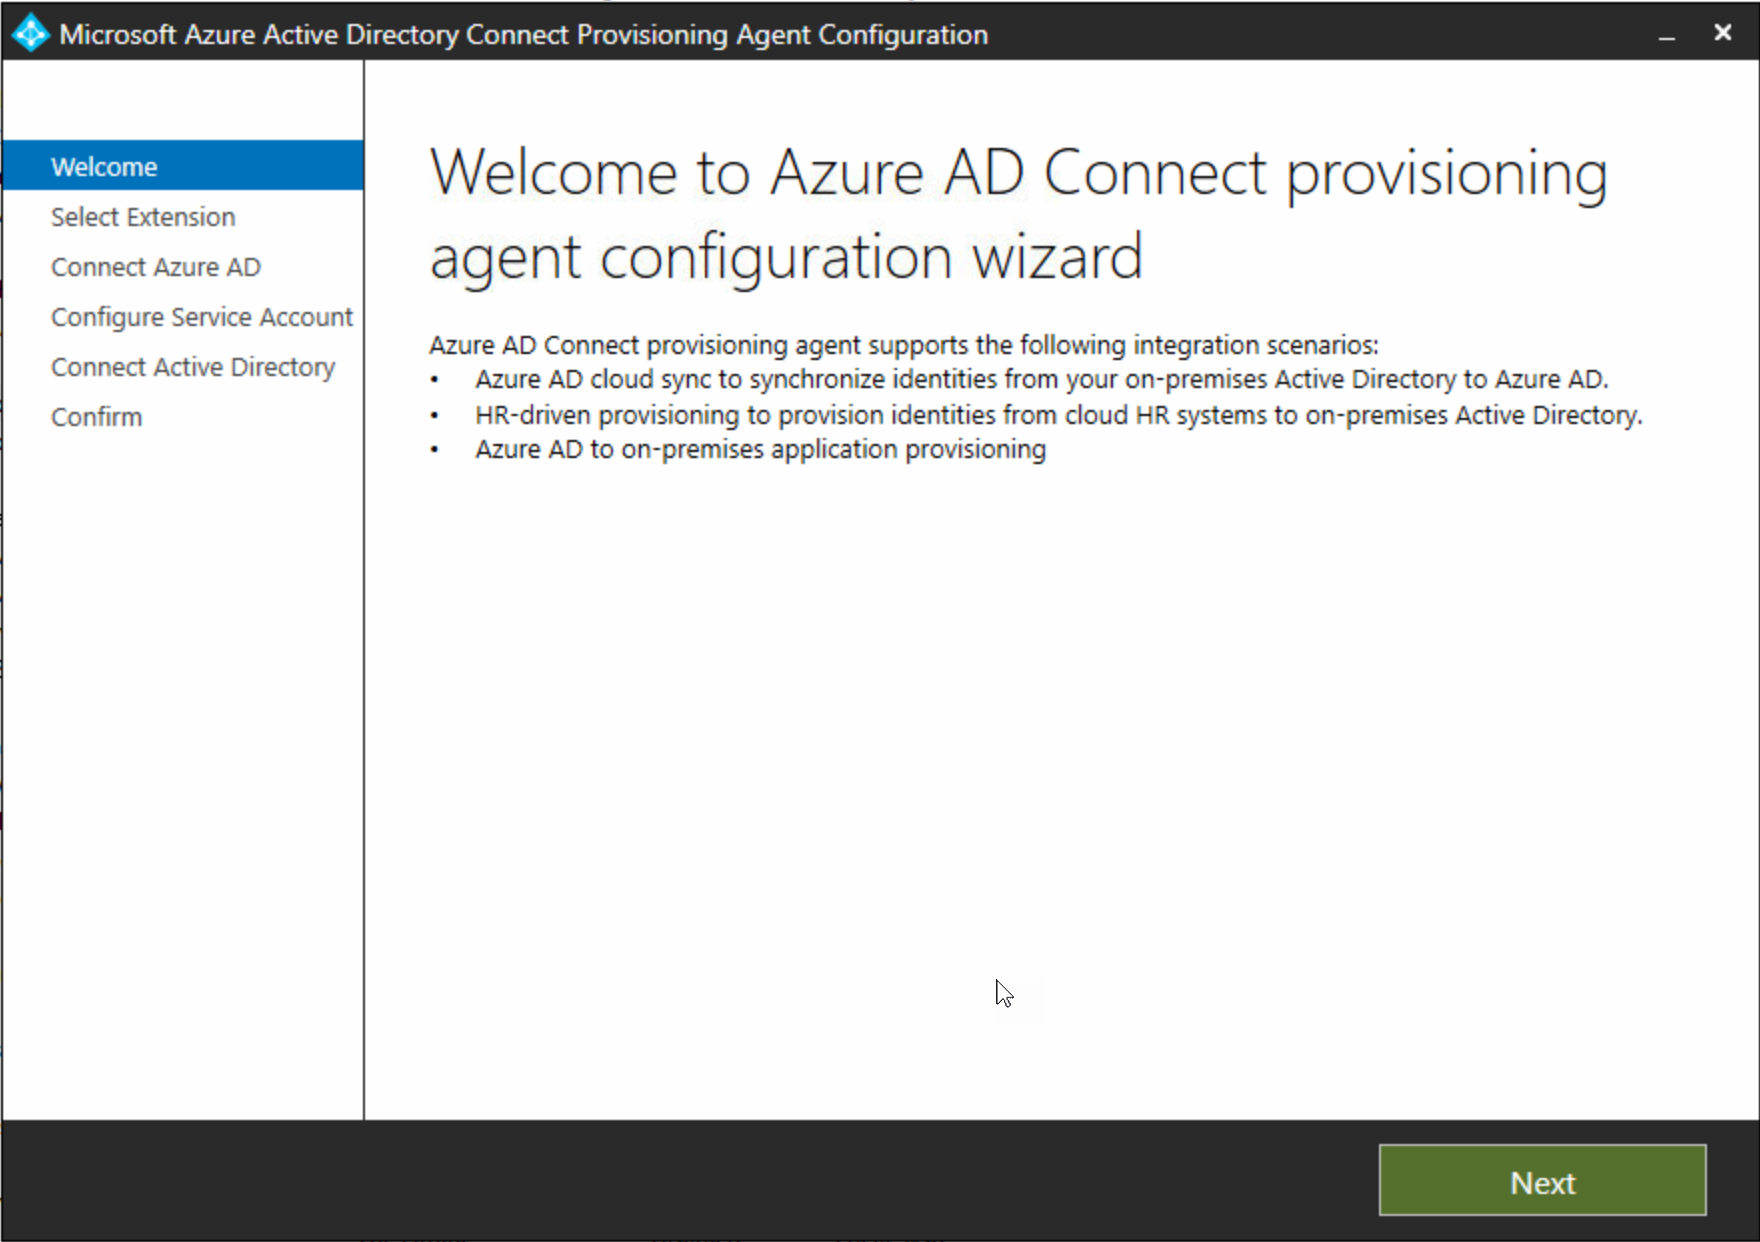
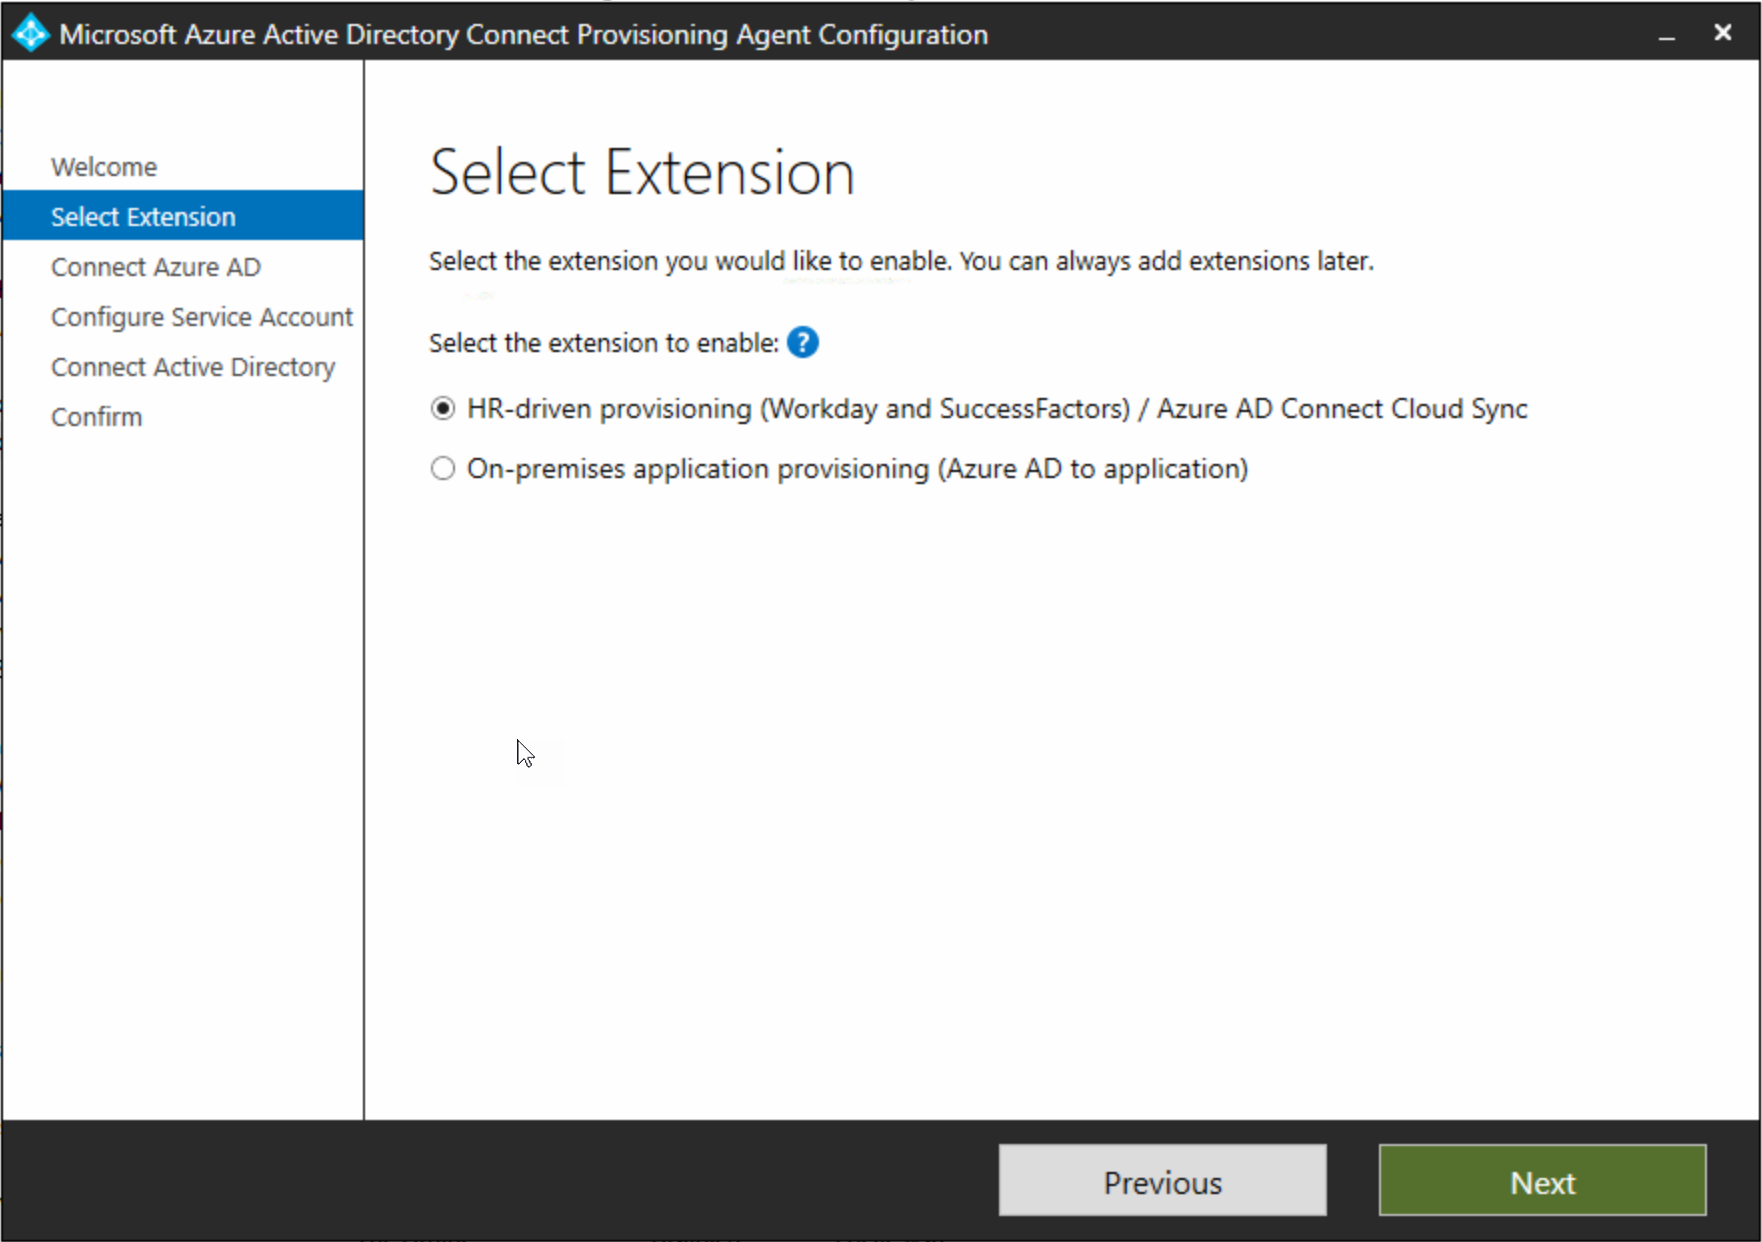
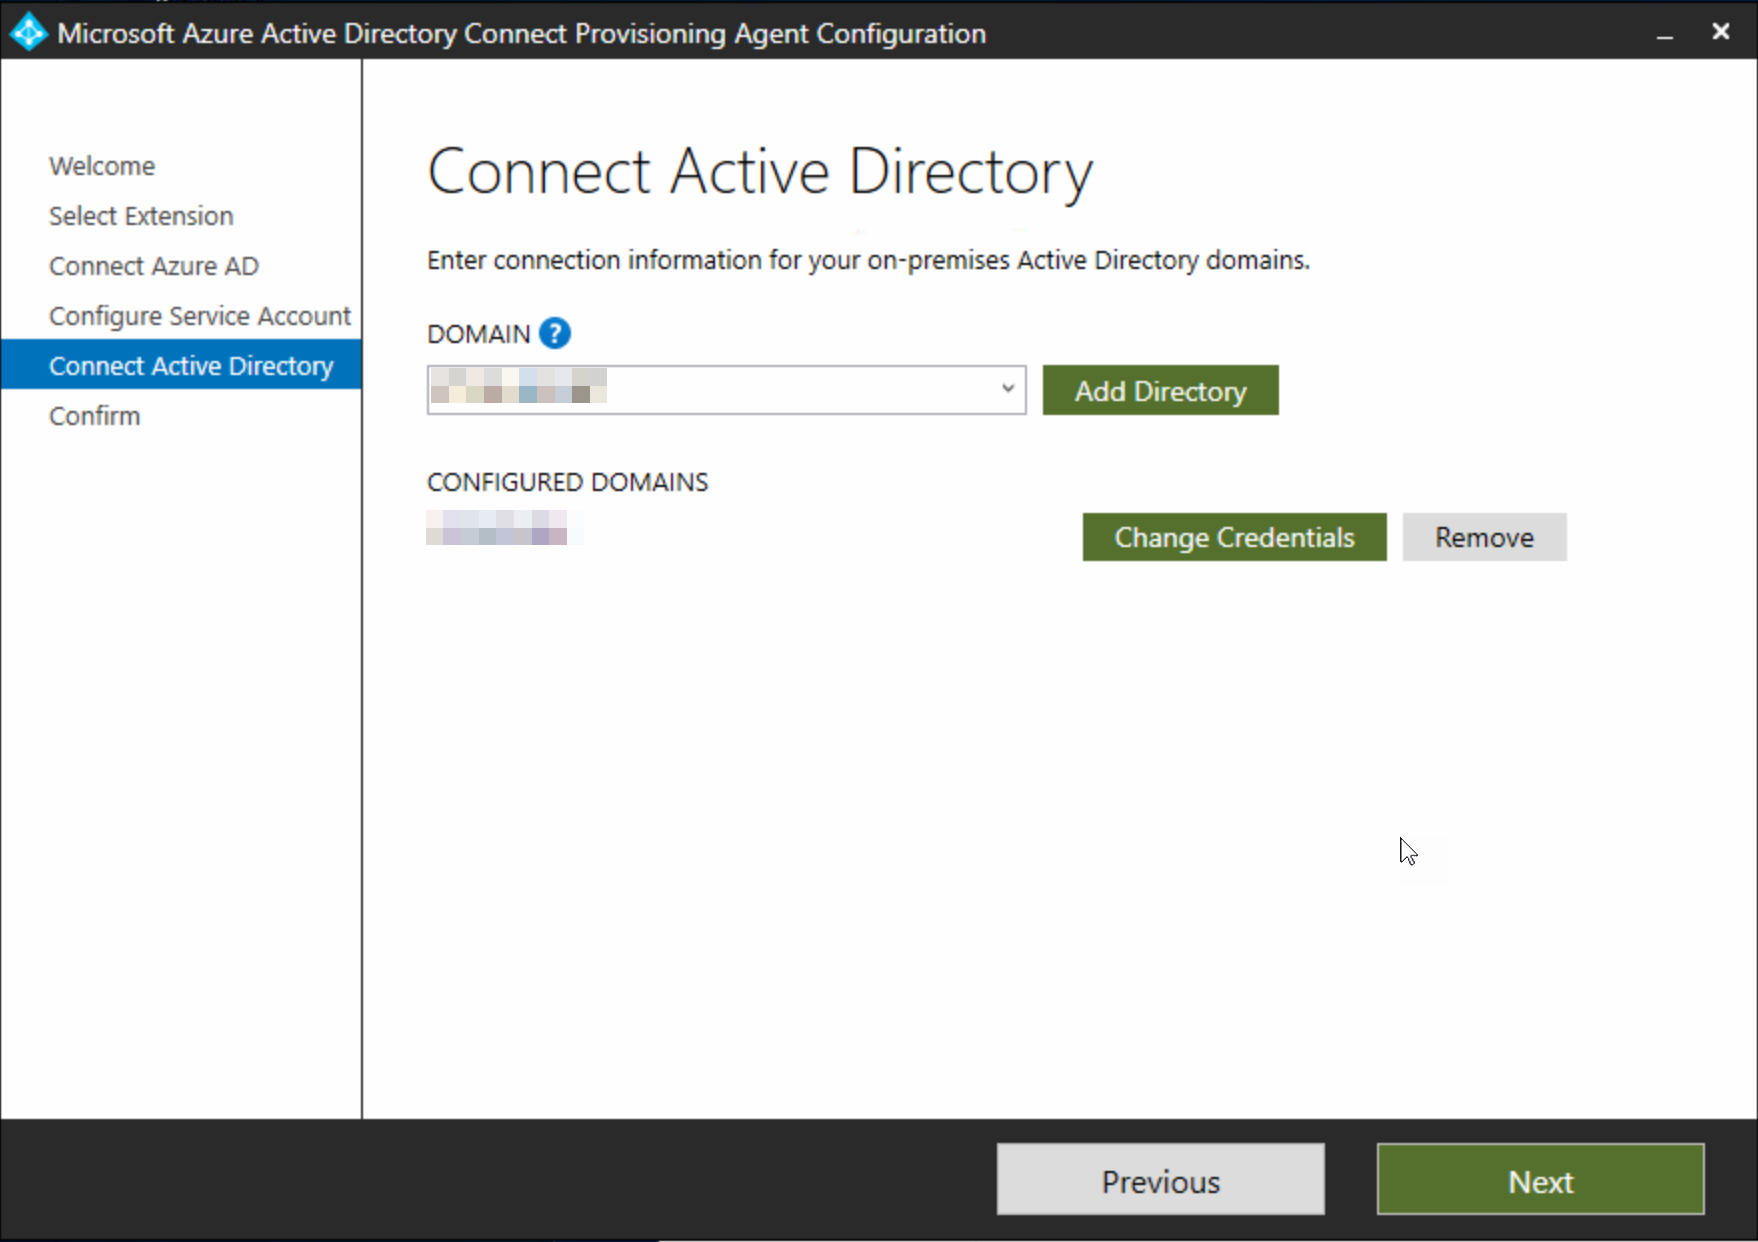
Follow the install steps:
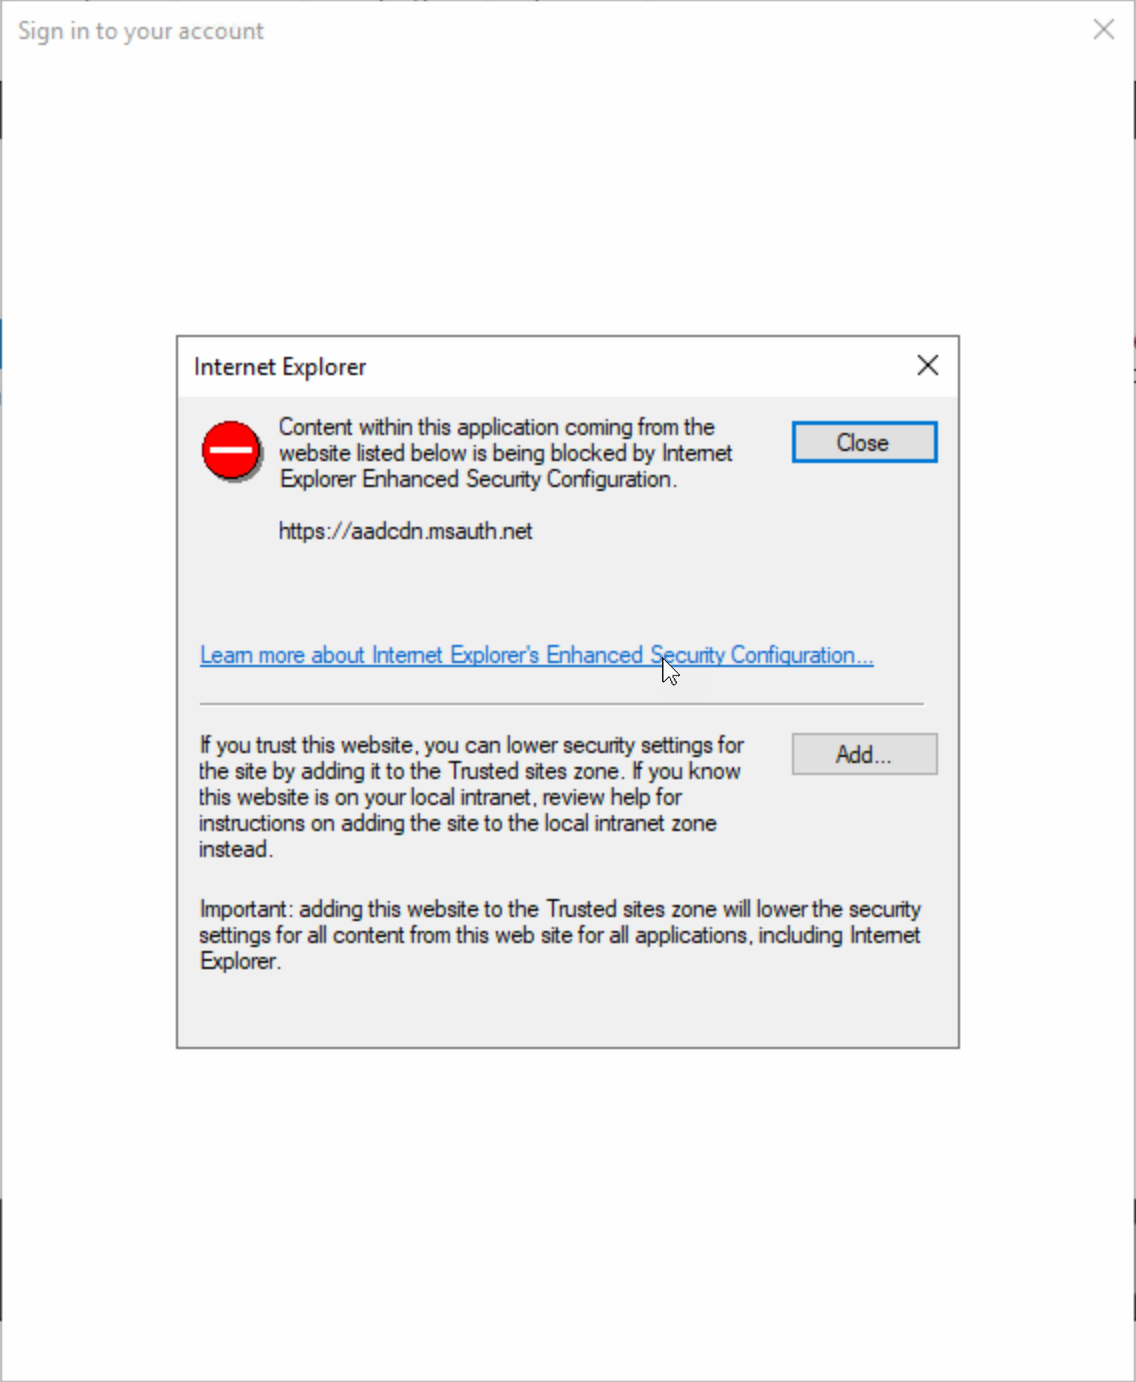
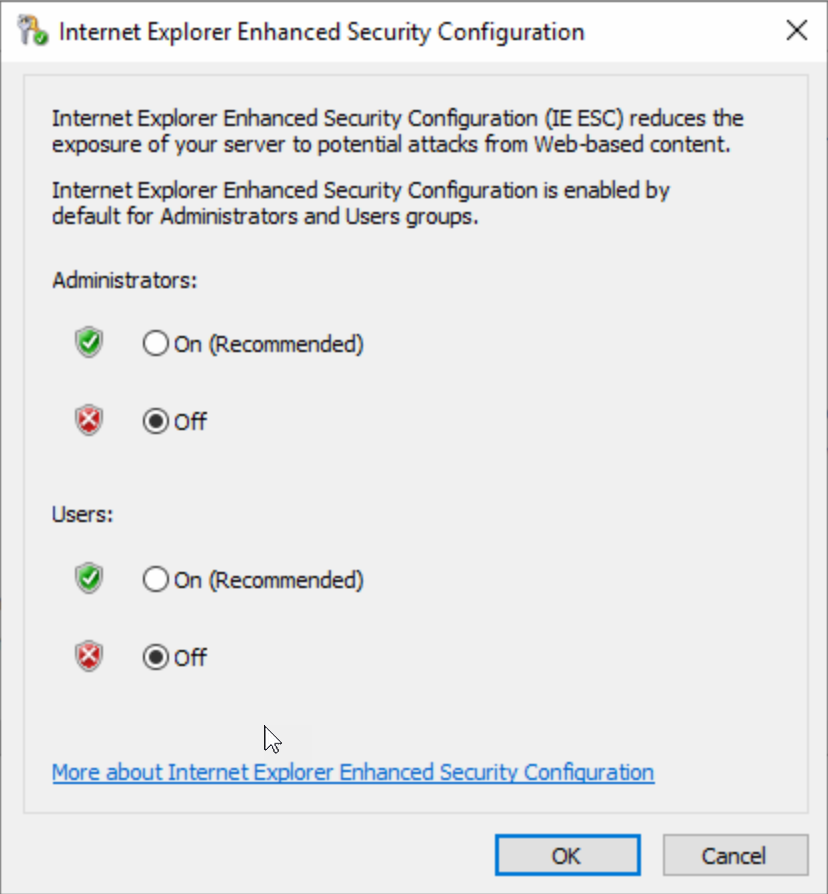
Turn off Internet Explorer Enhanced Security Configuration in Server Manager if this happens and restart the wizard:
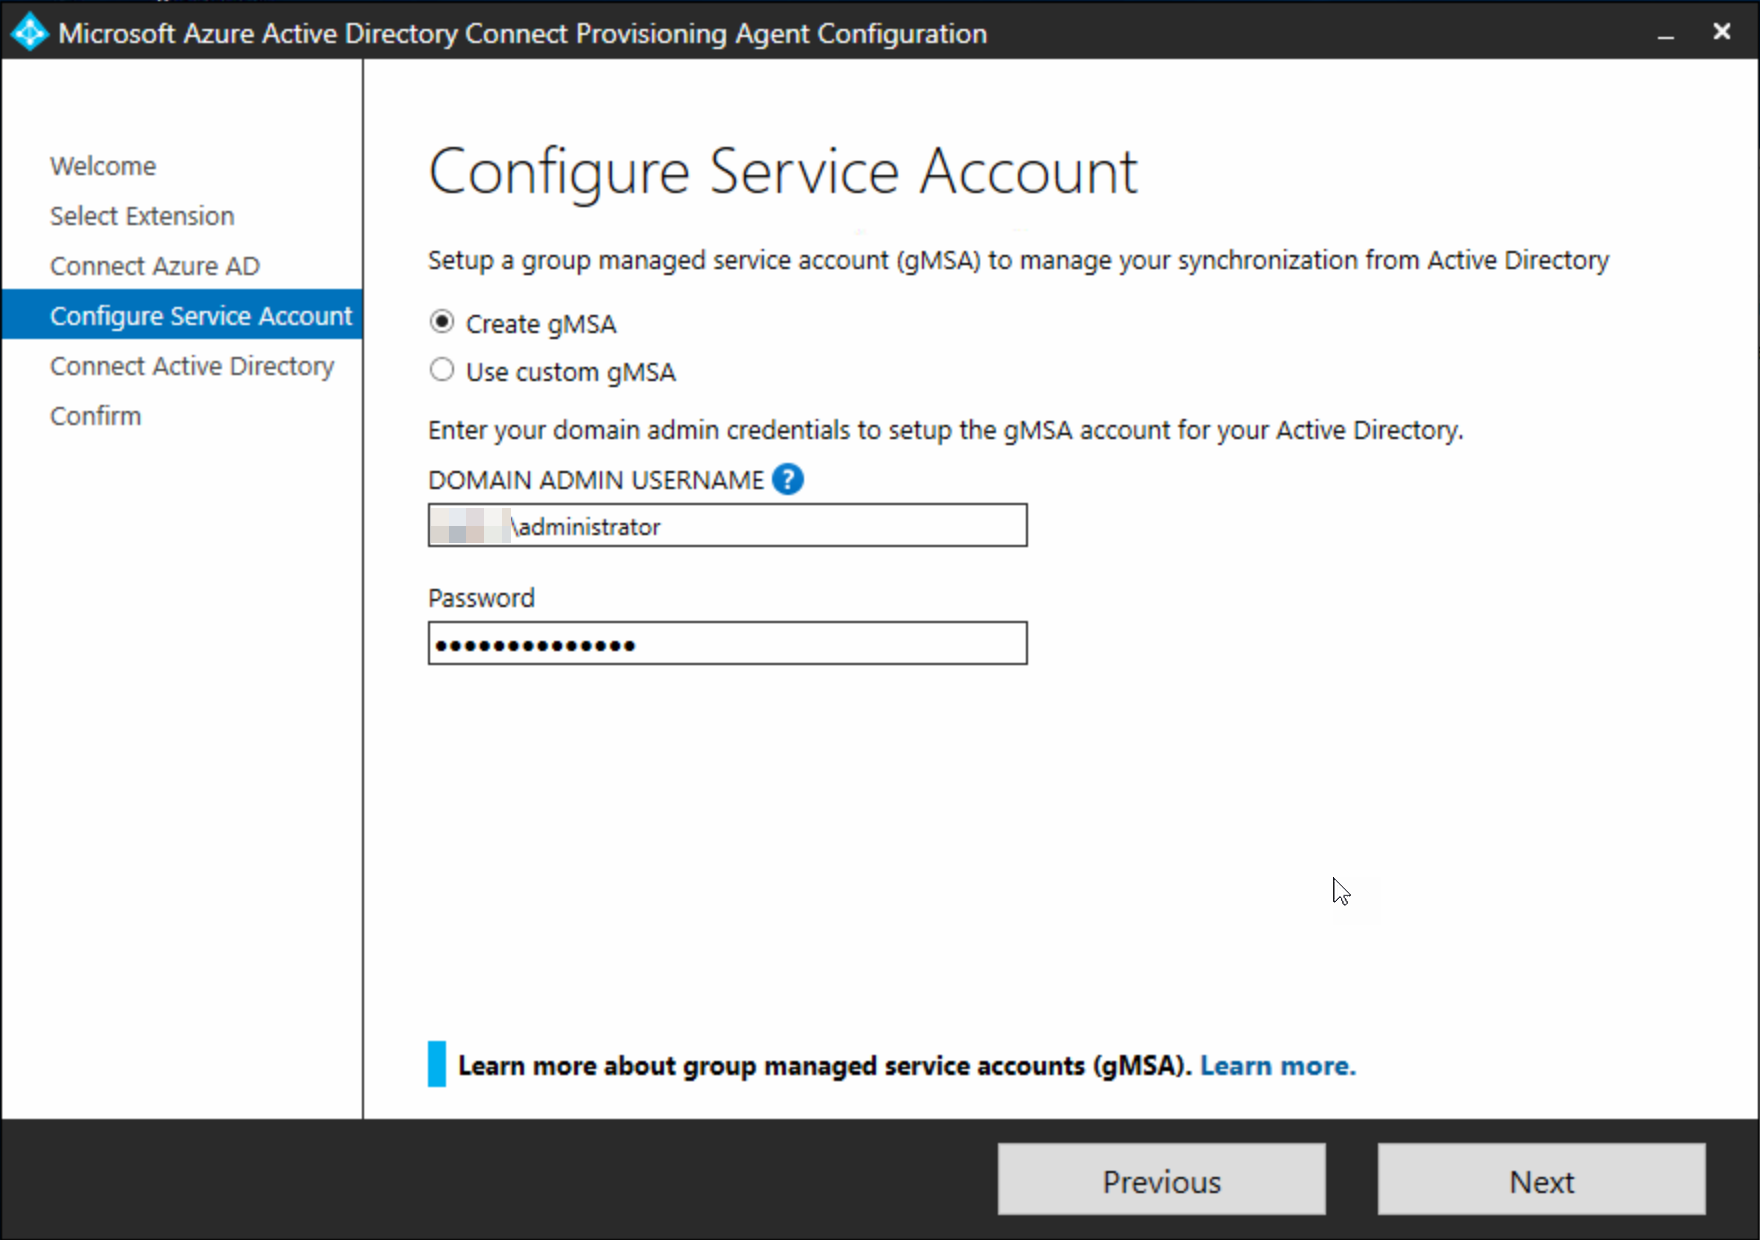
Choose to create a custom gMSA account:
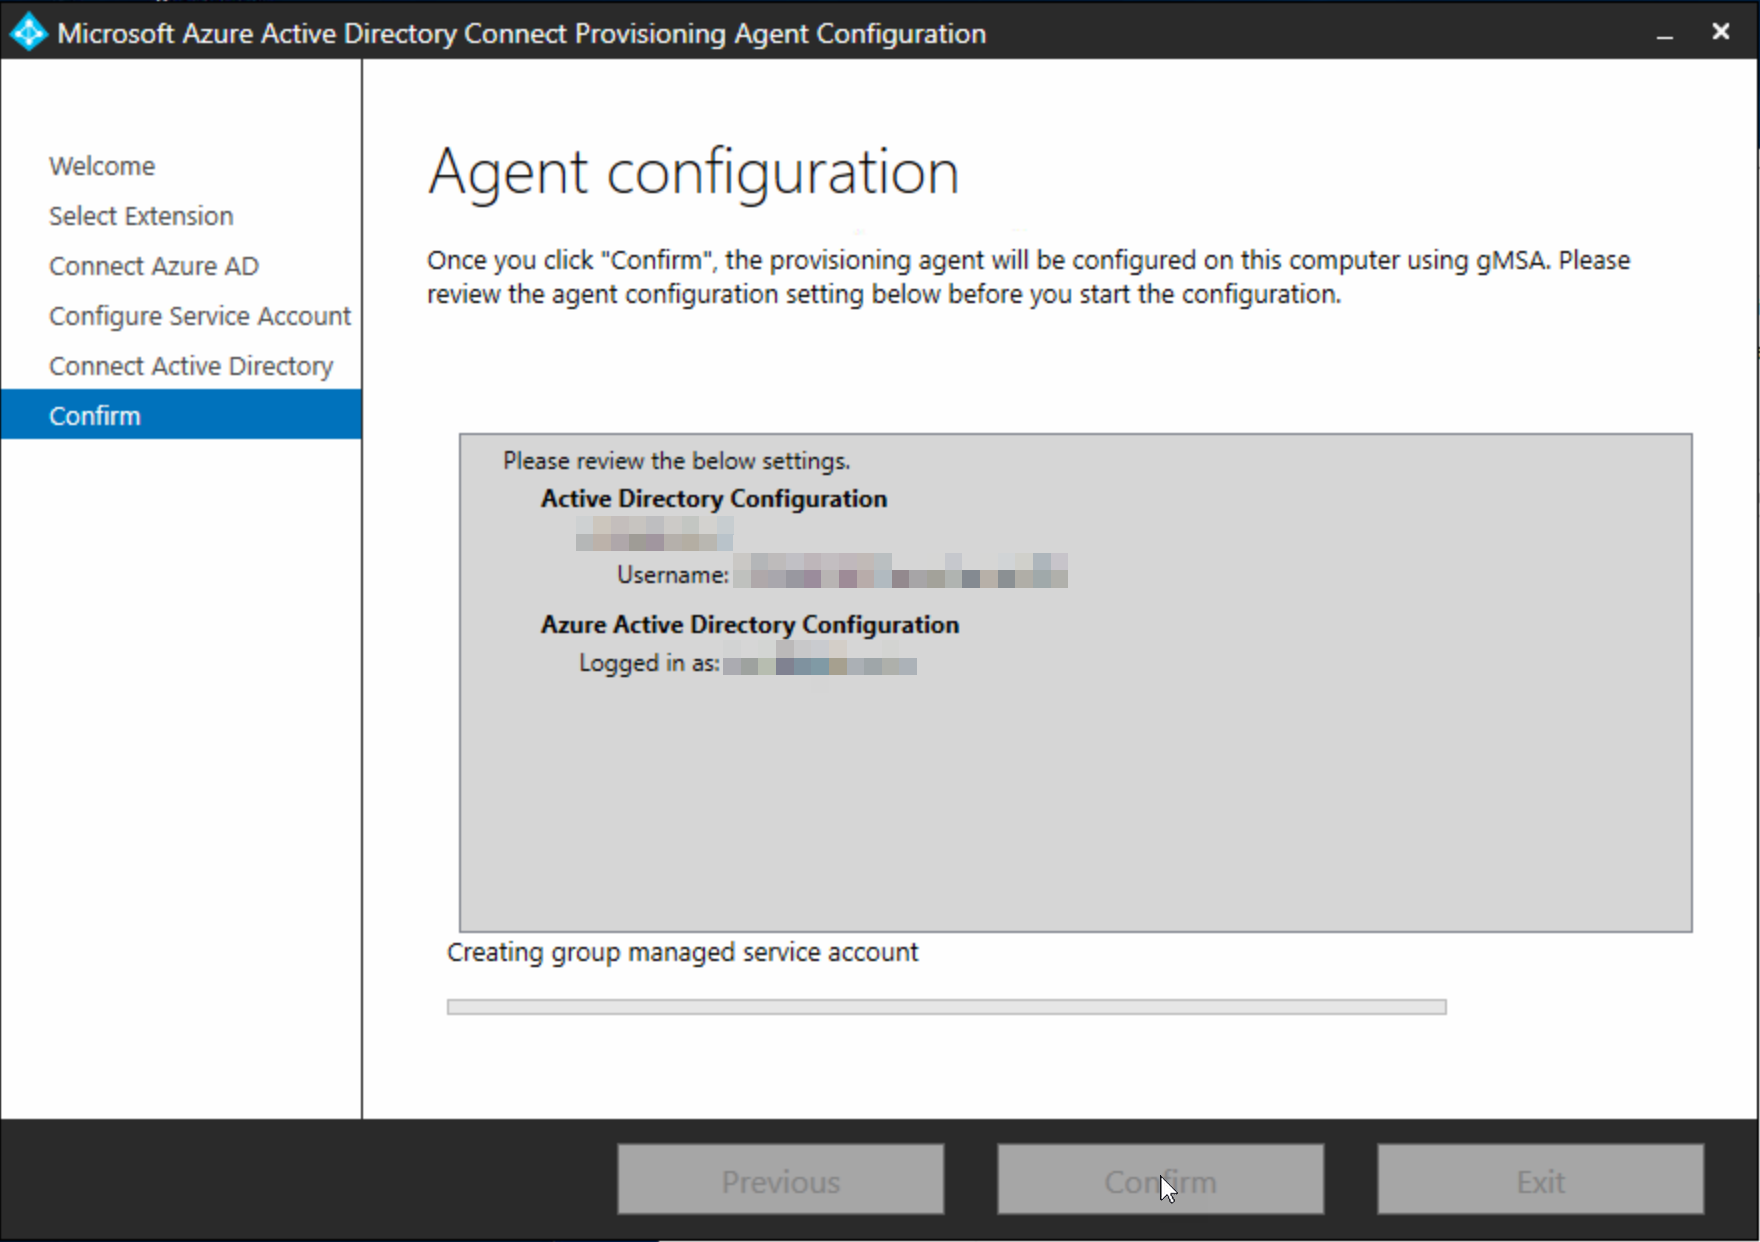
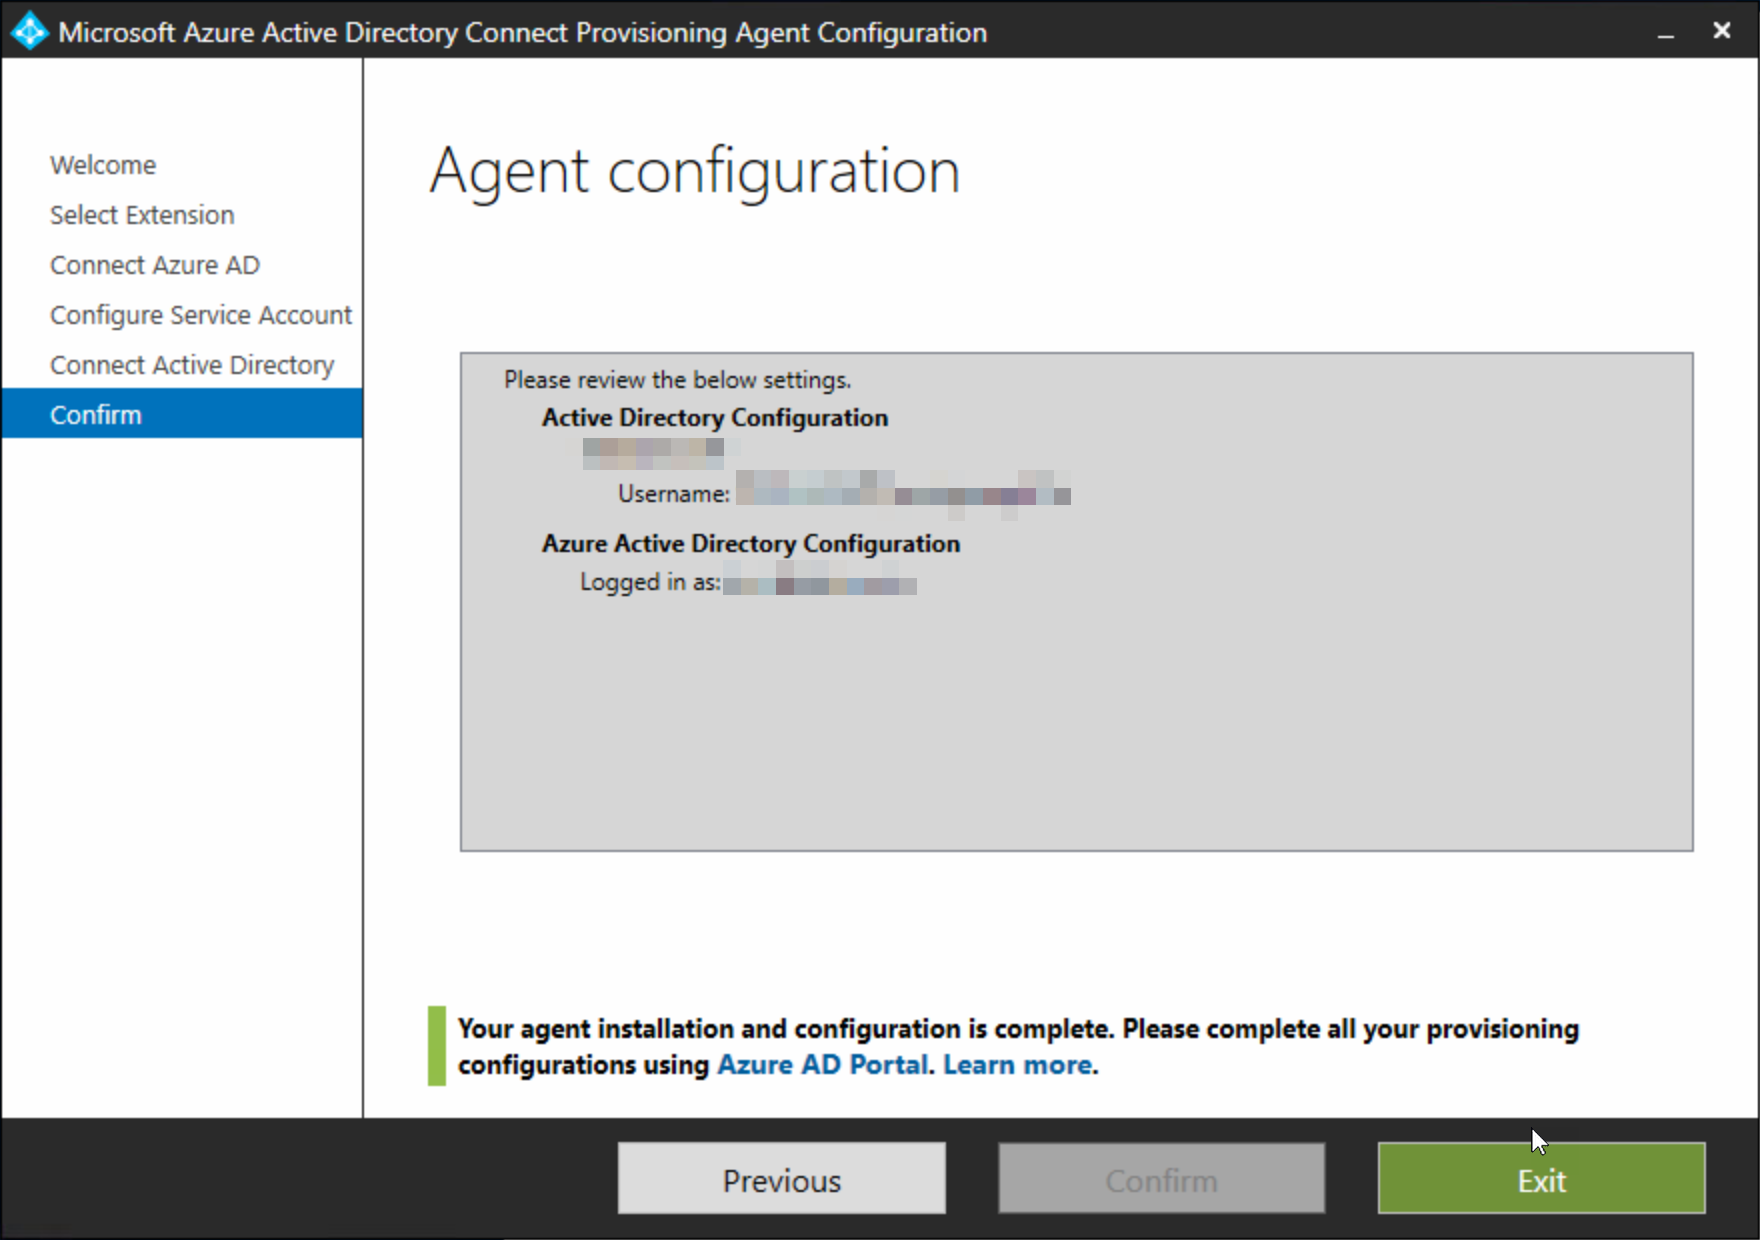
Finish and install the agent:
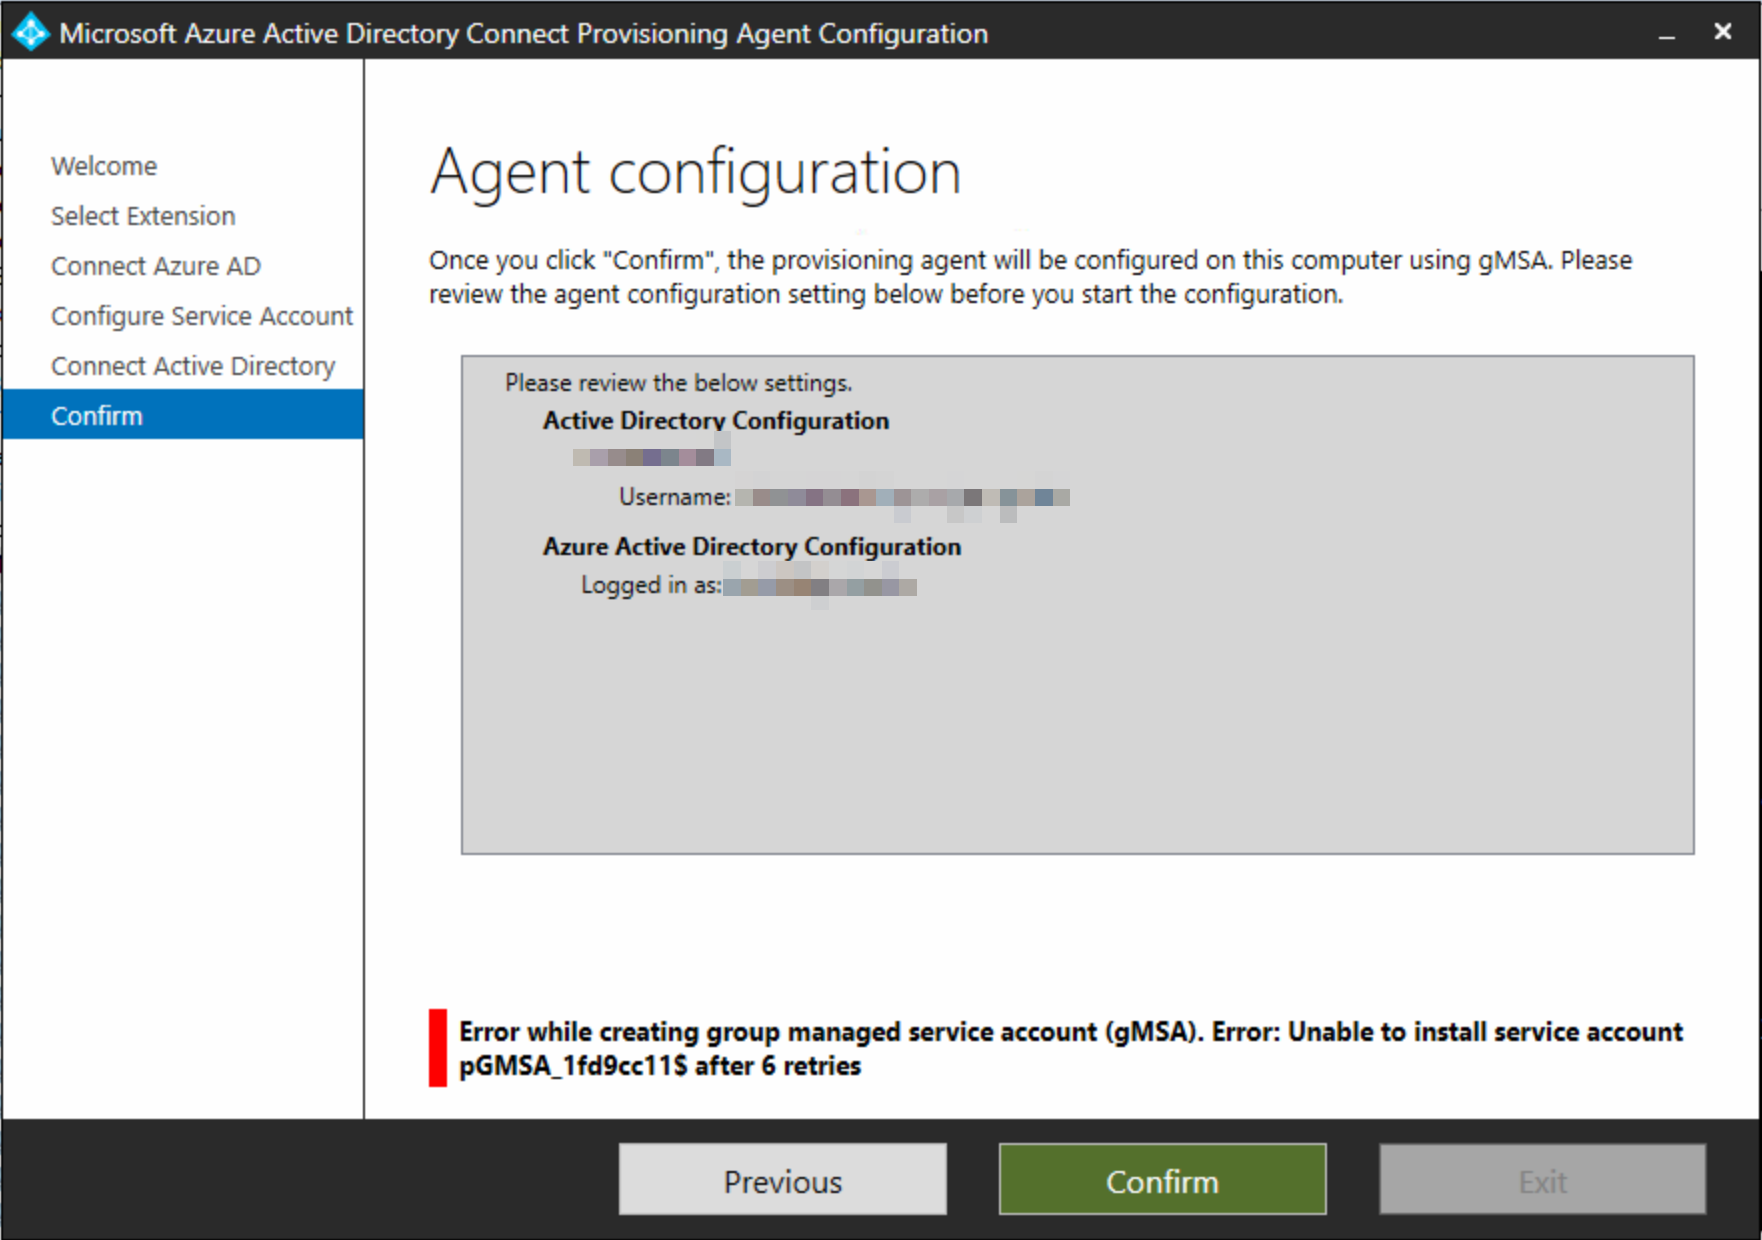
The above error, if you get it, is becuase the directory only supports certain encryption cyphers and the gMSA account supports others. There is a single PowerShell cmdlets to run listed at https://learn.microsoft.com/en-us/troubleshoot/azure/active-directory/azure-ad-hybrid-sync-unable-create-gmsa-kds-domain-controller – and this works though the error message is not the same in that article as seen in the agent installer. The PS cmdlet is :
Set-ADServiceAccount -Identity CN=provAgentgMSA,CN=Managed Service Accounts,DC=... -KerberosEncryptionType AES128,AES256
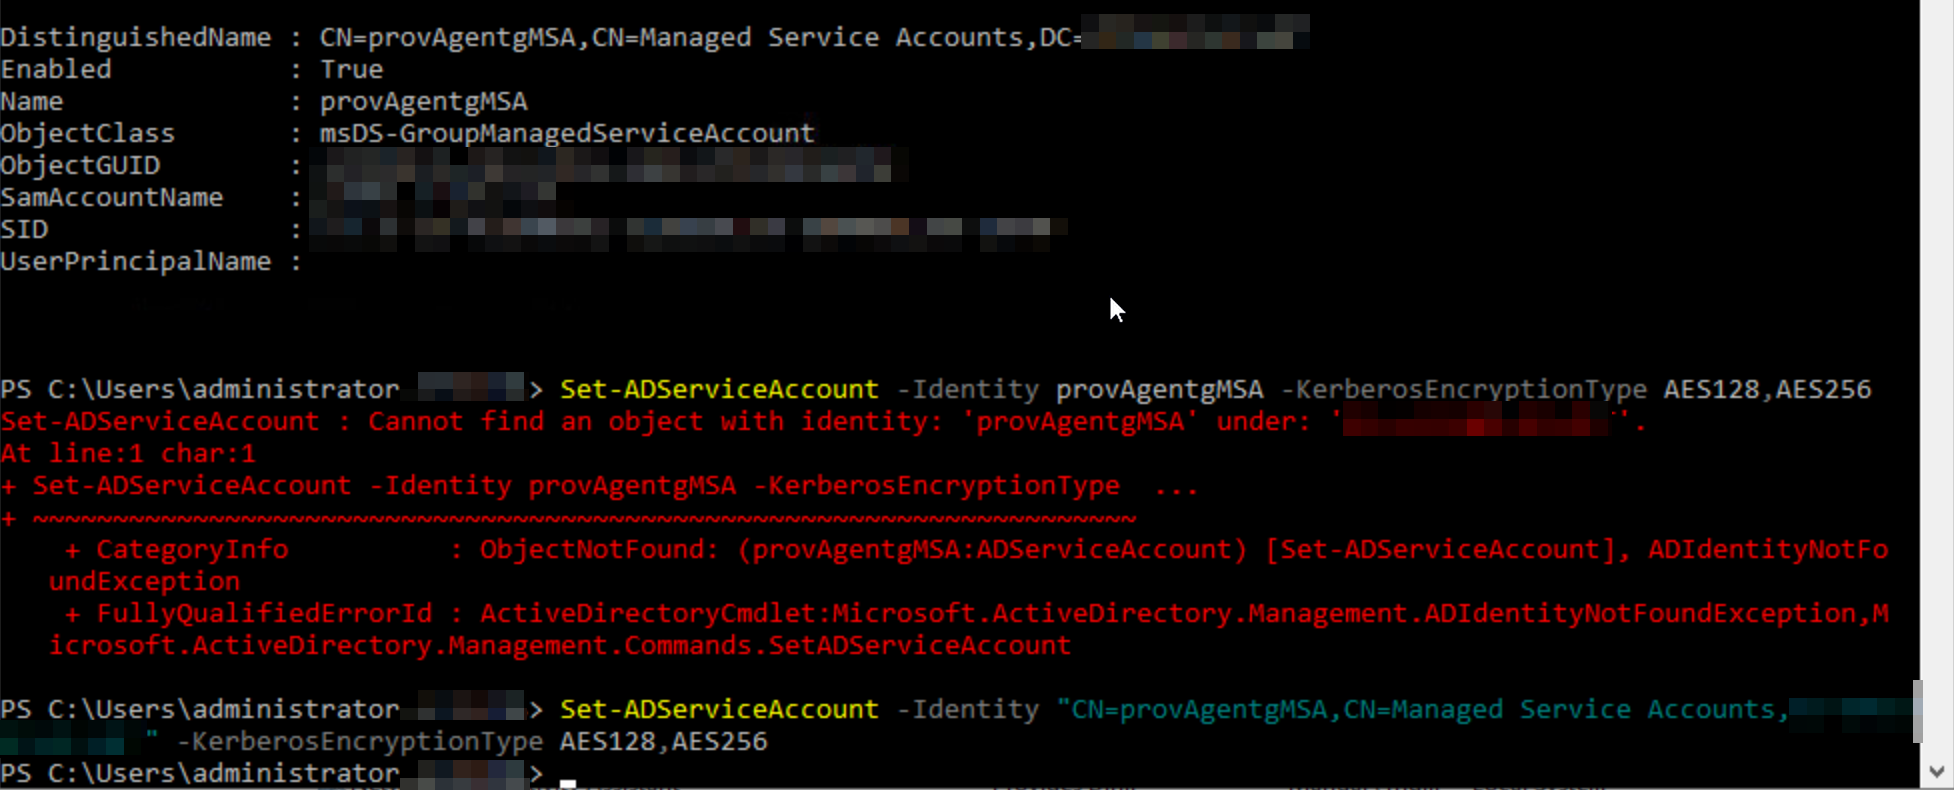
If you get this error fix it, but you cannot continue installing the agent until you have rebooted that server and uninstalled the agent and started again. At this point I recommend installing it on one of your other servers that you where going to use. This works becuase the settings are all now correct before the agent starts and the same gMSA account is being used.
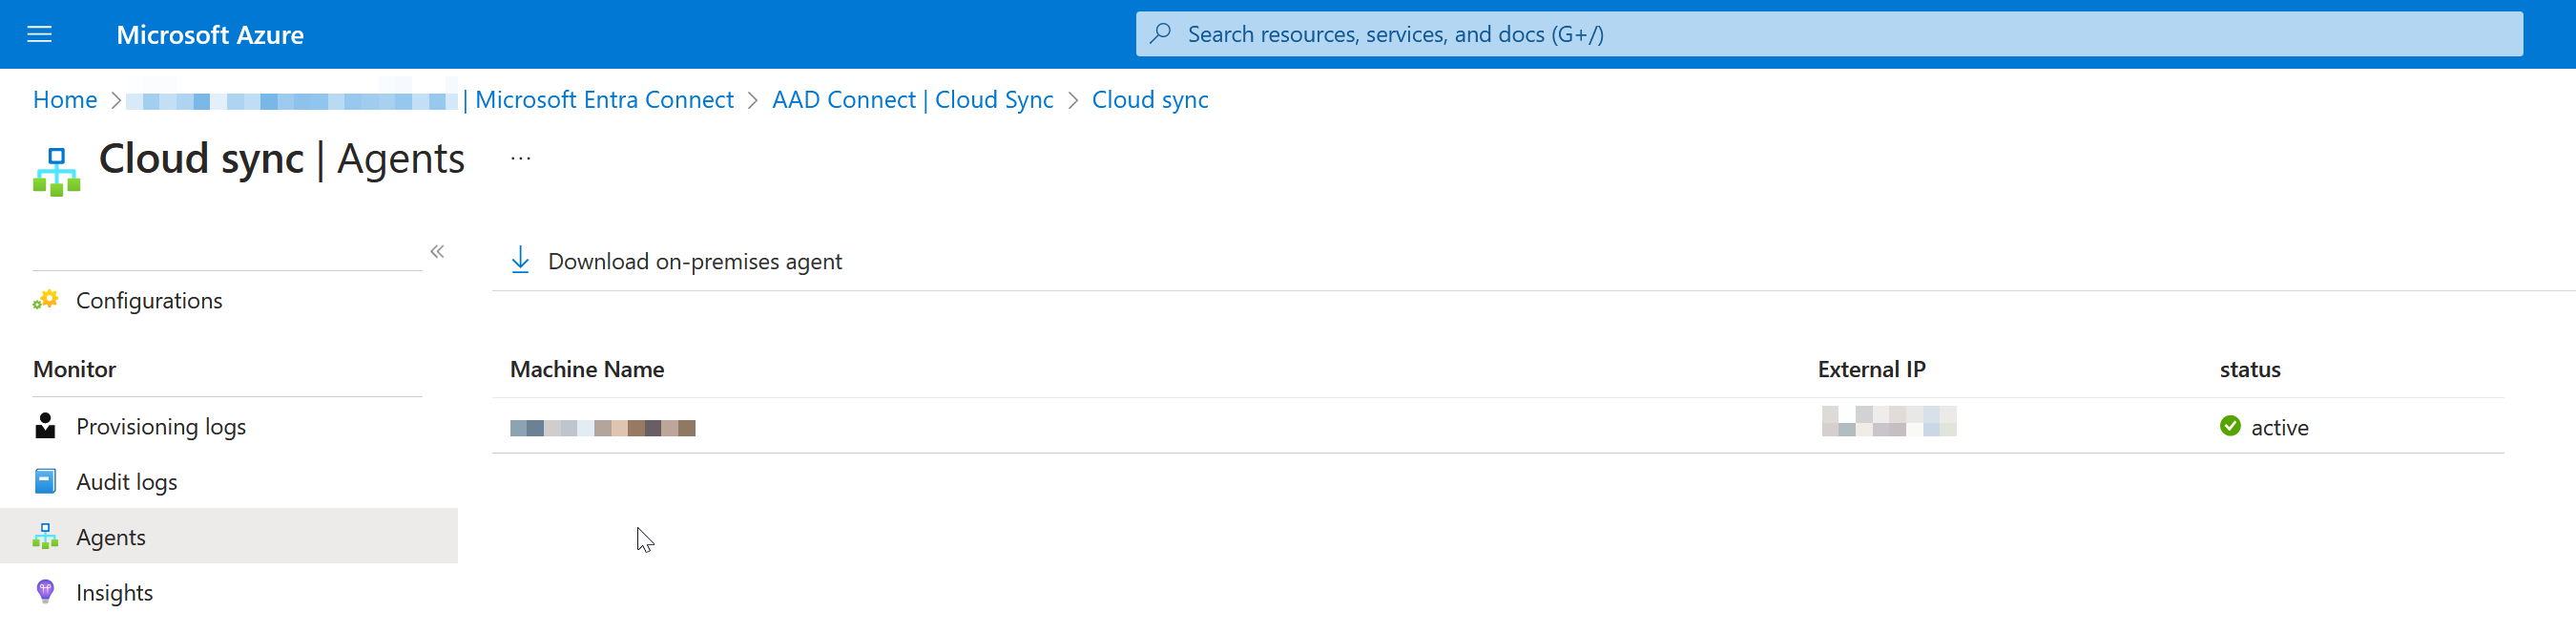
Once the agent is installed, you should see it listed on the Cloud Sync admin portal:
Now that you have an agent in place, its time to create a configuration to sync the pilot OU objects. Meanwhile, AADConnect is still suspended for sync as the scheduler is still disabled. Once we have a configuration in place in Cloud Sync we will resume the AADConnect scheduler to keep syncing all the other OUs
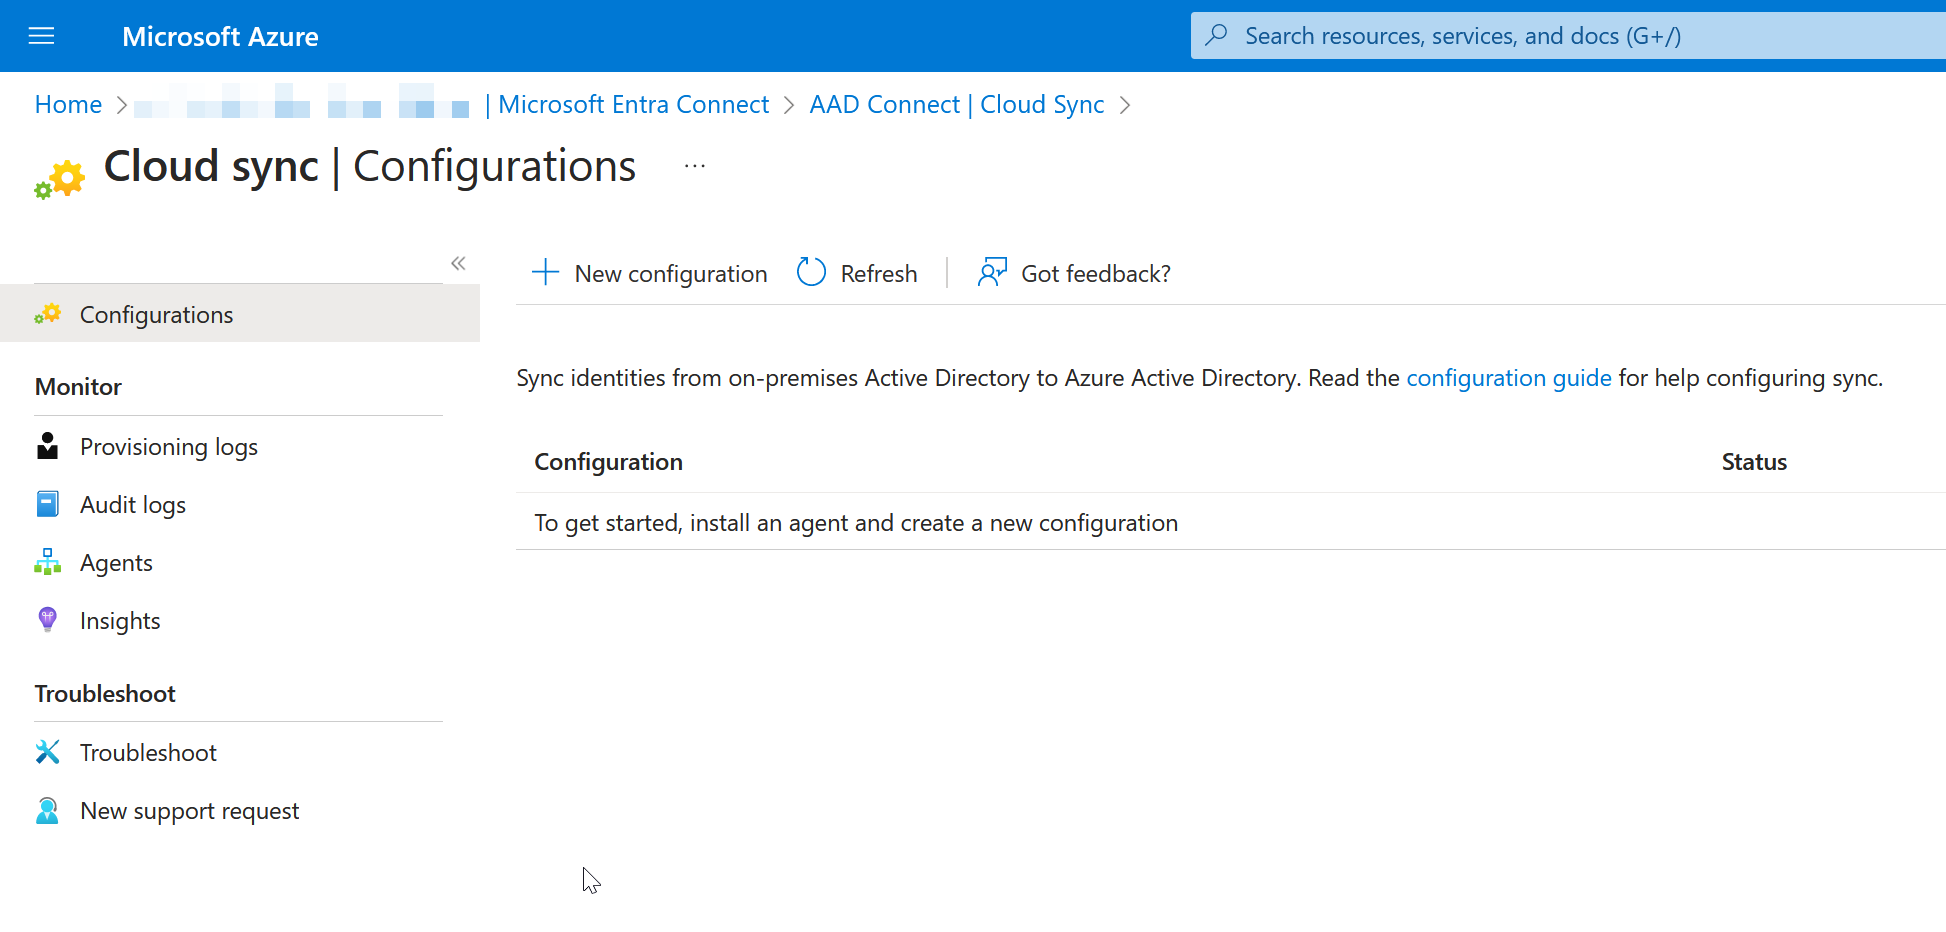
Click + New Configuration
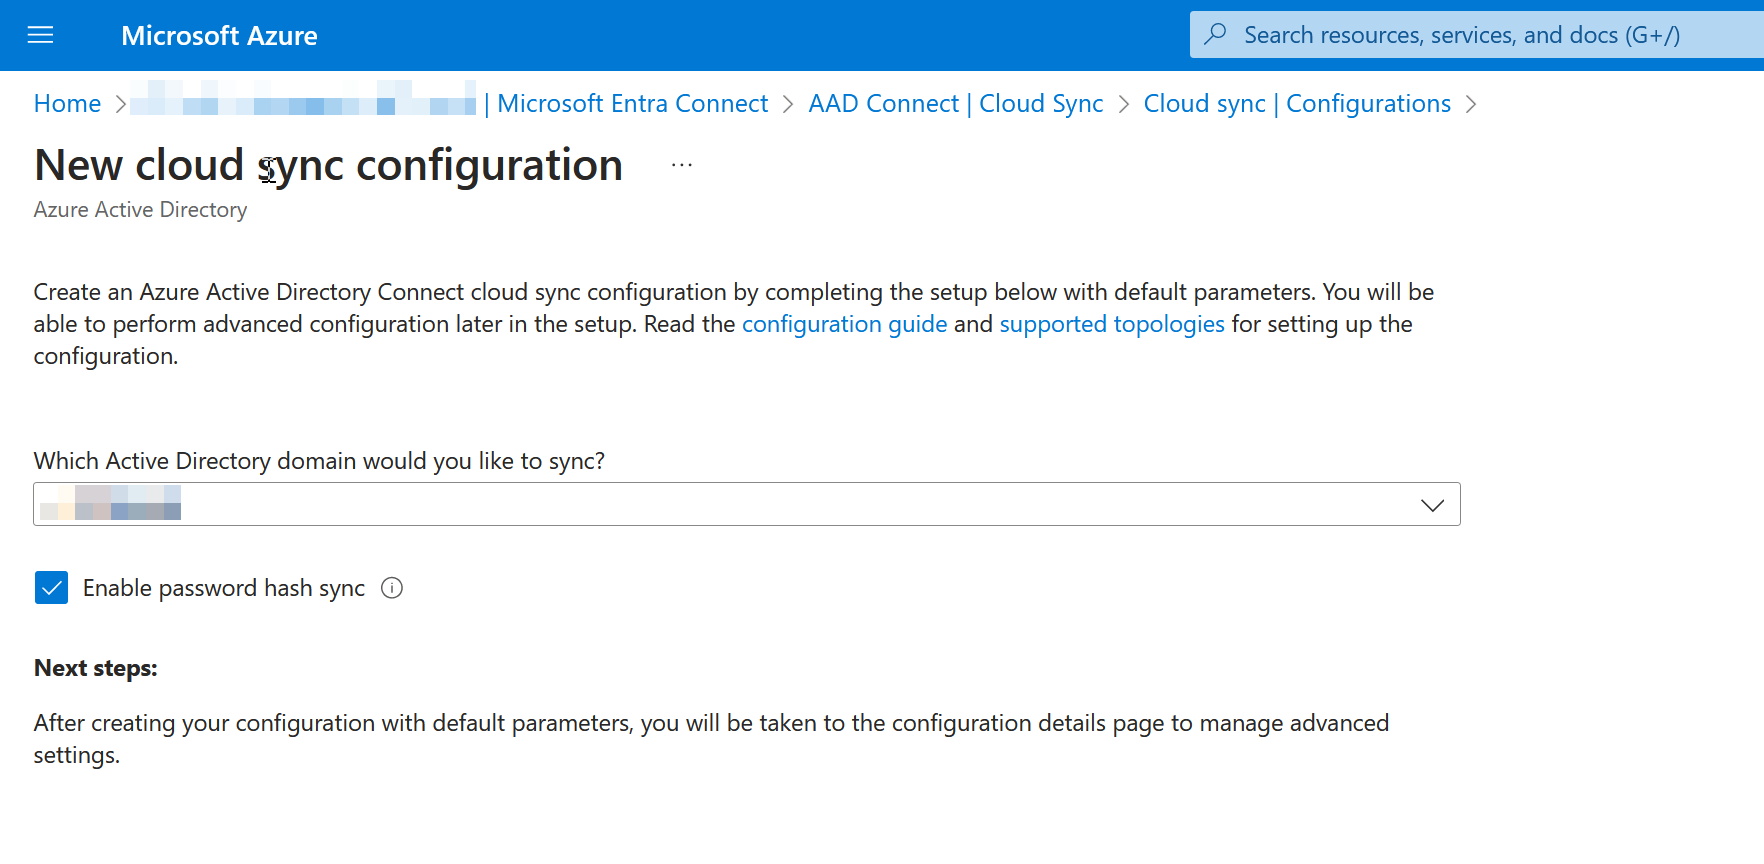
Select the domain you would like to sync and enable Password Hash Sync if you had this in the AADConnect sync configuration.
You will now see the “Get started provisioning your agent” page:
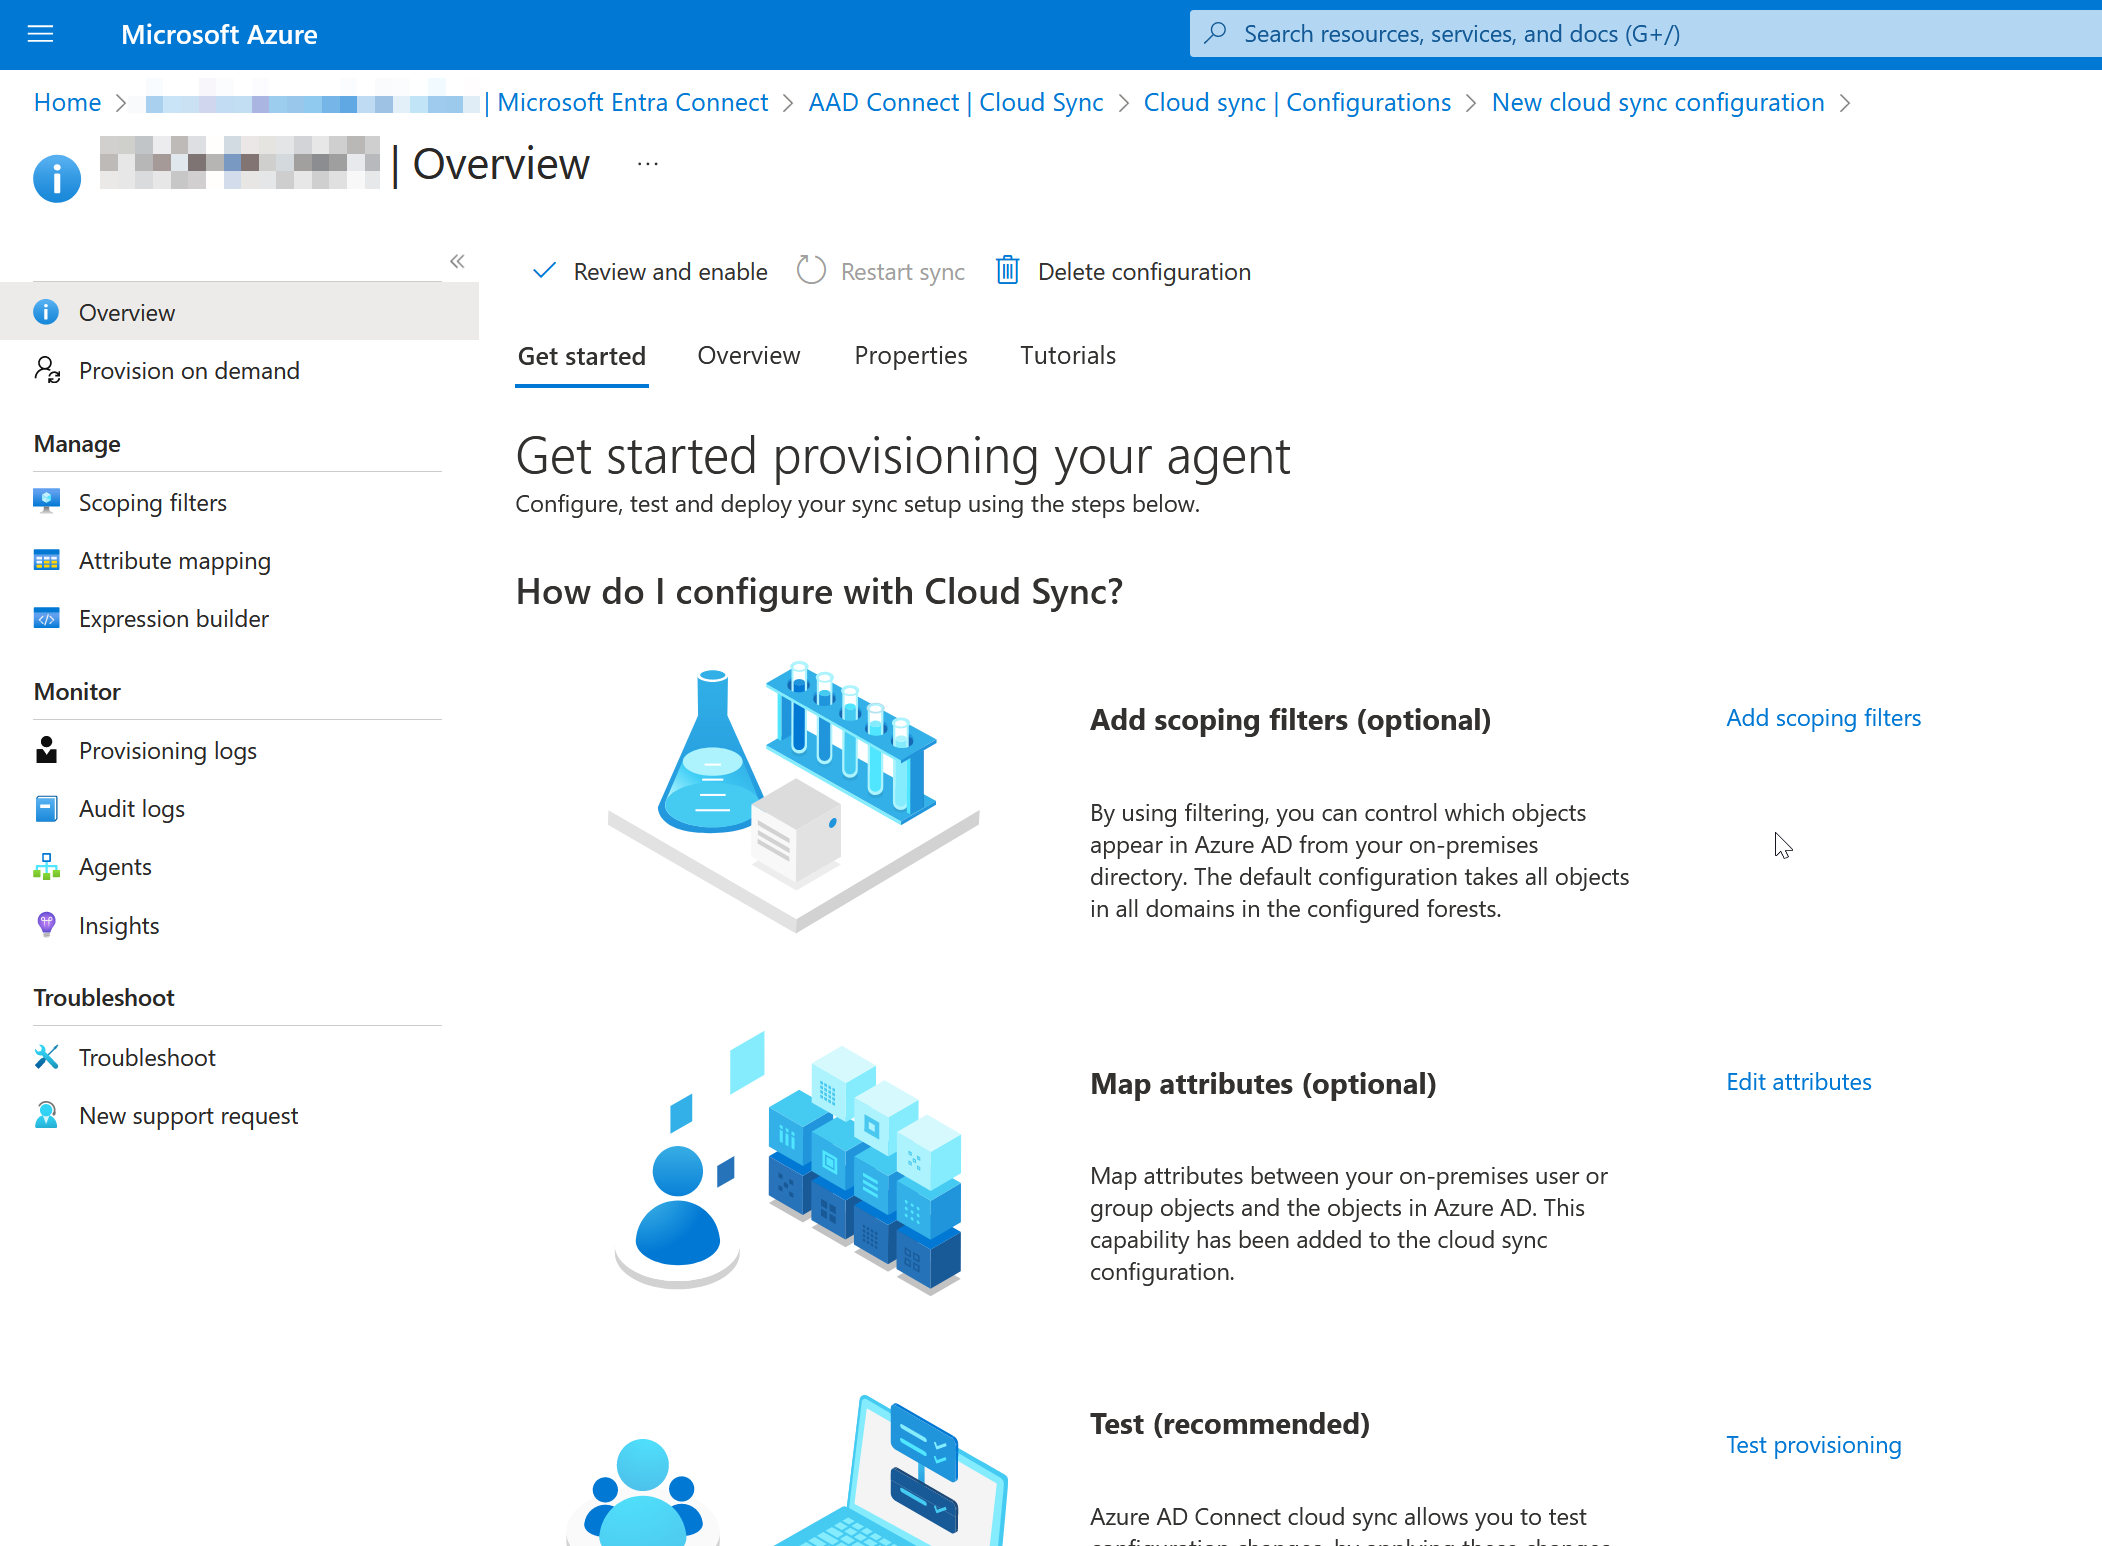
Click Add scoping filters. On the Scoping Filters page, add the Selected organizational units option and enter the pilot OU like as shown:
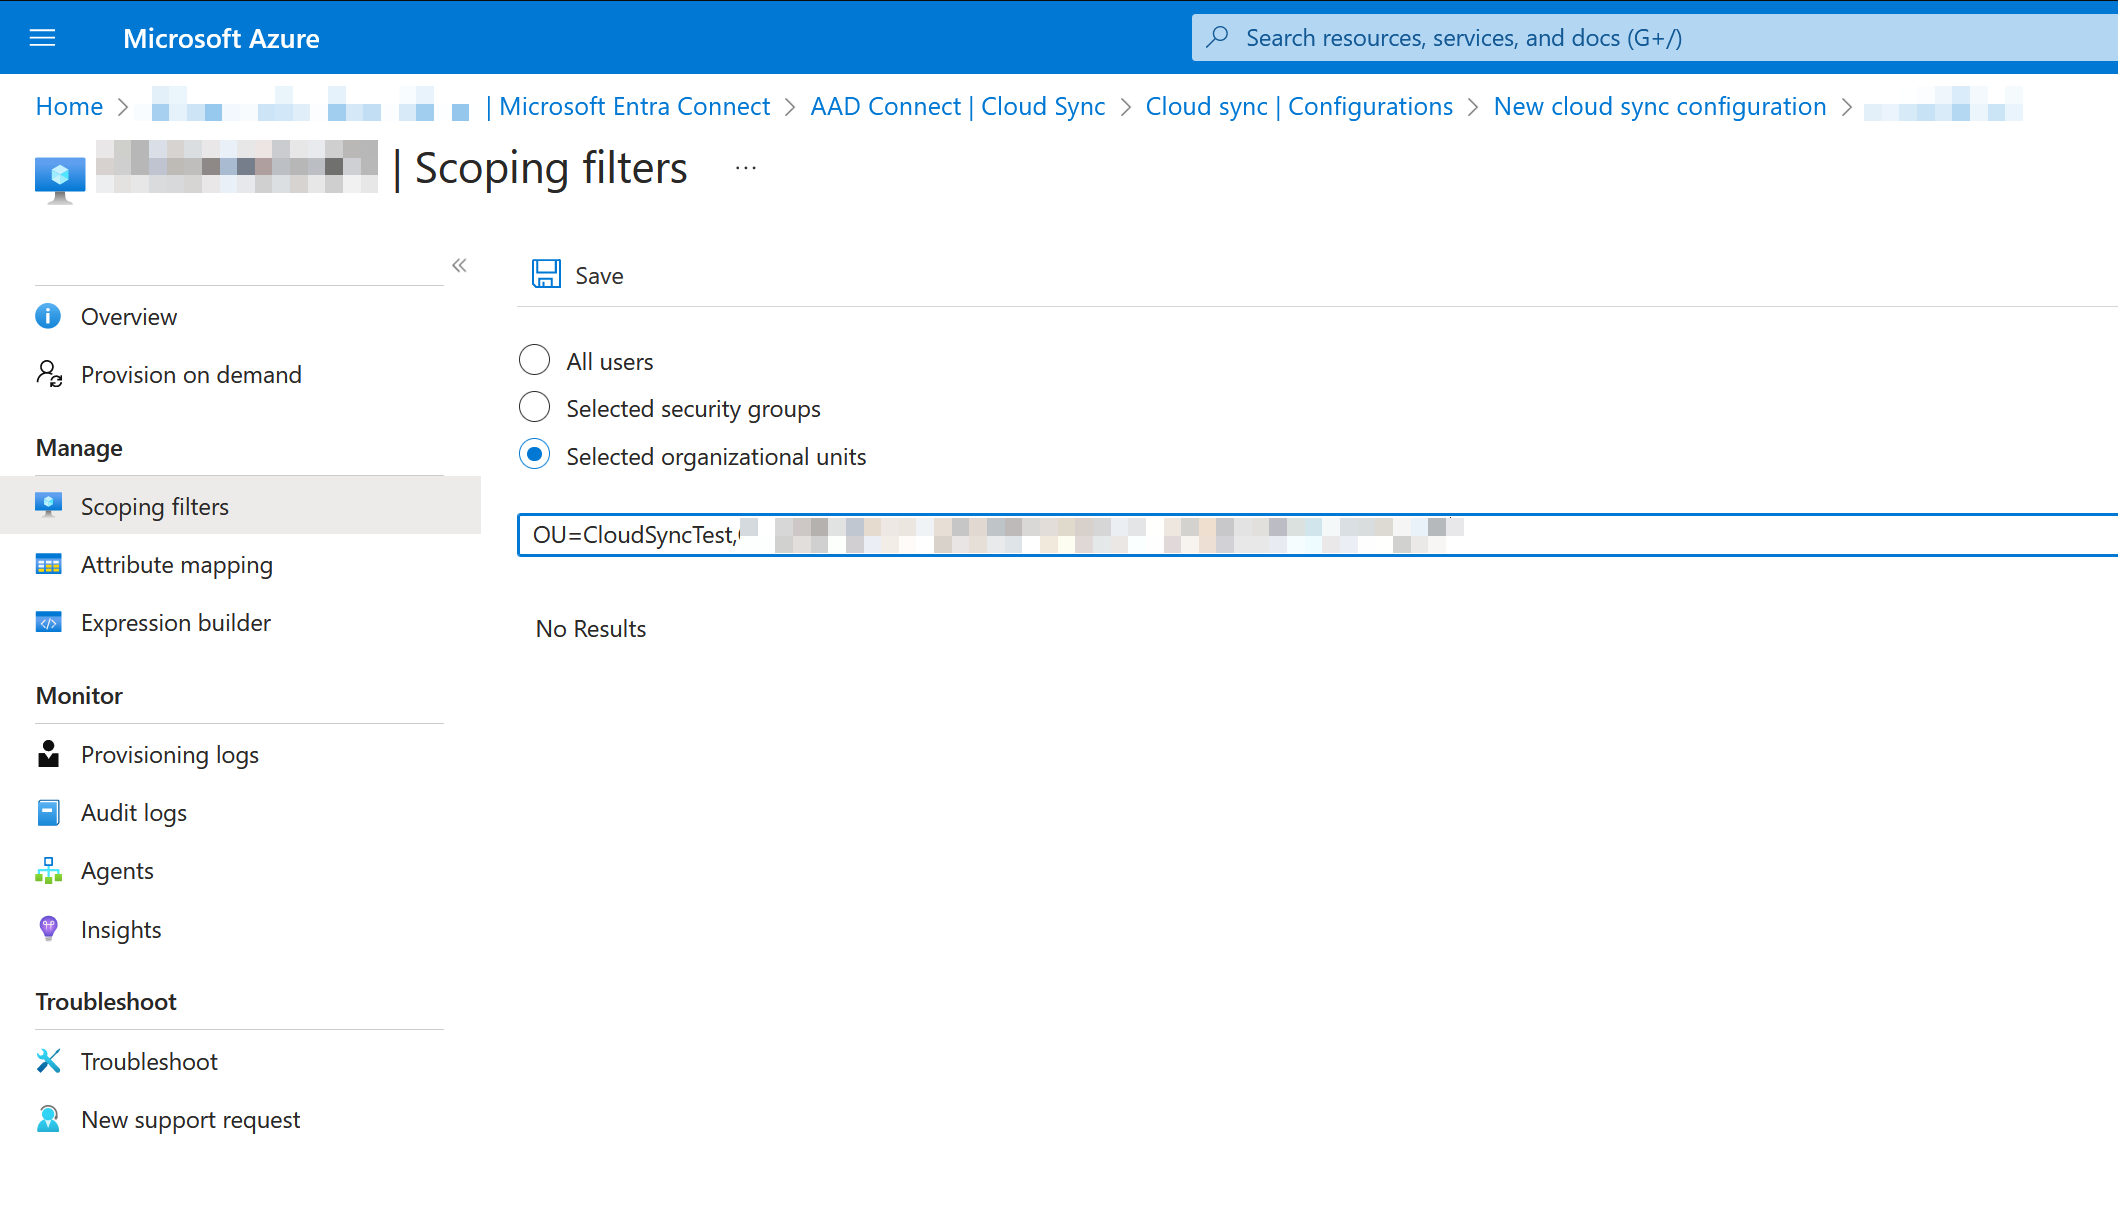
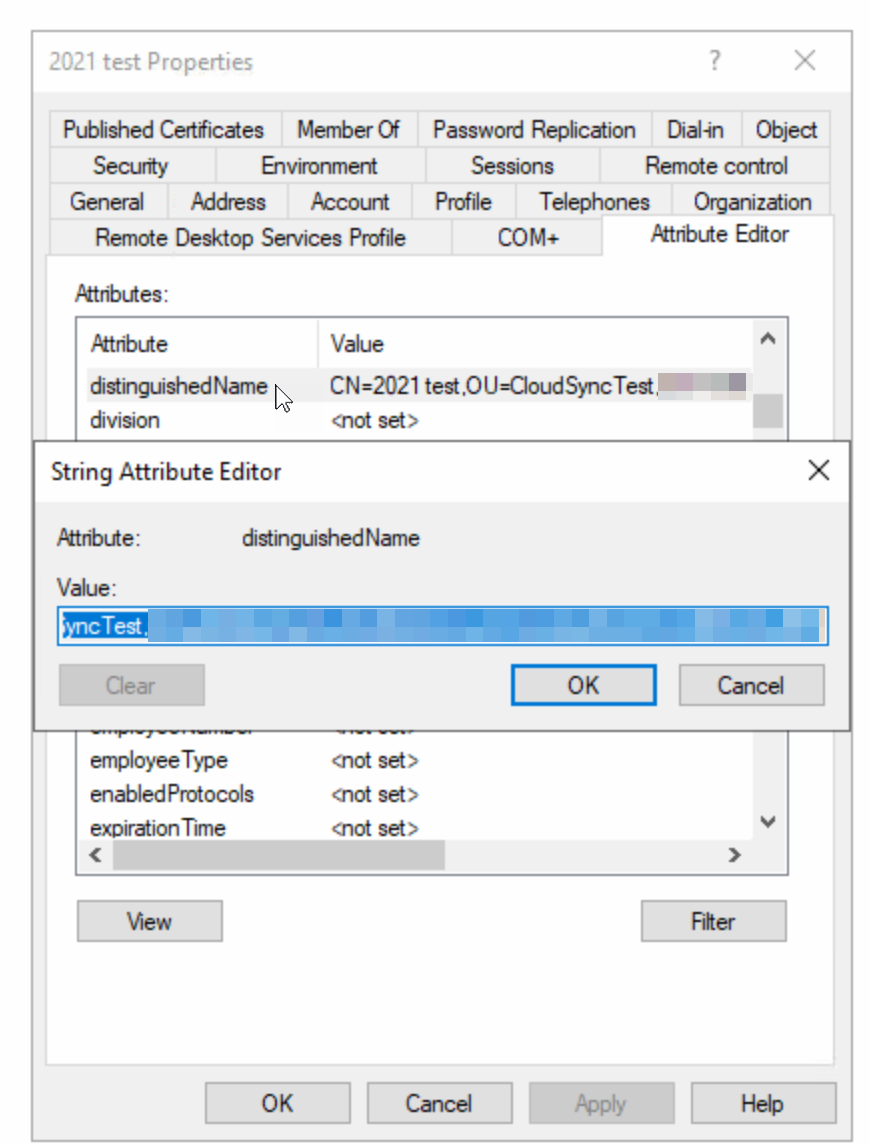
The OU that you enter here is the OU that contains your pilot objects. You can get this from any object that you want to sync by showing the Attribute Editor tab in Active Directory Users and Computers as shown below:
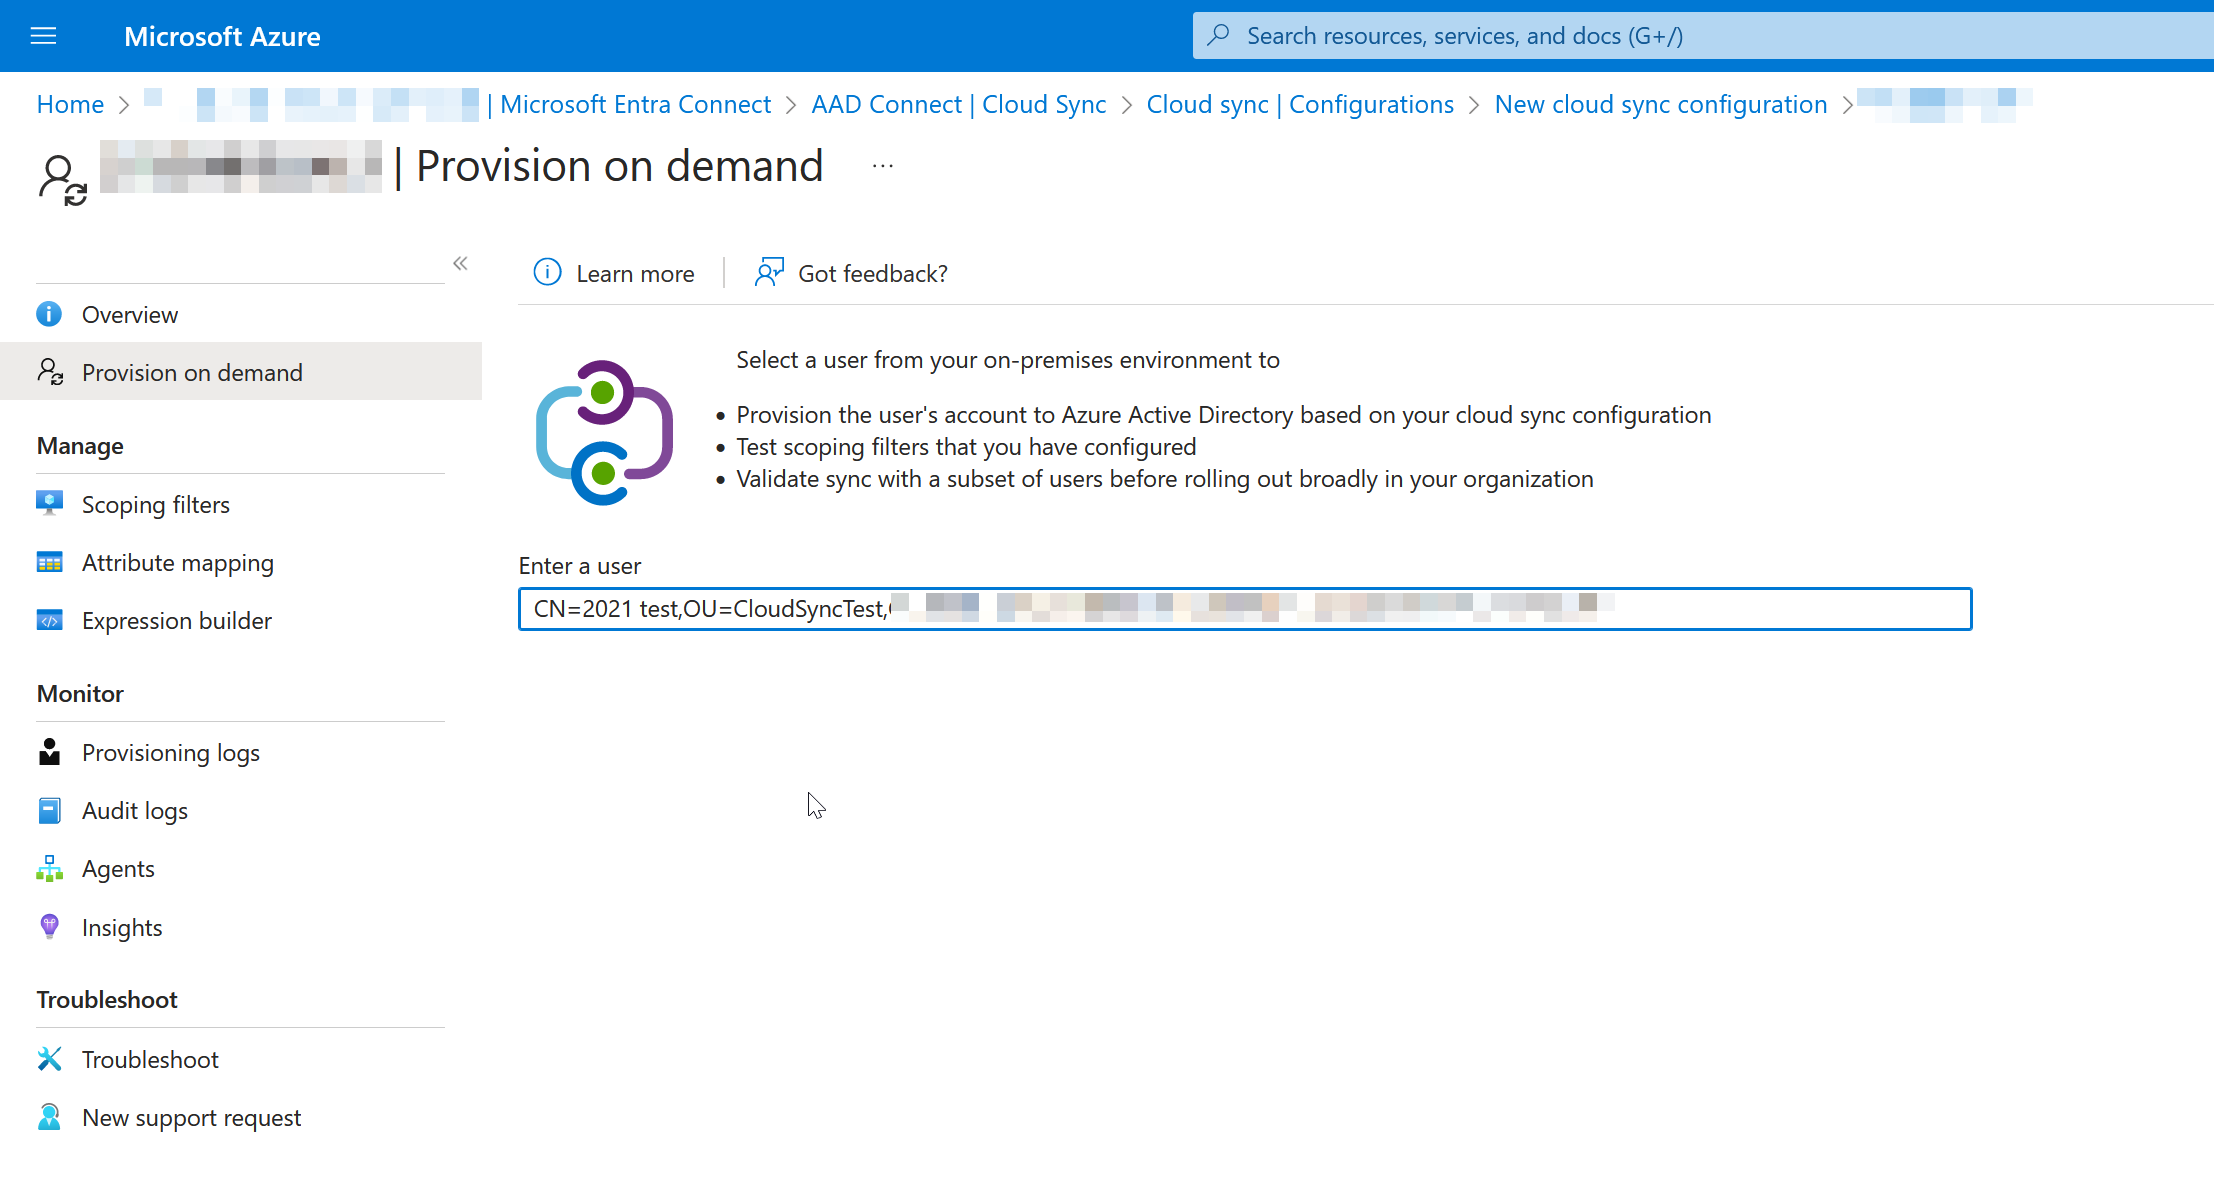
You will also need the full dn of any of the pilot user objects so that you can test a sync. You cannot test sync objects other than users. Enter the dn into the Provision on demand page:
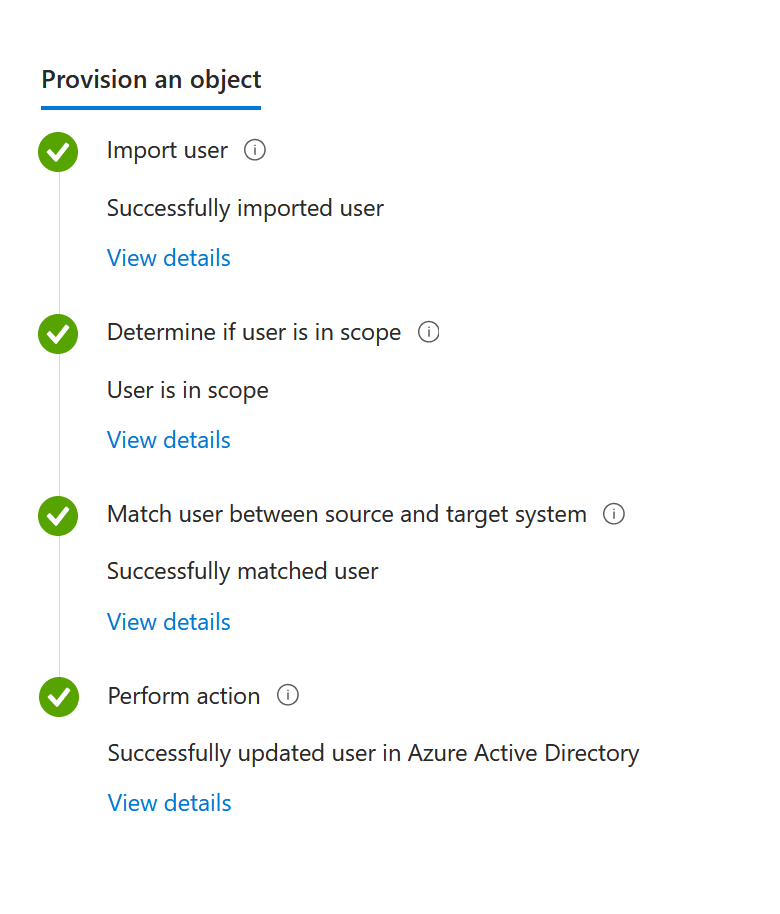
Your sync should be successful:
Further Configuration of Cloud Sync
From the “Get Started” page click Properties. Here you will need to enable Exchange hybrid writeback if you have Exchange Server, Exchange Management Tools or Exchange Online mailboxes. This requires that you have the Exchange Server schema in Active Directory. More on deploying just the management tools can be found here.
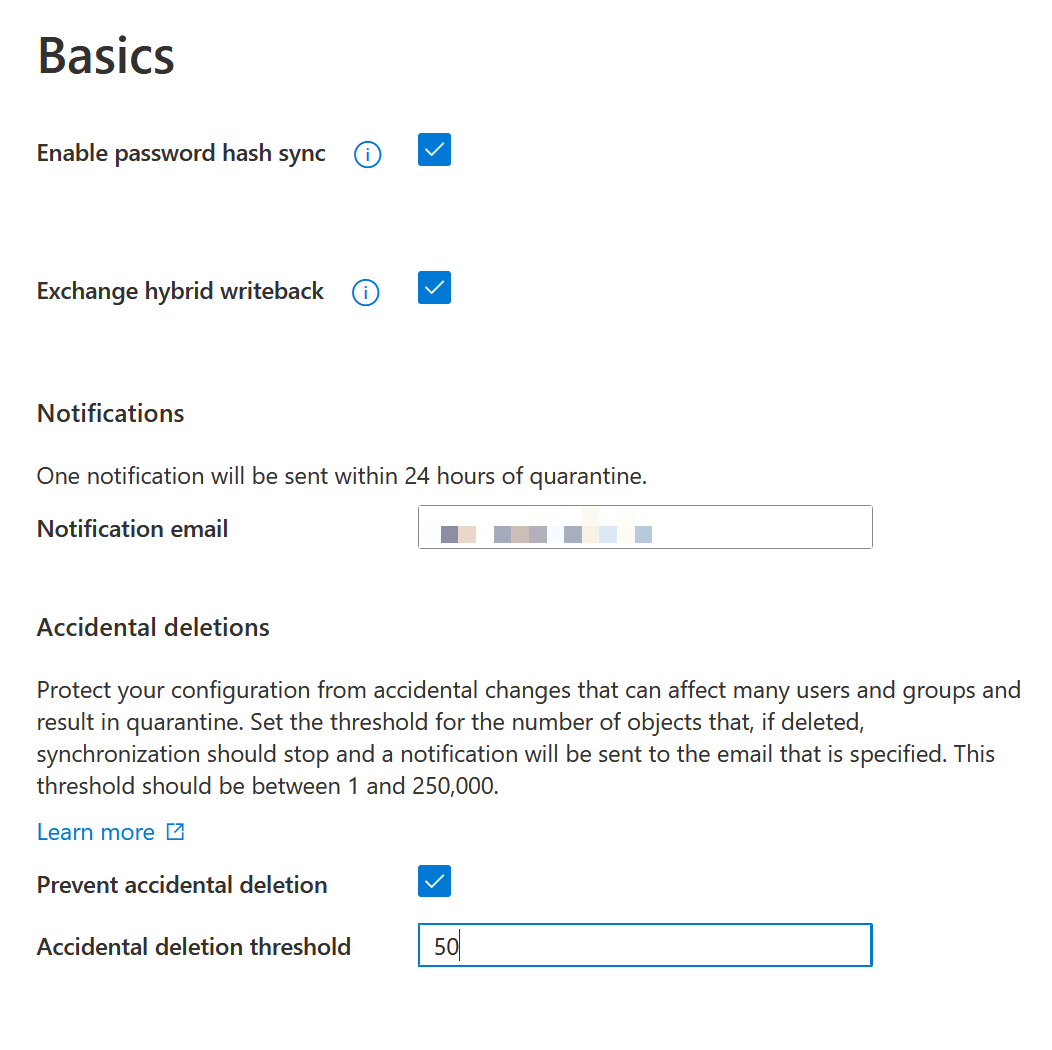
Include a mailbox or DL for notifications and drop the accidental deletion threshold to the same as you have for AADConnect (a number larger than your standard deletion amount on any given 30 minutes).
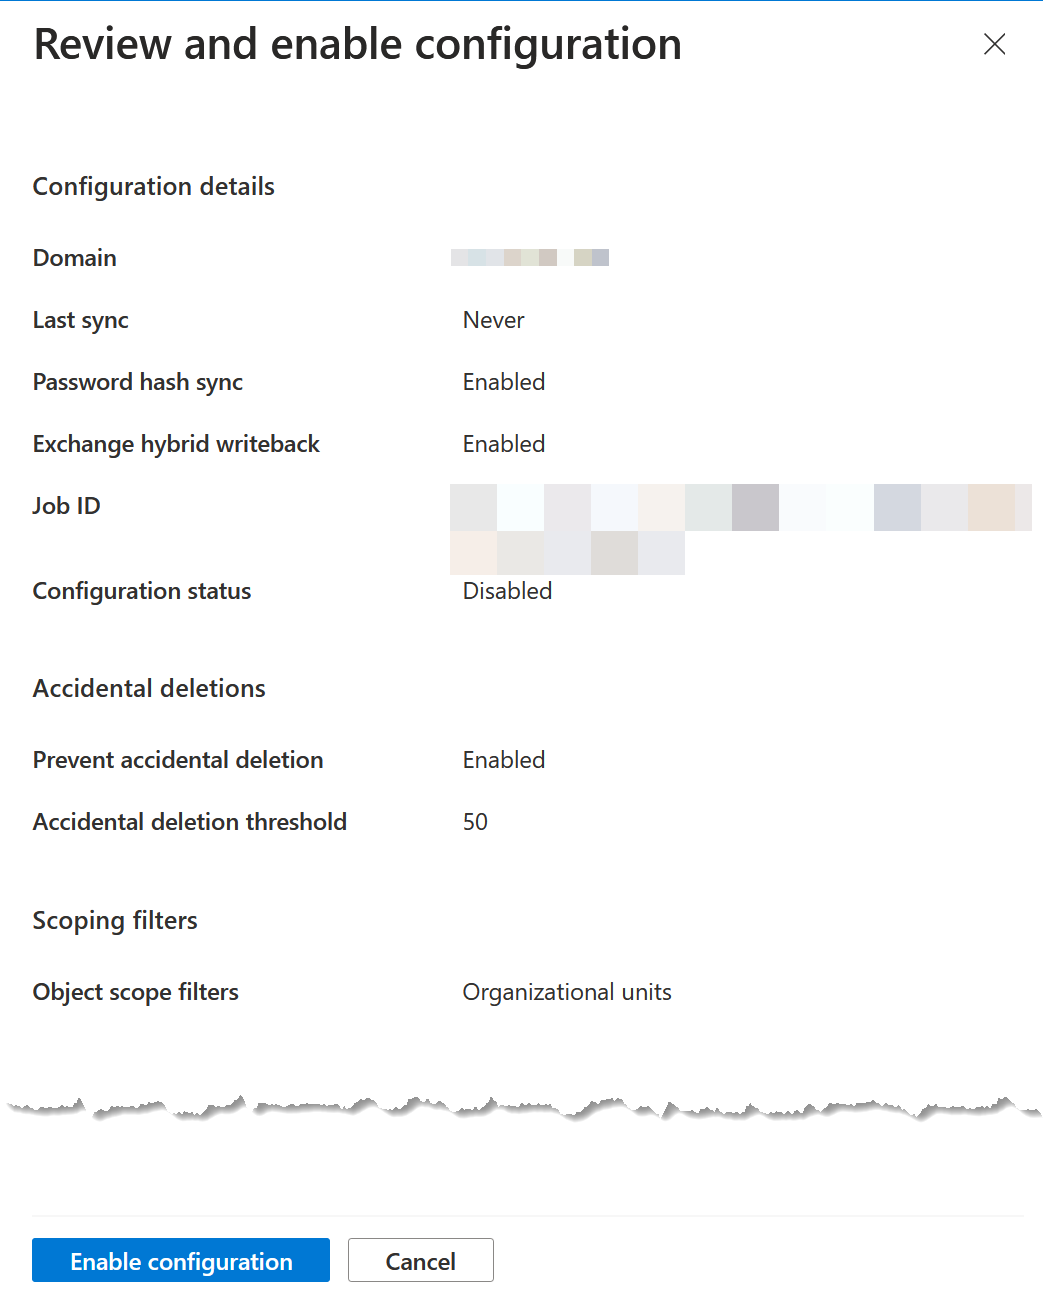
Before you enable the sync, check the “Review and enable configuration” page:
Your pilot users, groups and contacts should now sync. You can check the Provisioning Logs page. Each of your objects should be synced and you should check each one.
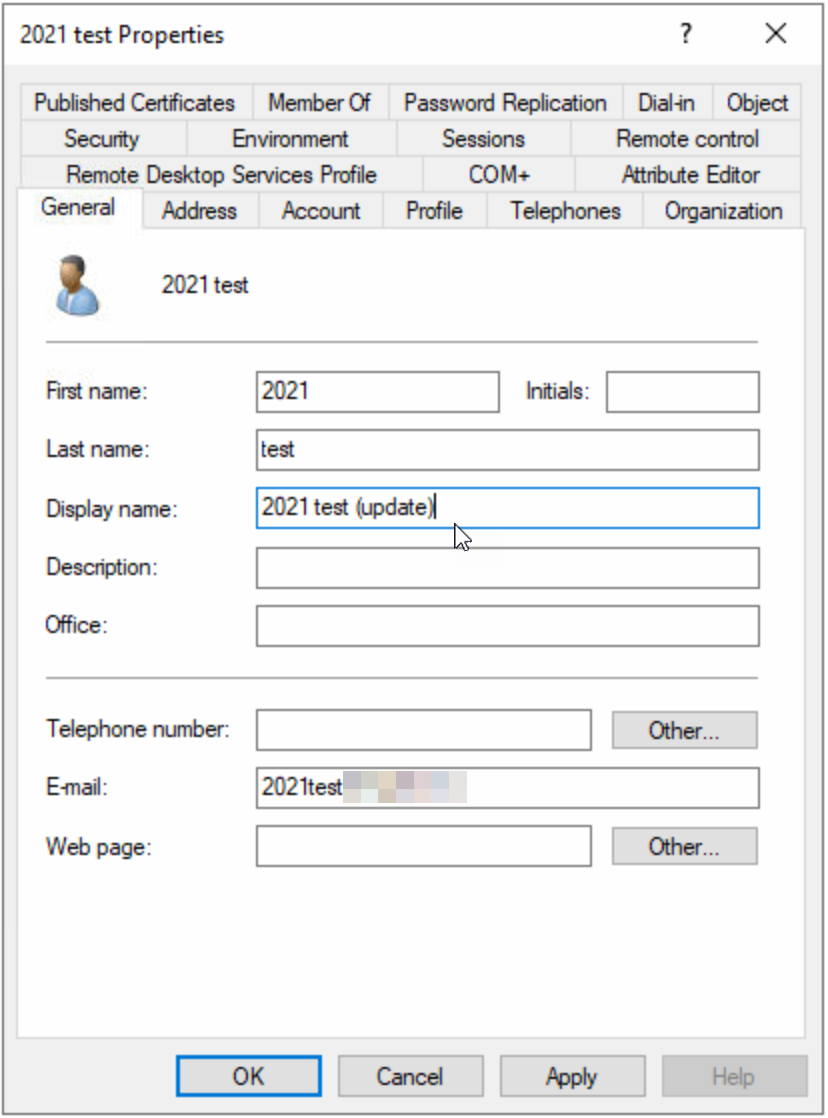
Further testing is possible here. You should modify the user object in some way (for example as shown below) and ensure that changes sync. At the end of this blog we will cover the configuration of password writeback, so you should test this at this time if needed as well:
You can start a manual sync or Provision on demand the single object that you have changed rather than waiting 30-40 minutes for the sync to happen. If the change successfully makes it to Entra ID then your Cloud Sync is working.
Ensure that the pilot users still have their licences, are in the same groups etc. etc.
Syncing AADConnect Again
Now that Cloud Sync is setup for the pilot OU, run a manual sync on AADConnect. This is done with the following PowerShell. Remember that the scheduler is not running so you need to do this manually. You would see in the Synchronization Service window that your changes (such as Display Name above) would be synced, but they will not be exported. Changes for this OU should be via Cloud Sync only:
Start-ADSyncSyncCycle

Once you are happy that your Cloud Sync is processing the changes to the pilot objects and AADConnect is not, and that AADConnect is not deleting objects that are not being synced, it is time to enable the AADConnect scheduler again so that all non-pilot objects are back on a 30 minutes schedule.
Set-ADSyncScheduler -SyncCycleEnabled $true
Start-ADSyncSyncCycle
Moving From Pilot To Production for Cloud Sync
Once you have a successful pilot, it is time to start to sync other objects via Cloud Sync and not via AADConnect. The easiest way to do this is via OU filtering, and move up the OU hierarchy. Modify the rules in the Synchronization Rules Editor and the Cloud Sync Scoping Filters so that you move from something at one level to the parent level. For example you might have this:
OU=Pilot,OU=SmallDepartment,OU=AllUsers,DC=Domain,DC=com
And you would move to this:
OU=SmallDepartment,OU=AllUsers,DC=Domain,DC=com
All we have done here is moved up a single OU. In the Synchronization Rules Editor, edit each inbound rule (click the Edit button) and modify the Scoping Filter as shown so that you remove the pilot OU and leave the parent OU.
If the OU is unrelated to the pilot OU (a different hierarchy) then create three new Inbound rules for this new OU branch.
Repeat for each of the rules. At this point run a AADConnect sync. This will run the Full Sync and wait until this is completed.
Then in Cloud Sync, add a new OU under scoping rules for the OU you are now syncing and remove the previous OU (you cannot edit the list of OUs) or if a new OU entirely, add it as an additional branch to sync.
Wait 20-40 minutes and confirm sync is happening via Cloud Sync. Modify attributes as required to test if you need to prove success.
Continue to remove OUs from AAD Connect and add the same OUs to Cloud Sync. Progress this at whatever speed you need to.
Continue until all the OUs that you where syncing with AADConnect are added to the new rules and included in the Scoping Filter for Cloud Sync.
It is important to be aware that “manager” and “memberOf” attributes will sync via AADConnect for objects that are excluded from sync scope. Therefore you cannot update AADConnect and remove OUs from the sync scope via the configuration wizard. Leave all synced OUs in place, just modify the rules to have them moved to the control of Cloud Sync.
Password Writeback Updates
If you are doing password writeback then you need to enable this for Cloud Sync. It does not matter at what point you do this, as long as it is done before you uninstall AADConnect (as AADConnect will process the password writeback up to the time you uninstall it in the next step).
If you do the next step of uninstalling AADConnect and have not configured password writeback you will see Cloud Sync being quarantined as shown:

Checking the Cloud Sync Audit Logs if you go into quarantine will tell you why, and if this is due to AADConnect being turned off or uninstalled then you will see:

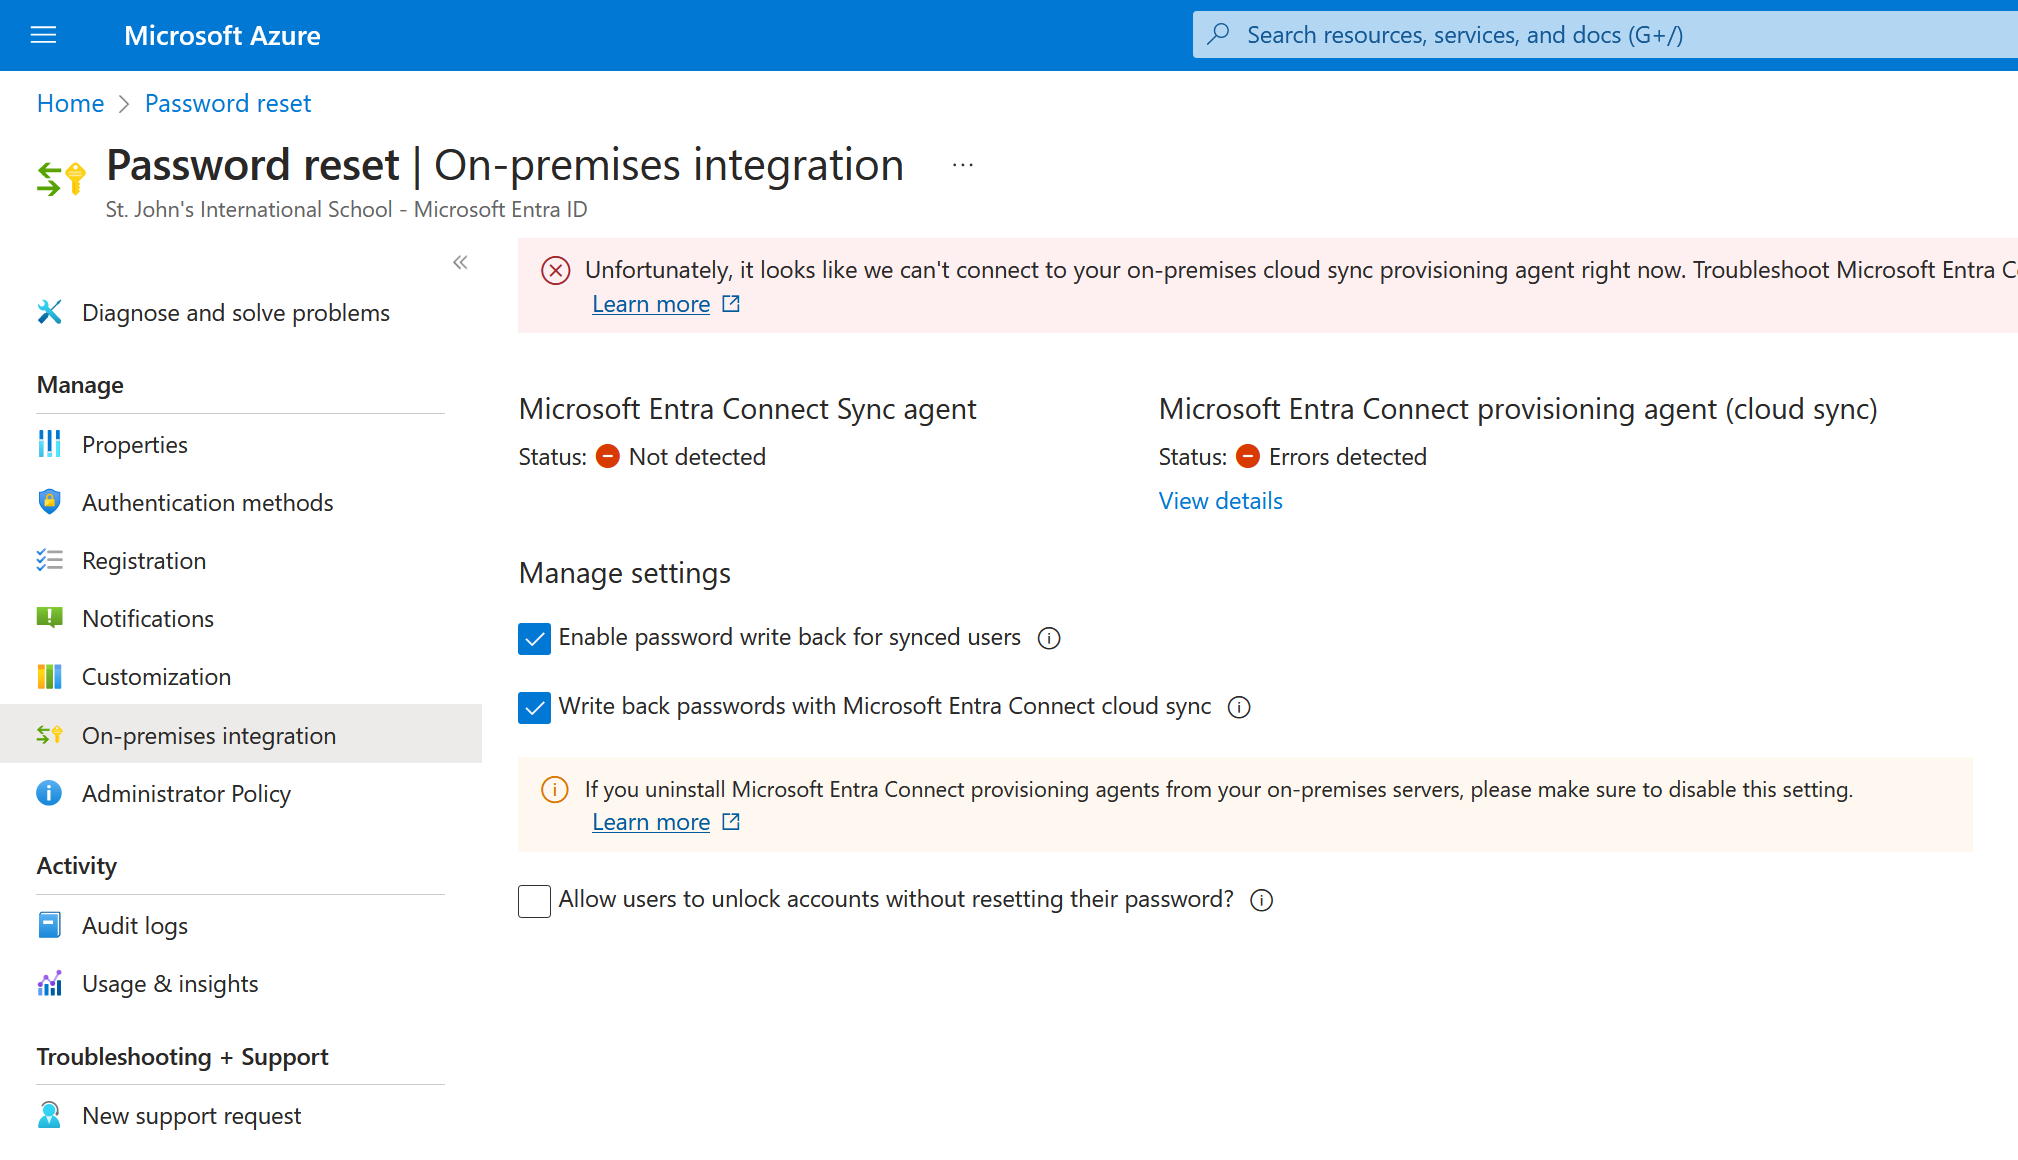
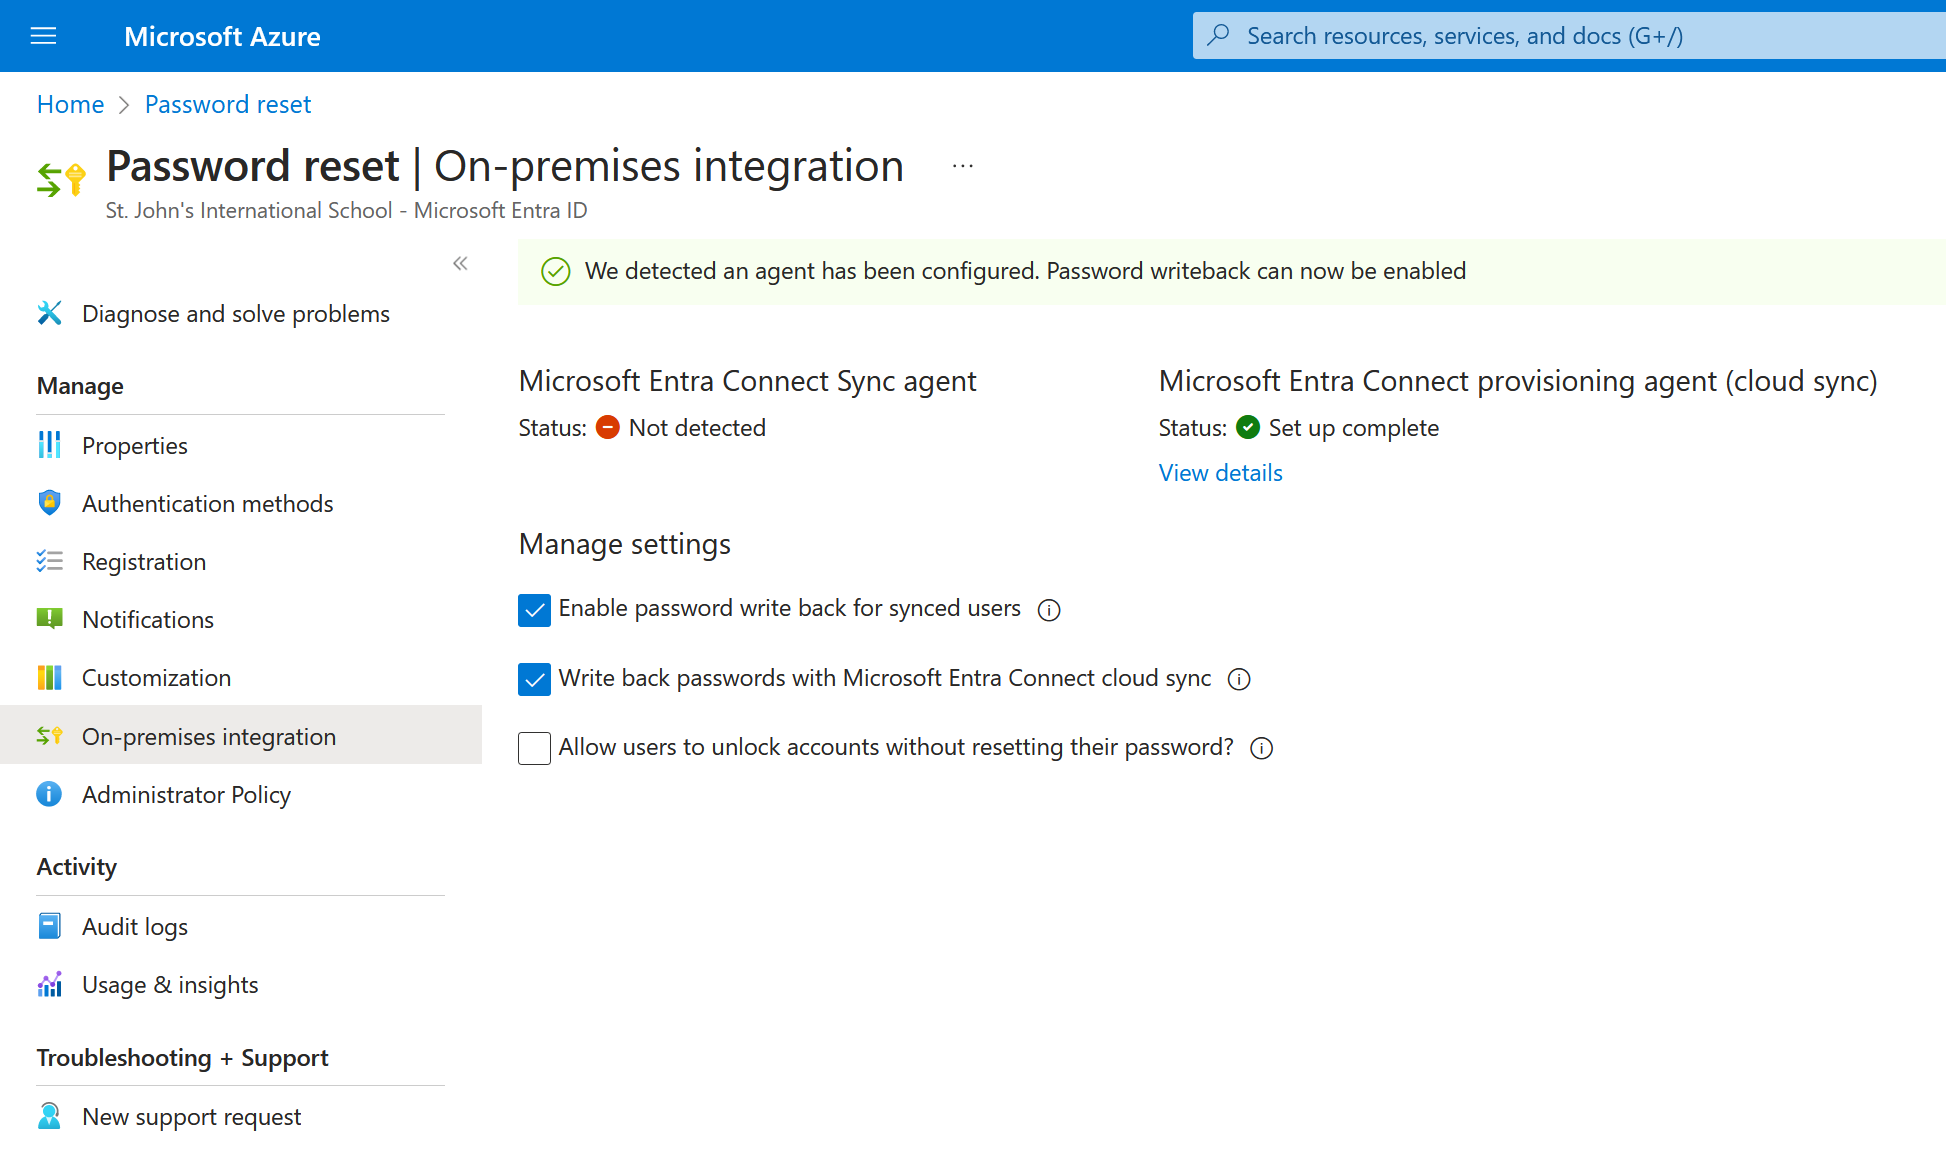
To move password writeback to Cloud Sync (or have it running on both AADConnect and Cloud Sync until AADConnect is uninstalled) you need to go to the Entra ID Admin Portal, Password Reset and then On-Premises Integration. Here you will be able to turn on password writeback via Cloud Sync:
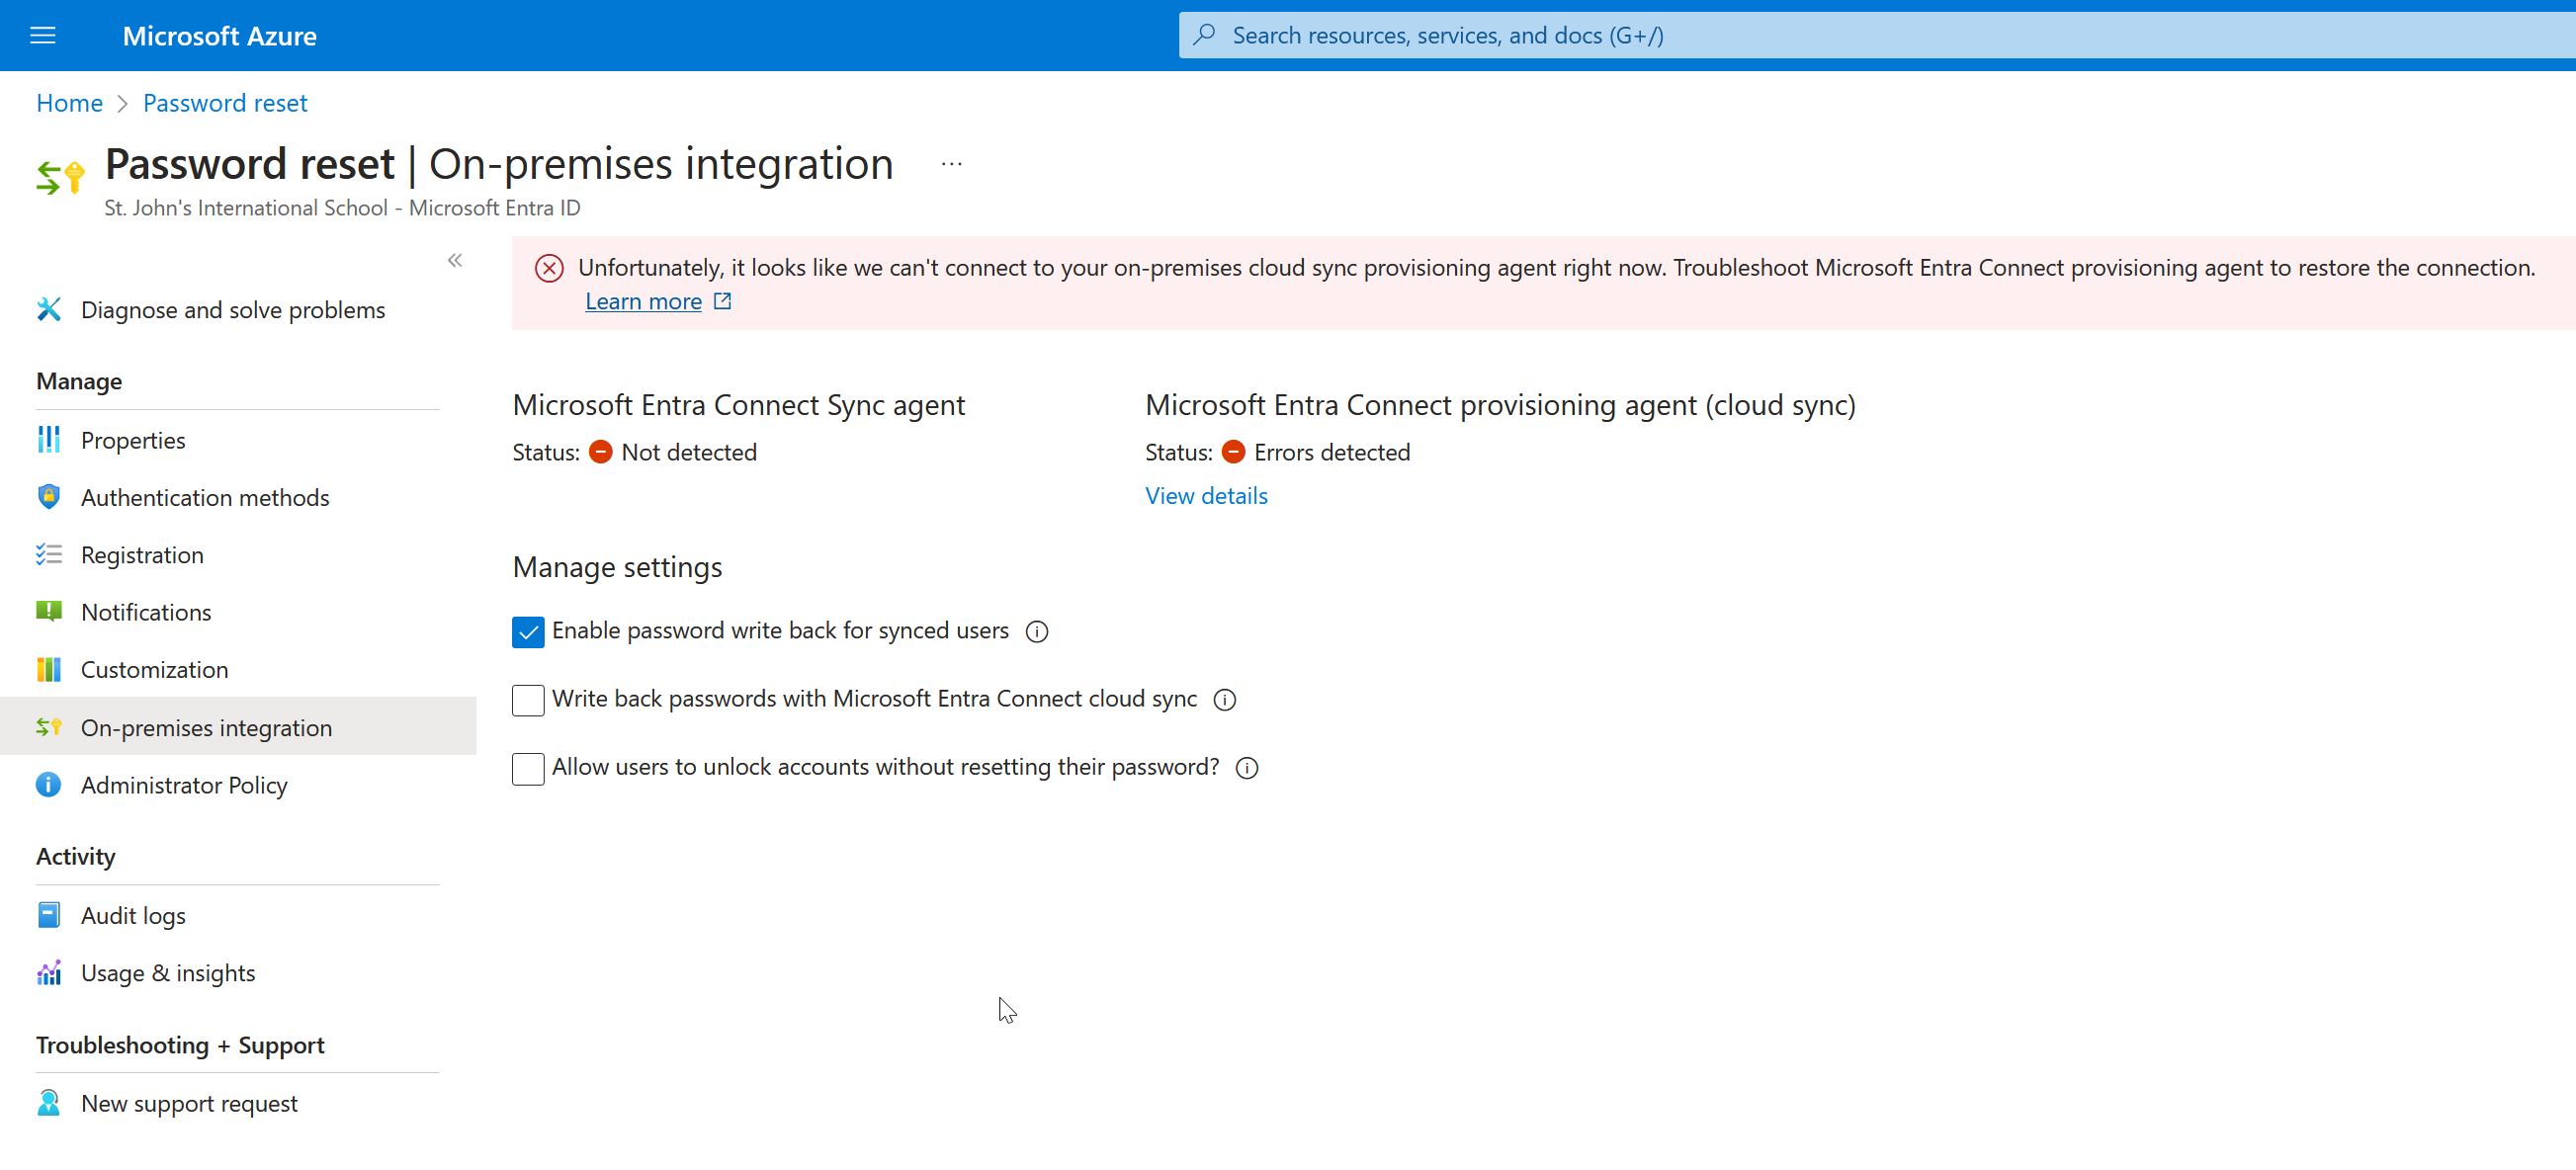
Check the second option, Write back passwords with Microsoft Entra Cloud Sync. The errors at the top will depend upon whether you do this after you uninstall AADConnect (as I did to get this screenshot) or if you did it earlier. Once the option to writeback passwords is enabled, it will take a few minutes for an agent to be updated and the password reset page to show a completed (green) message as shown:
Decommissioning AADConnect
Once you have moved all your OUs to Cloud Sync you can turn off and remove AADConnect. Note that you do not remove the OUs that you are syncing from AADConnect.
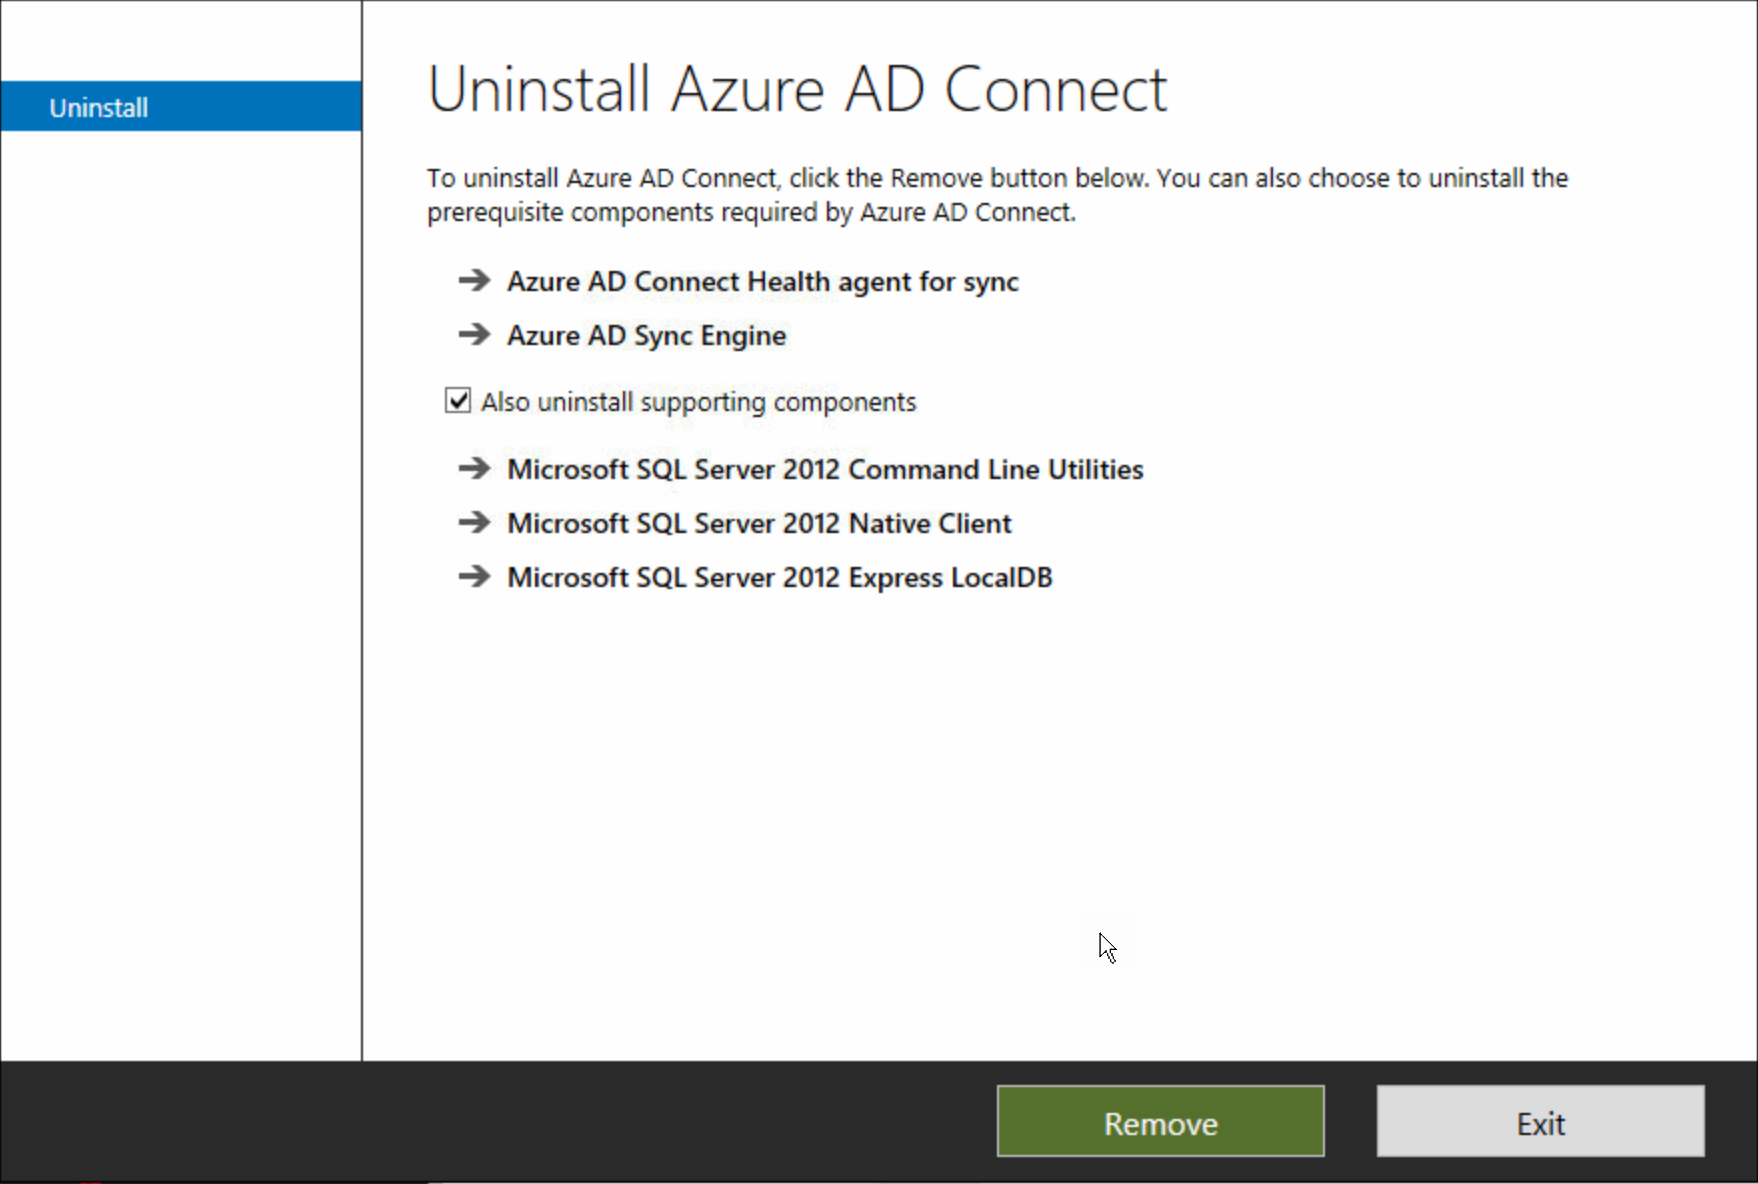
First step in this process is to uninstall AADConnect:
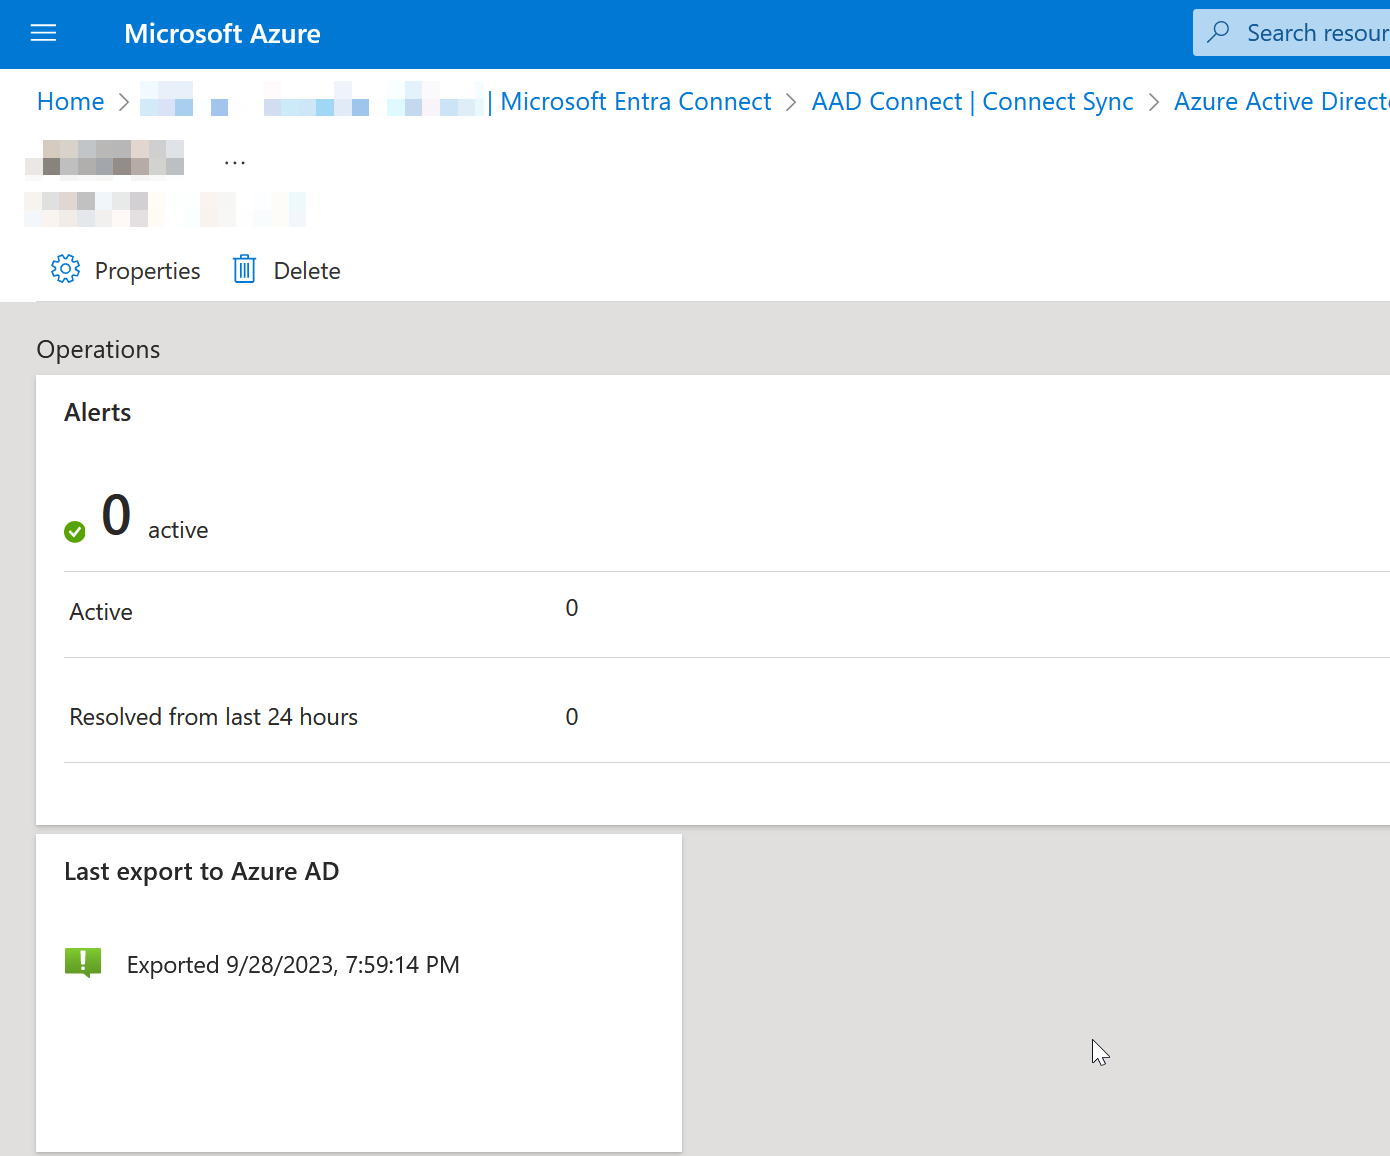
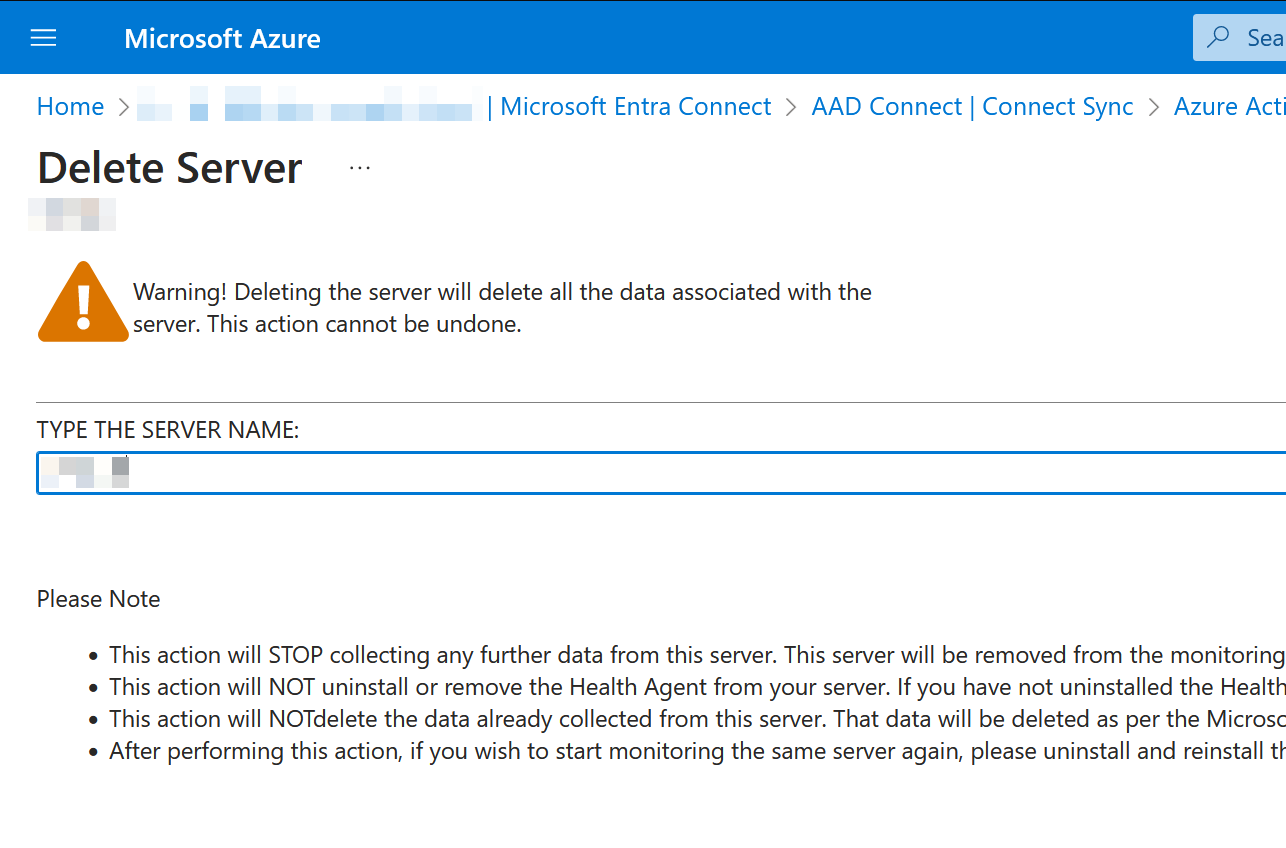
Once AADConnect is uninstalled you can remove the AADConnect servers in the Entra ID Admin Portal. There are two levels to this, the server, and the service:
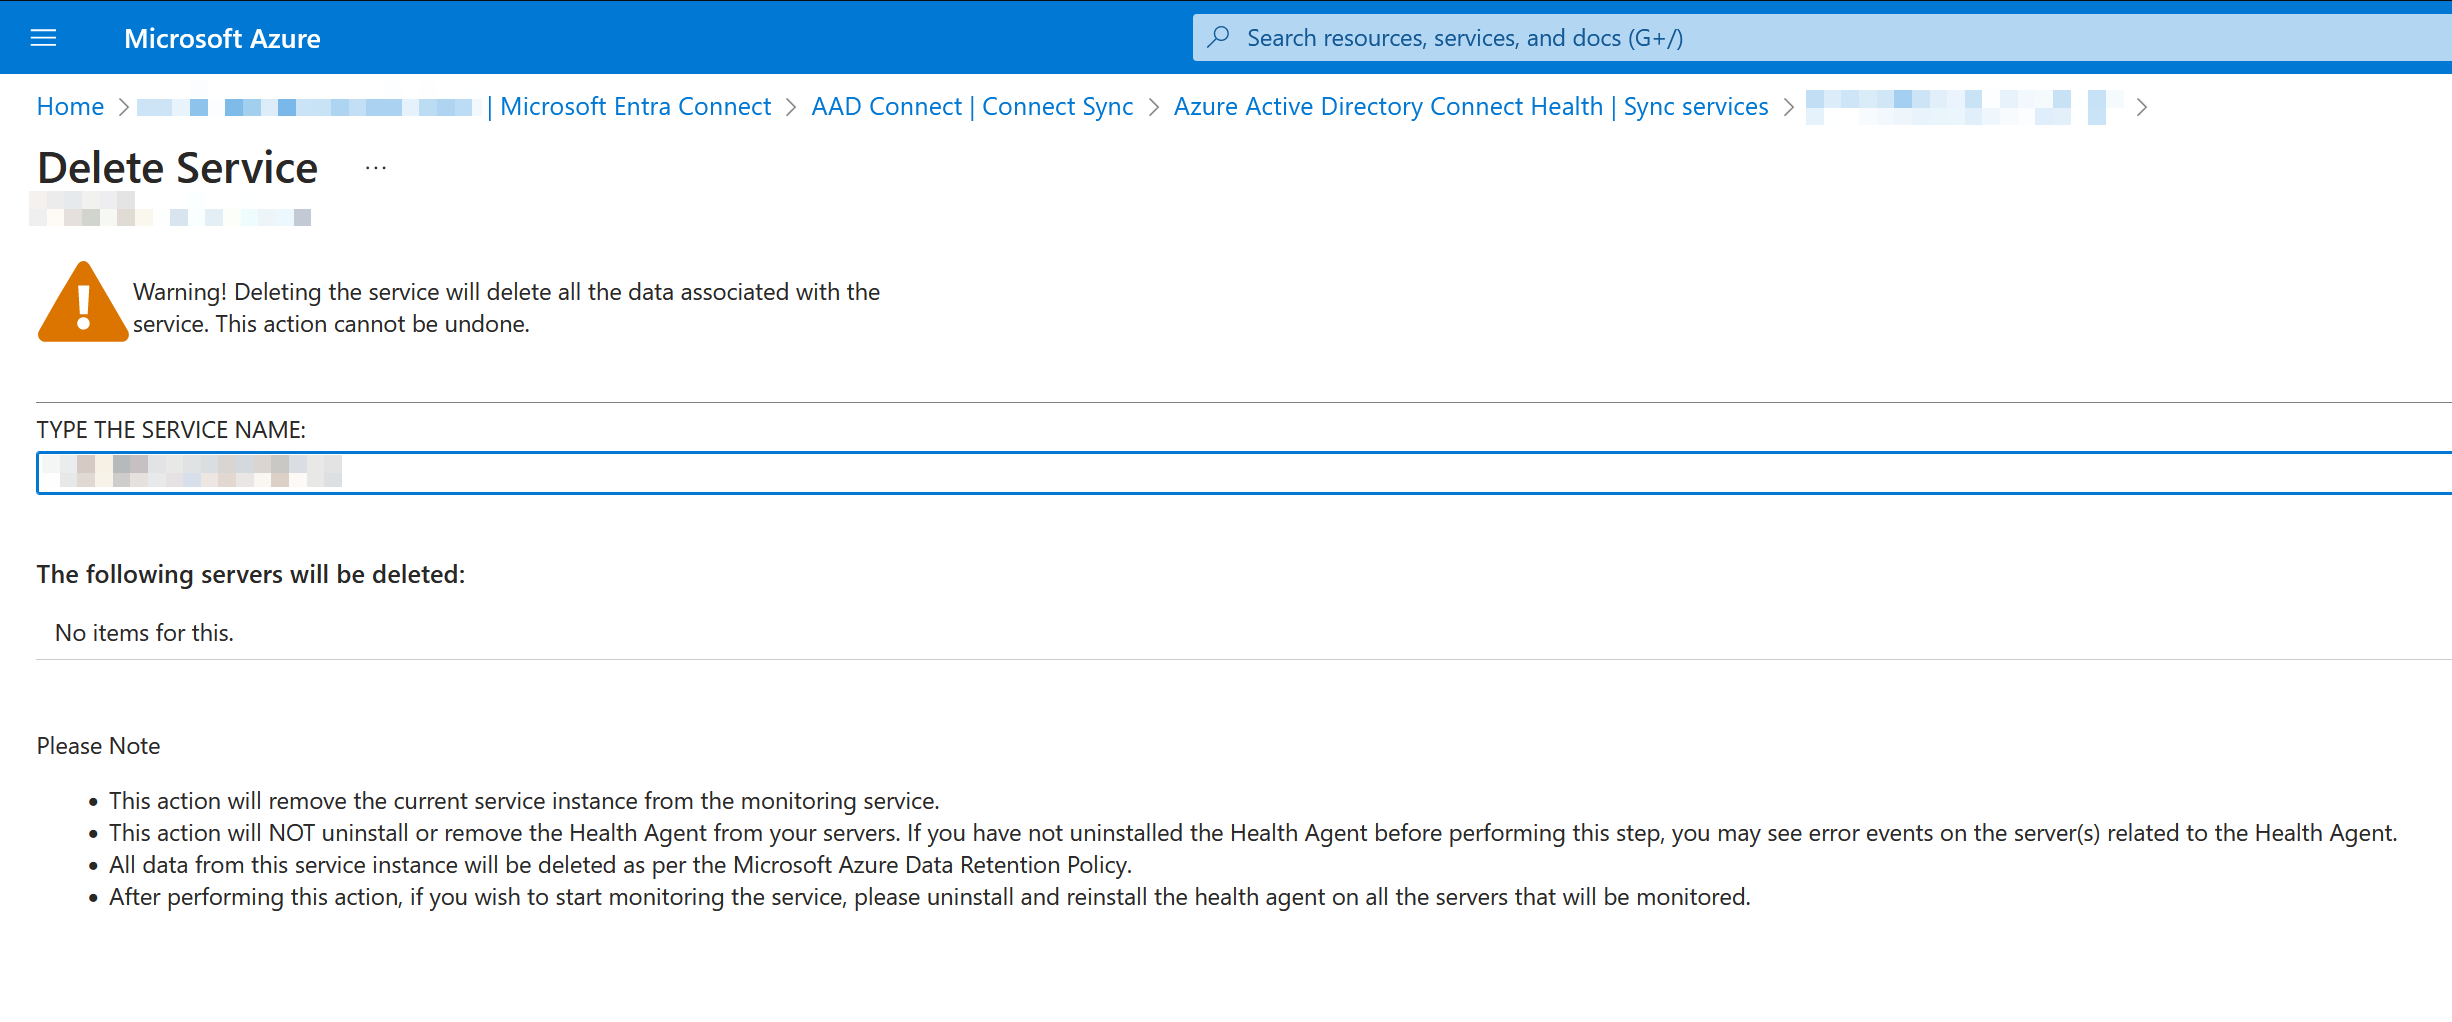
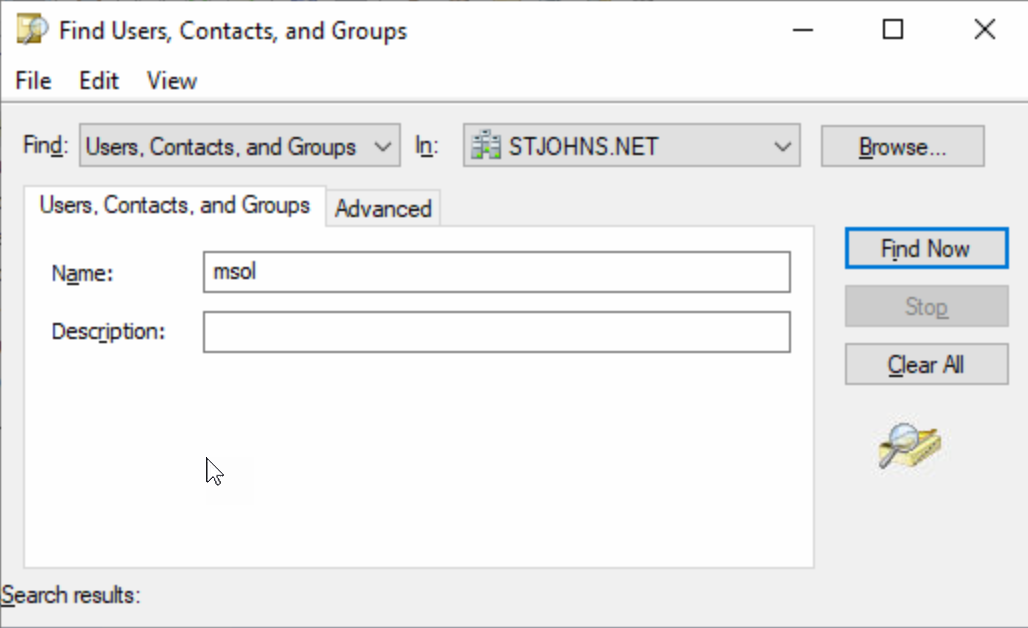
Your final step to complete an Entra Connect Cloud Sync migration is to remove the MSOL_xxx accounts in Active Directory, or if you had a custom account, to remove that:
Top photo by Jeremy Bishop: https://www.pexels.com/photo/lighthouse-2524873/
Leave a Reply