
This article goes through the steps I needed to set up a new Microsoft Teams Room system using the Yealink MVC640. Updated February 2022 with the latest updates for provisioning meeting rooms.
Account Provisioning
First, and done in advance of arrival, is the set up of the user account that the Microsoft Teams Room (MTR) system will login to Microsoft 365 with. These are the instructions updated for 2022. When I first took delivery of the equipment I describe below the instructions for account provisioning for the room where a bit vague and the provided script is for doing Skype Room Systems and lots of Skype questions as well as a script that only supports Basic authentication to Exchange Online.
For 2022 Microsoft has removed the script and provided a number of PowerShell cmdlets in its place. Cmdlets in Exchange Online for creating a “room mailbox”, in Azure AD to stop the password expiring (who wants a meeting room to fail to work because the account cannot log in) and Teams cmdlets to assign a phone number to the room so you can do phone-in audio conferences and use the MTR as a conference room phone. There is now no need to the Enable-CsMeetingRoom cmdlet in Teams as well.
In my case I had an existing room resource mailbox created in Exchange Online so the room could be booked in peoples calendars, so I ran the following Exchange, AAD and Teams PowerShell cmdlets. If I was starting from scratch with a new account I would use New-Mailbox rather than Set-Mailbox (see the comments for the cmdlet to use in this scenario).
The script also licenses the room by adding it to a group that I previously created that assigns the “Meeting Room with Audio Conferencing” license from Microsoft. I use this group in other places as well, for example to provision settings from Intune just to this group or to block other settings in Intune that should not go to an MTR device.
The “Meeting Room with Audio Conferencing” license allows the meeting room device to make outgoing calls, so the meeting attendees in the physical room can call remote attendees and join them to the meeting. The below script also enables the room to have its own dedicated phone number in Microsoft Teams (Set-CsPhoneNumberAssignment) so that you can make calls out from the room outside of a meeting, or people can call into the room as well. The telephone number of the room gets displayed on the top right-hand side of the console. I’ve used Direct Routing in this cmdlet below, but if you where using Microsoft Calling you would need to give the room a Calling Plan license as well.
$roomMailboxName = "Name"
$roomMailboxDisplayName = "Room Full Name"
$roomMailboxUPN = $roomMailboxName+'@domain.co.uk'
$voiceNumber = "+442031231234" # Only needed if giving room a telephone number for audio only calls

Connect-ExchangeOnline
$roomMailbox = Set-Mailbox $roomMailbox -EnableRoomMailboxAccount $true -RoomMailboxPassword (ConvertTo-SecureString -String '<Password>' -AsPlainText -Force)
Set-Place $roomMailbox.Identity -Street "1 Magdalen Road" -City Oxford -PostalCode "OX1 1AB" -State "Oxfordshire" -AudioDeviceName "MSpeech USB Speakerphone" -VideoDeviceName "UVC84 USB PTZ Camera" -DisplayDeviceName "HISENSE 43A7100FTUK / MTouch II Touch Panel"
Set-CalendarProcessing $roomMailbox.Identity -AutomateProcessing AutoAccept -AddOrganizerToSubject $false -AllowConflicts $false -DeleteComments $false -DeleteSubject $false -RemovePrivateProperty $false
Set-CalendarProcessing $roomMailbox -AddAdditionalResponse $true -AdditionalResponse 'This is a Microsoft Teams meeting room' -ProcessExternalMeetingMessages $true

# Set the correct location, disable password changes and sets the license (you will need to change this to suit your domain and license names)
Connect-MsOnline
Set-MsolUser -UserPrincipalName '$roomMailbox@contoso.com' -PasswordNeverExpires $true -Usage Location 'GB'
Set-MsolUserLicense -UserPrincipalName '$roomMailbox@contoso.com' -AddLicenses 'contoso:MEETING_ROOM'

# Alternative options using AzureAD cmdlets and group based licencing
Set-AzureADUser -ObjectID $roomMailboxUPN -PasswordPolicies "DisablePasswordExpiration" -UsageLocation 'GB'
Add-AzureADGroupMember -ObjectID <object-id-of-licence-group> -RefObjectID (Get-AzureADUser -ObjectID $roomMailboxUPN).ObjectID

# Does room need to be voice enabled so people can dial into the room? If so run these cmdlets (DirectRouting)

Set-CsPhoneNumberAssignment -Identity $roomMailbox.Identity -PhoneNumberType DirectRouting -PhoneNumber $voiceNumber
Set-CsOnlineVoicemailUserSettings -Identity $roomMailbox.Identity -VoicemailEnabled $true -PromptLanguage en-GB
More detailed steps, including licensing and the creation of an enabled Room mailbox (to allow the device to login) can be found at https://docs.microsoft.com/en-us/microsoftteams/rooms/with-office-365. In the above I have added the property “ProcessExternalMeetingMessages” to $true as this allows you to forward an externally generated meeting request to the room mailbox and have that meeting added to the console.
Once the account is created I recommend adding it to an Azure AD security group dedicated to Teams Rooms – for example “TeamRoomSystems-Service-Accounts”. Microsoft Teams Rooms authenticate as devices and not users, and so any end user security policy or hardware restriction in Azure AD Conditional Access will not work as these devices, and their nightly reboot for updates, does not work with MFA or device restrictions. If you find your Teams Room panel says “Couldn’t sign into Microsoft Teams” in a purple banner across the top of the display, then this is a likely reason (unless you typed the username or password wrong). You can change the password from device settings and on the Yealink devices the default administrator password is sfb. You can use the above group as the group to license the MTR with as well.
Other reasons why your device might not authenticate and settings that are not supported are covered in https://docs.microsoft.com/en-us/microsoftteams/rooms/rooms-authentication#prerequisites-specific-to-microsoft-teams-rooms, for example you can enroll the device in Endpoint Manager and restrict on compliant devices or by IP location based restriction.
The rest of the Microsoft instructions that I could find were all very complex – they discussed provisioning the device, updating the firmware and installing the system – this all seemed wrong to me – I had just purchased the system, I expect it to work when I turn it on and plug it in! Lets see if my assumption is true…
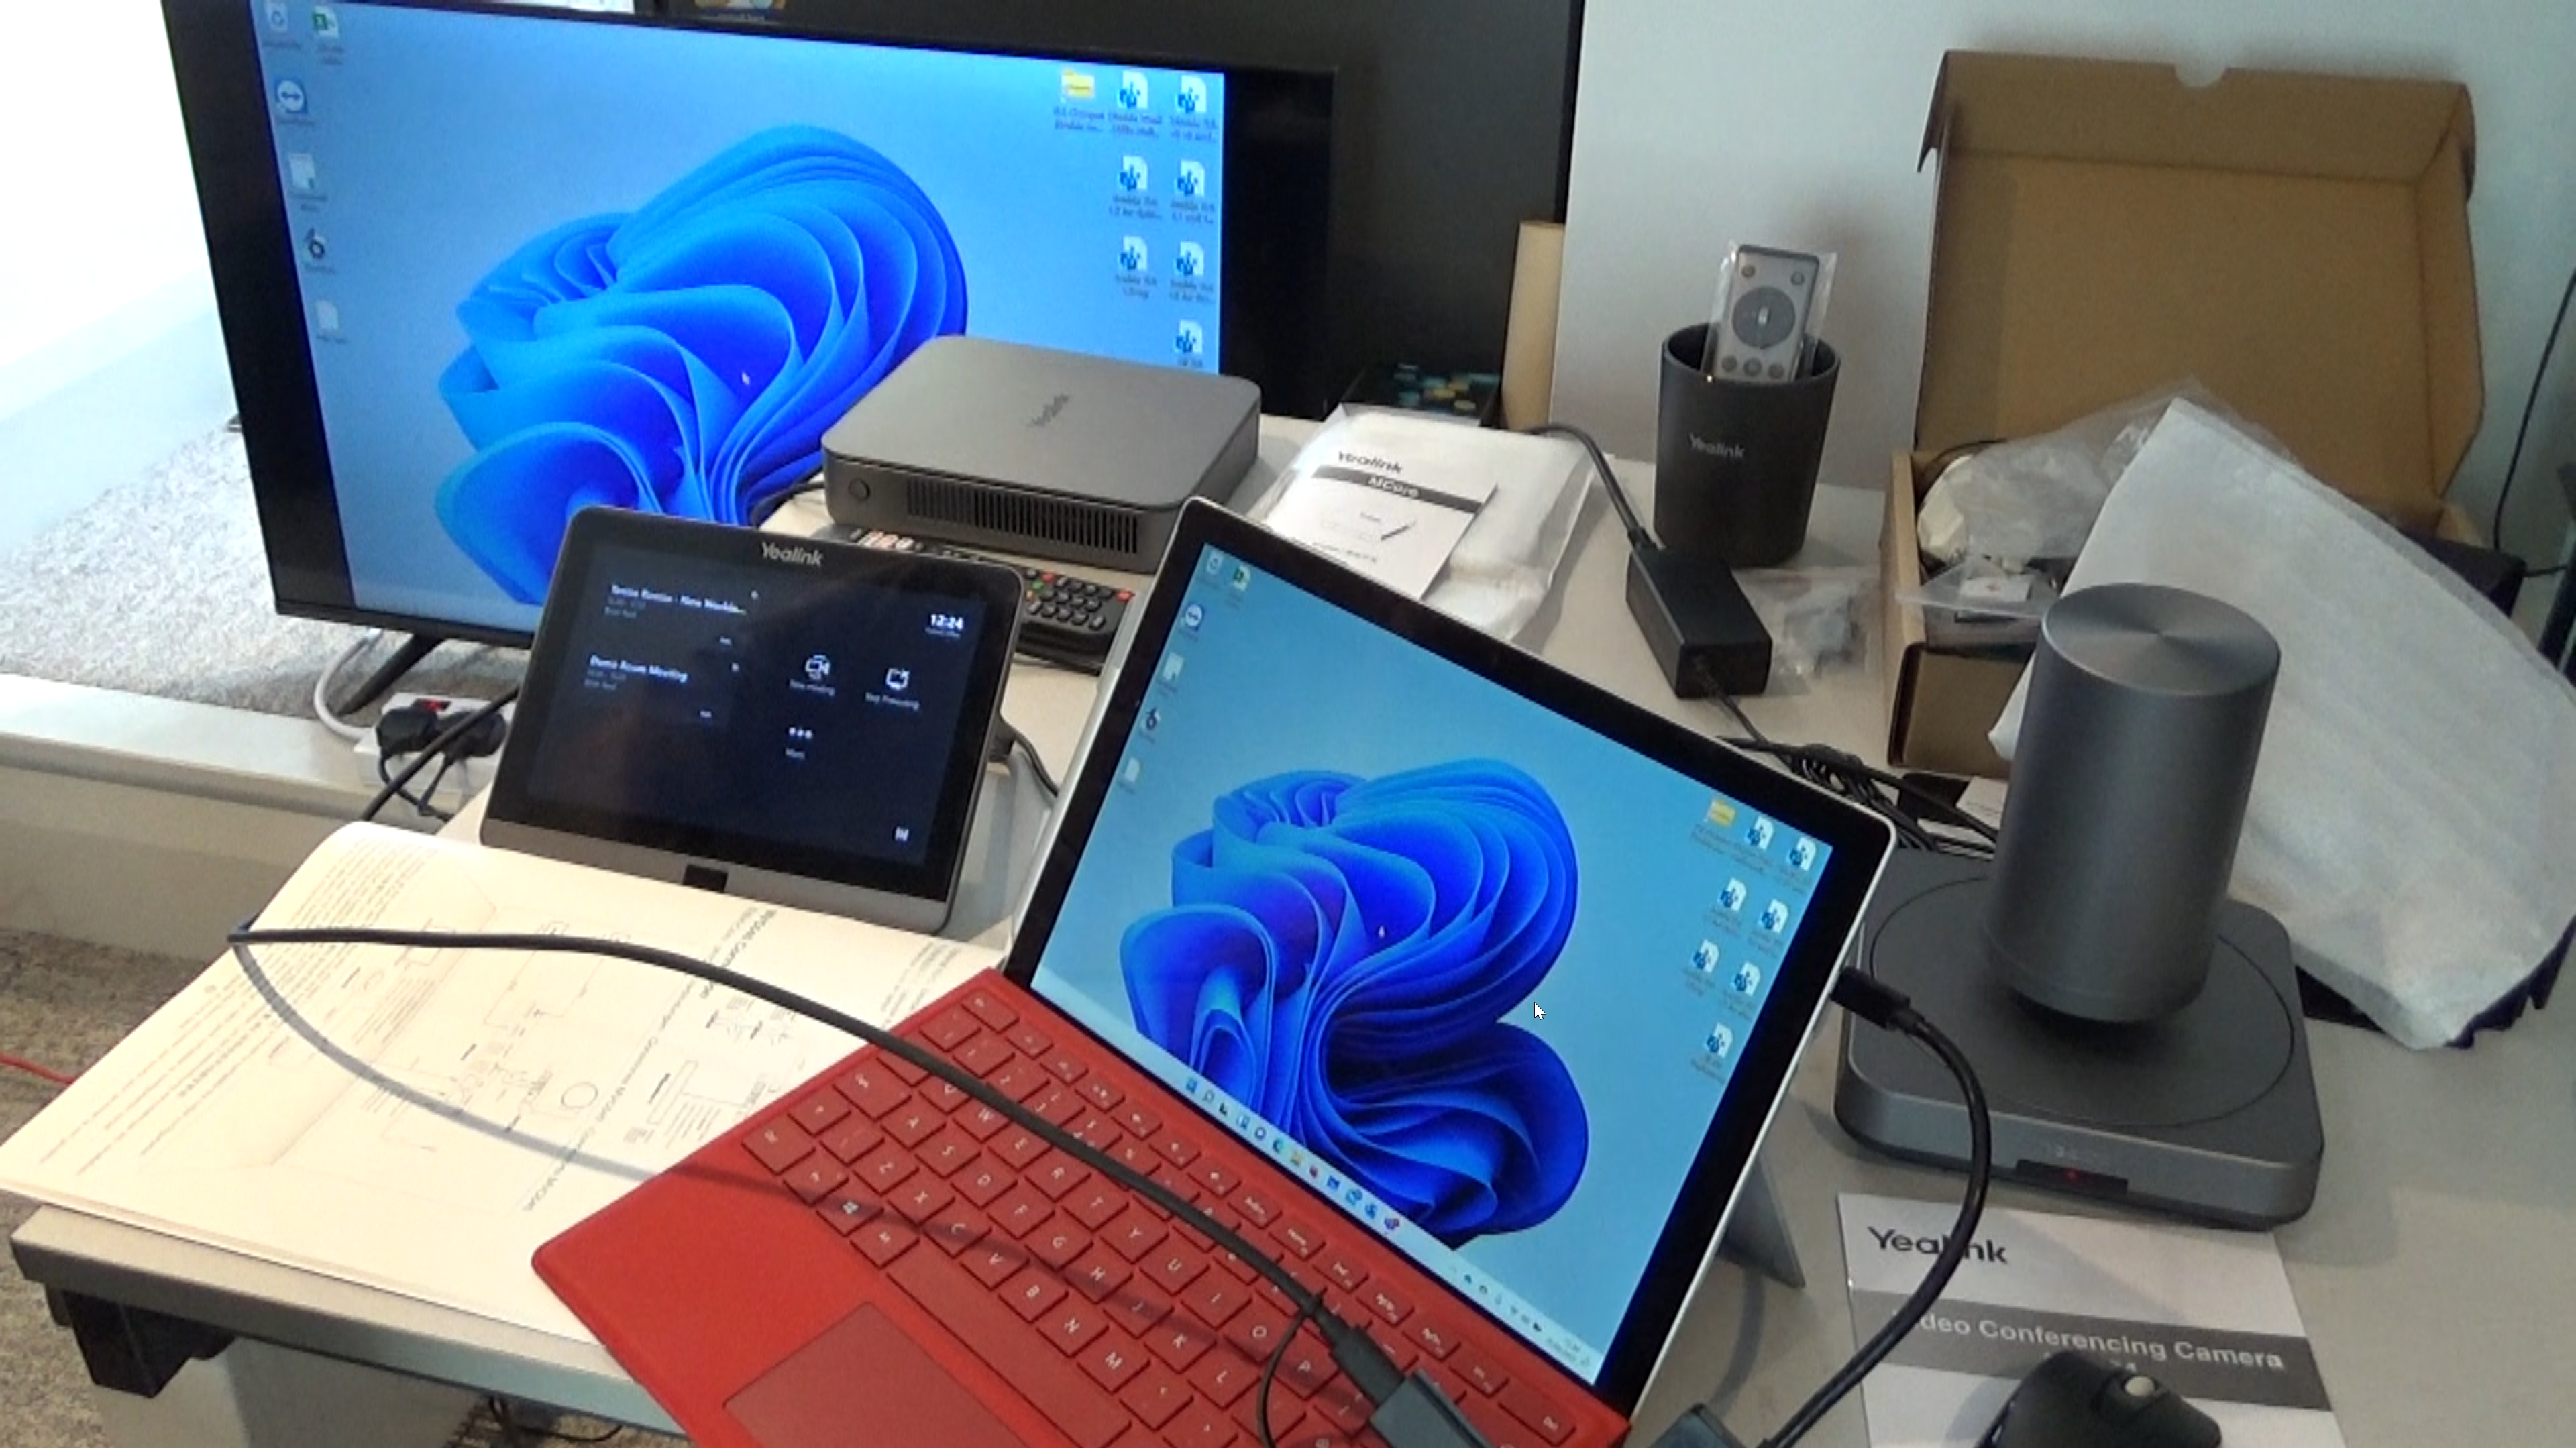
Box Contents
The following arrived, and then the individual components
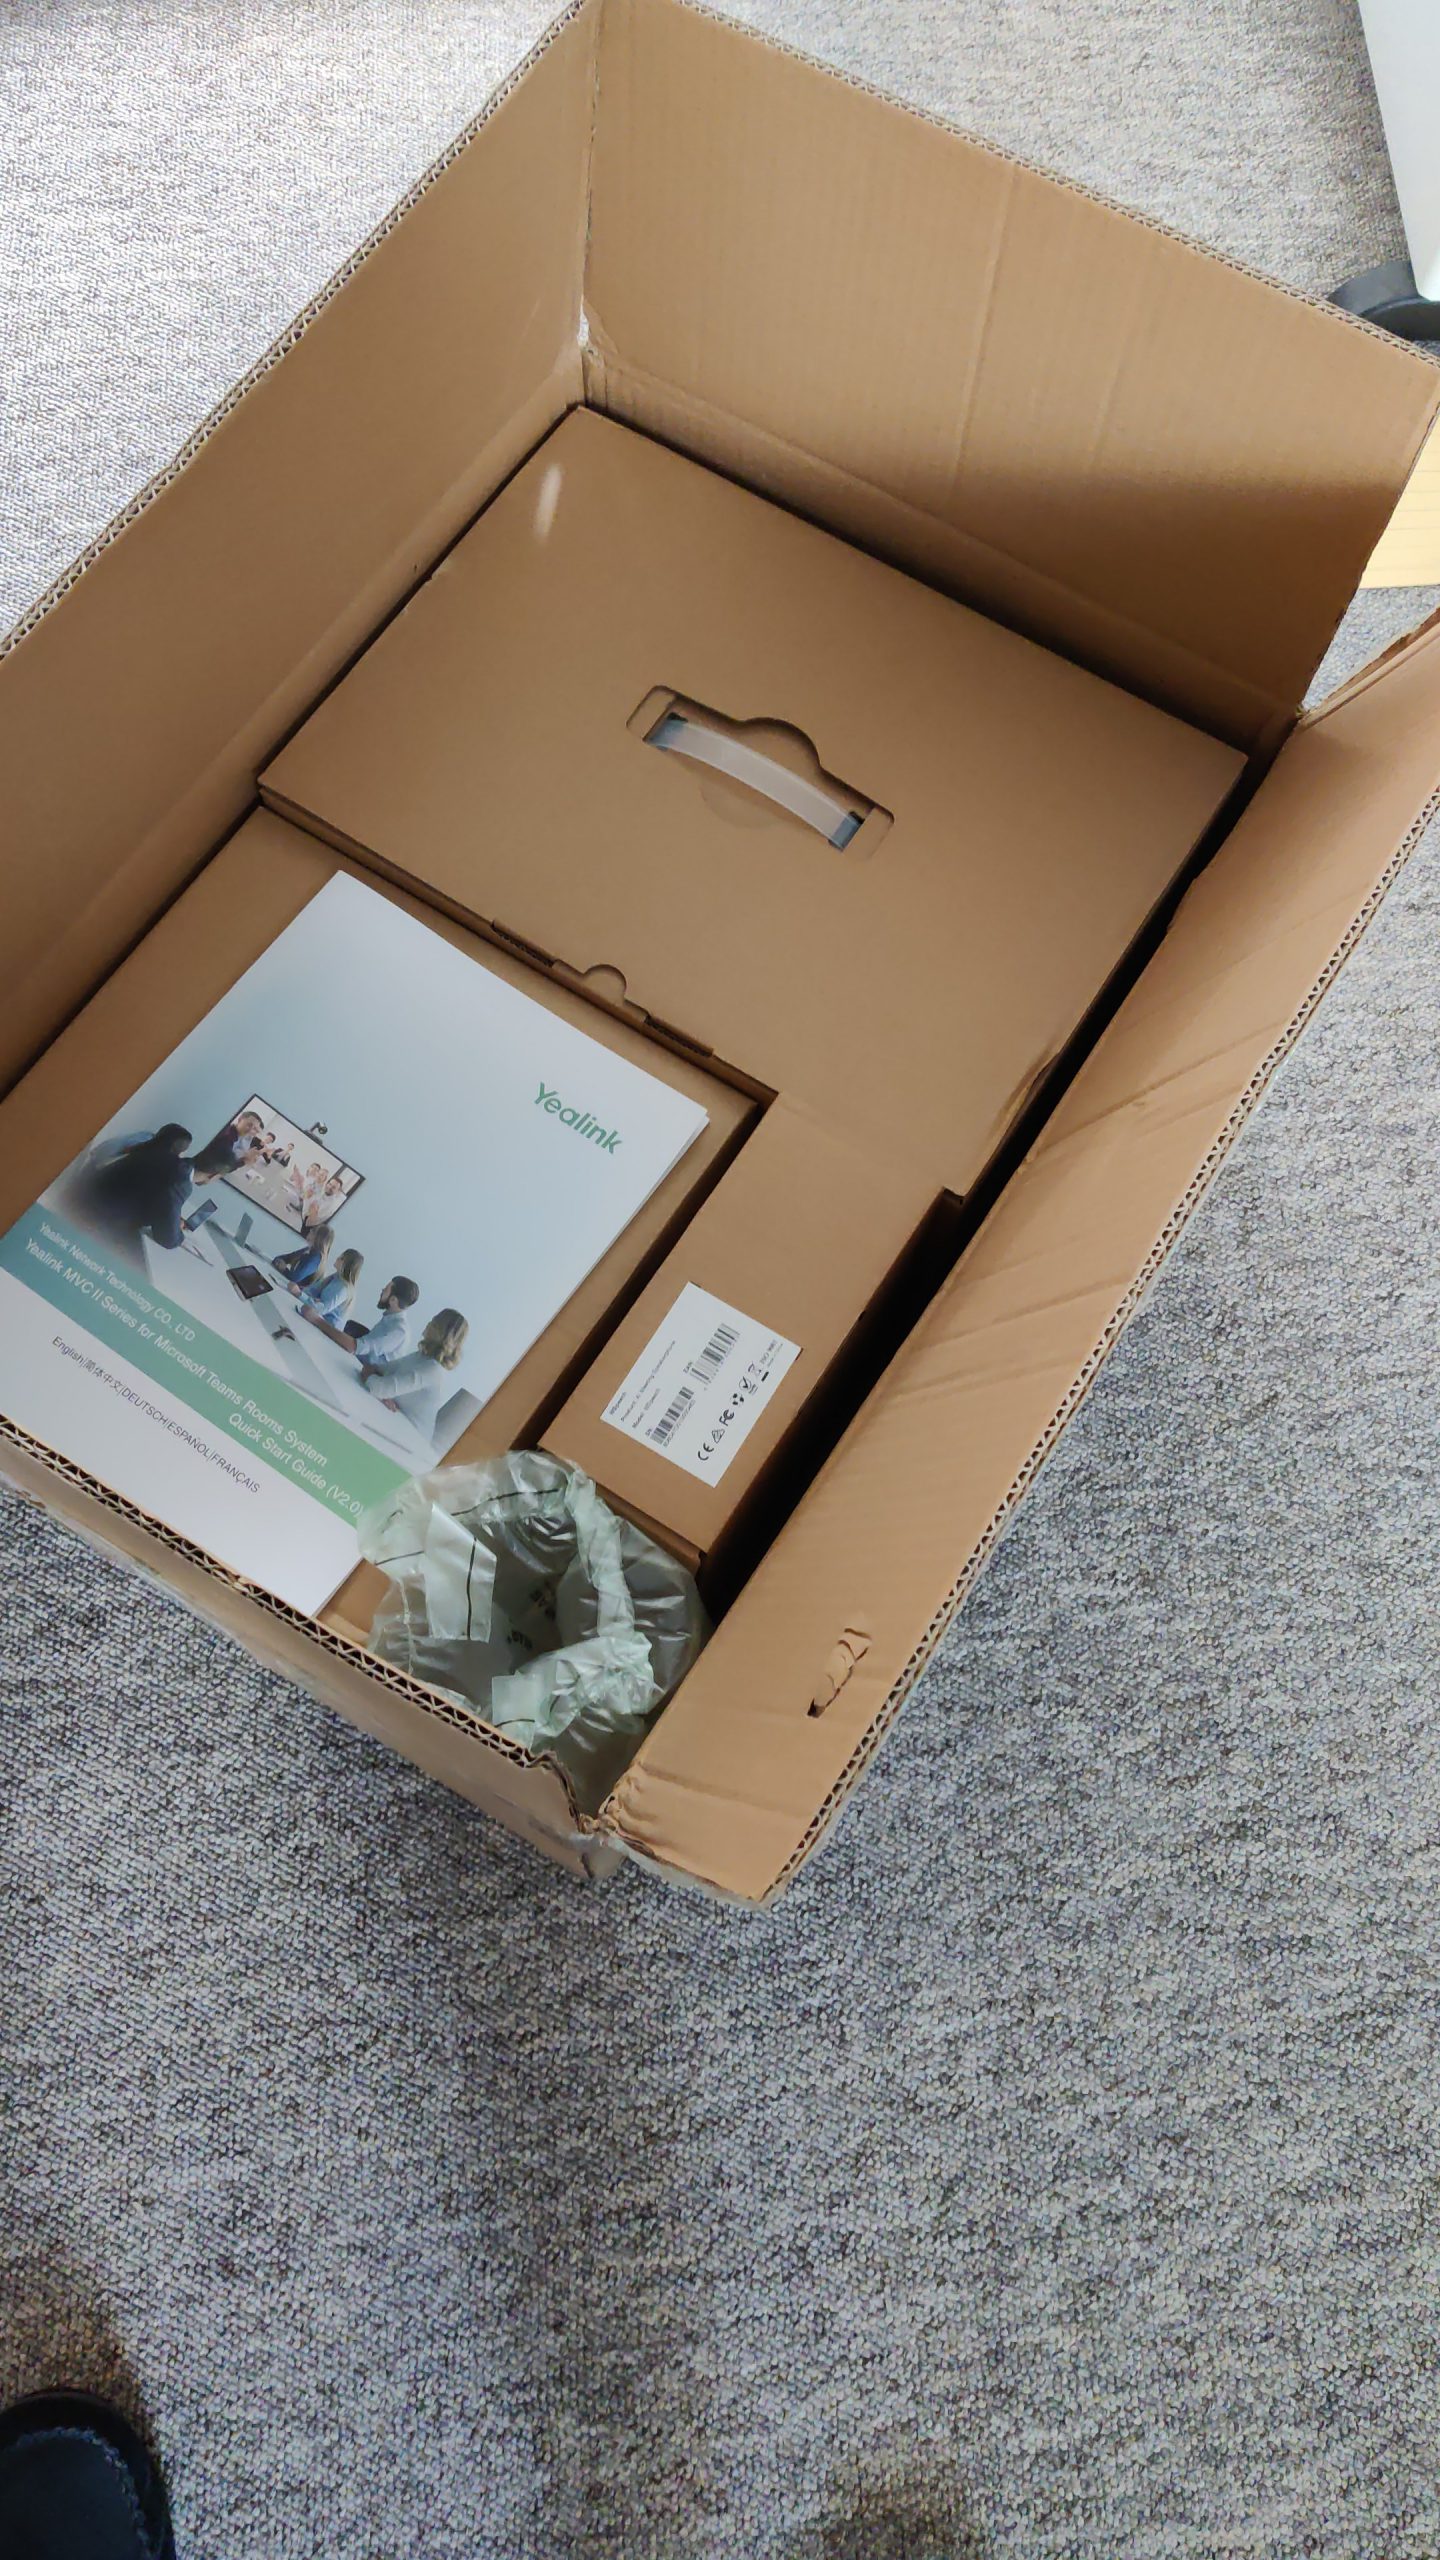
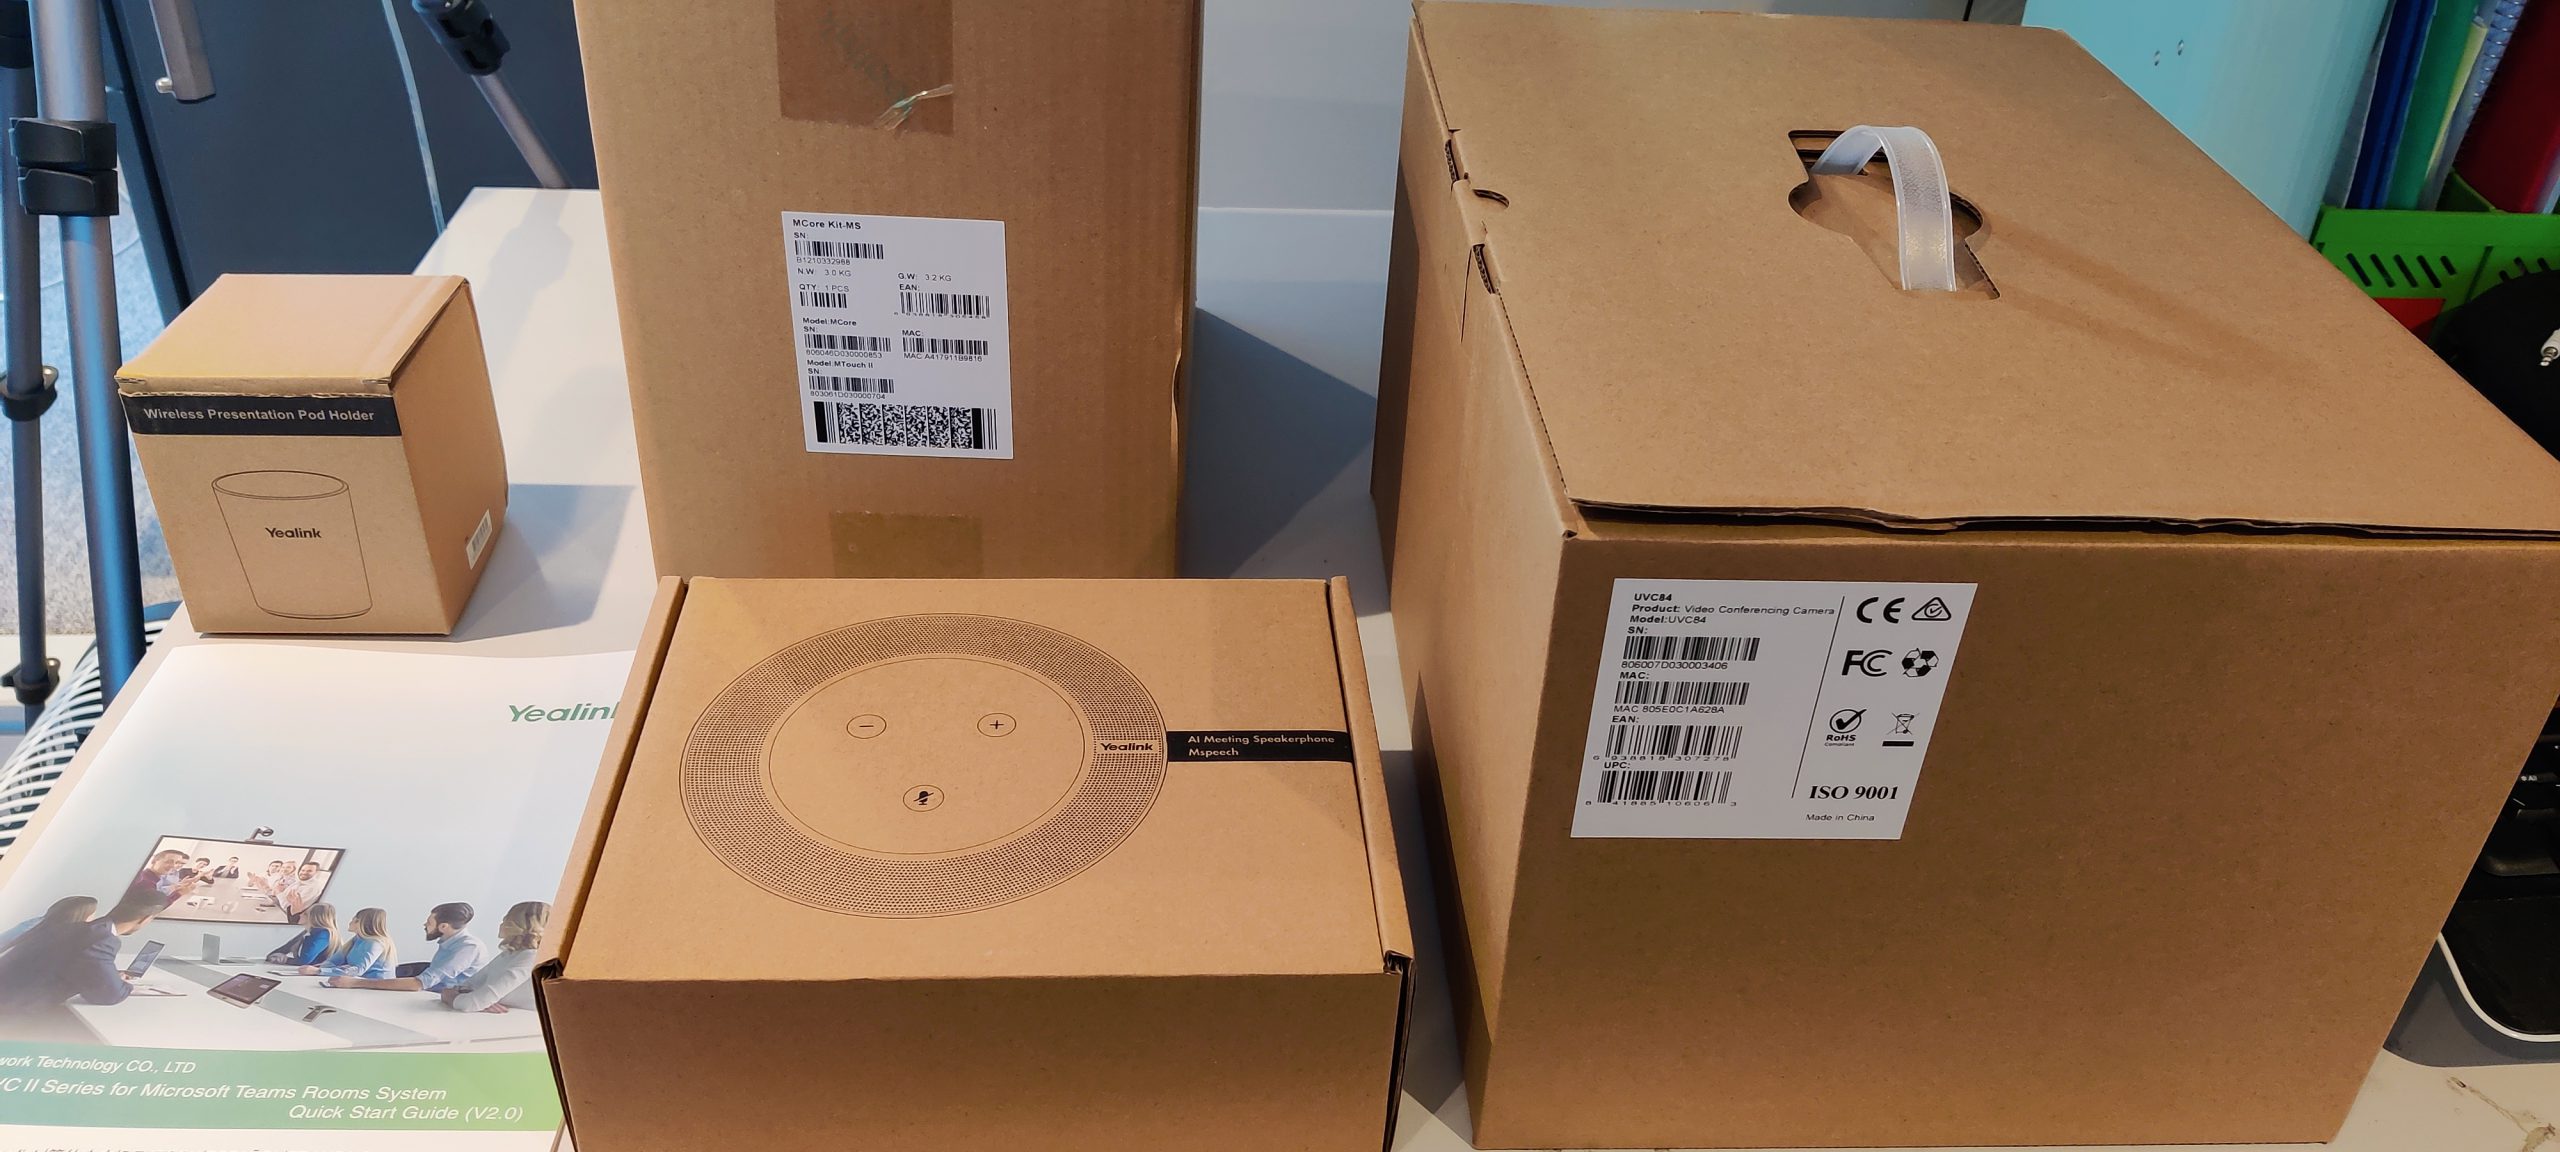
And after opening all the boxes I had:
- UVC84 Video Conferencing Camera, a pan and tilt camera, with wall mount, a box of cables and stuff including a 2.5m USB cable, 7.5m ethernet cable, cable ties and a EU power adapter without a UK plug even though purchased via a UK website though it was shipped over the weekend from Germany.
- Mtouch II Panel for the meeting control, this will sit on the desk. It was boxed with more cable including a HDMI to USB-C adapter, 7.5, of ethernet cable and a screwdriver and screws for the provided wall plate.
- MCore, the mini-PC that does all the compute. This came with a EU power adapter, mounting panel, two HDMI cables and anoter screwdriver.
- A branded pen holder! And a remote control, which I promptly put into the pen holder.
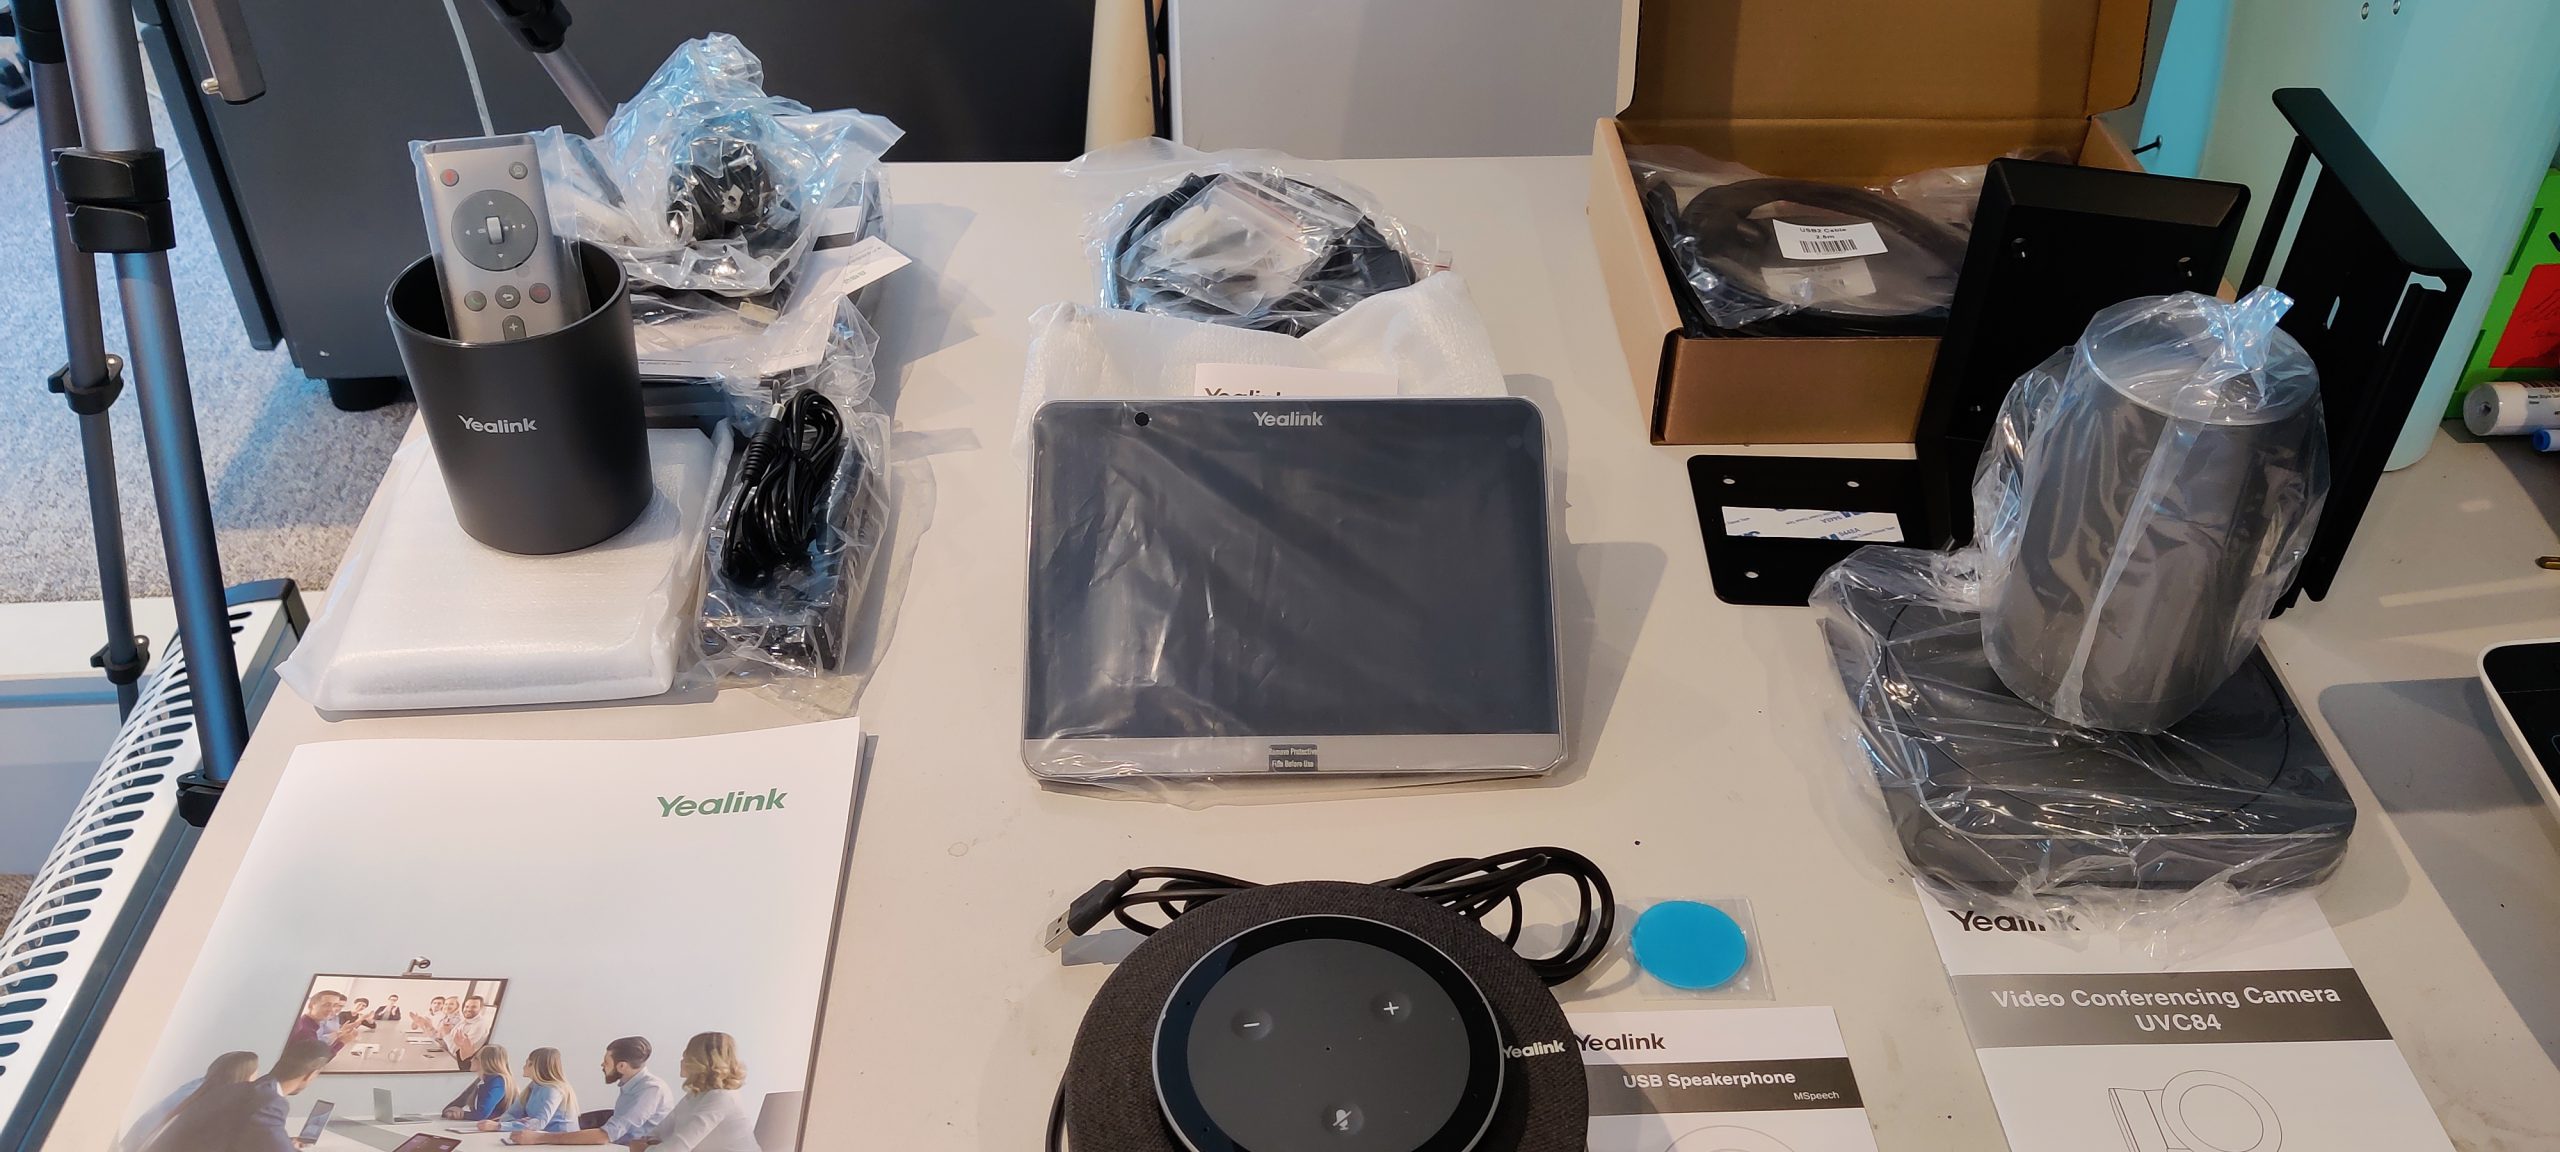
Assembly of the components is easy and the booklet shown bottom left in the above picture shows all the connections for each Yealink product. I turned to the MVC640 page and plugged everything in and powered the system on. It is running Windows 10 customised for Teams rooms and so the first set of steps configures Windows 10 generally via the primary display and once that is done, the Teams Room application starts on the touch screen with the user license agreement as shown below.
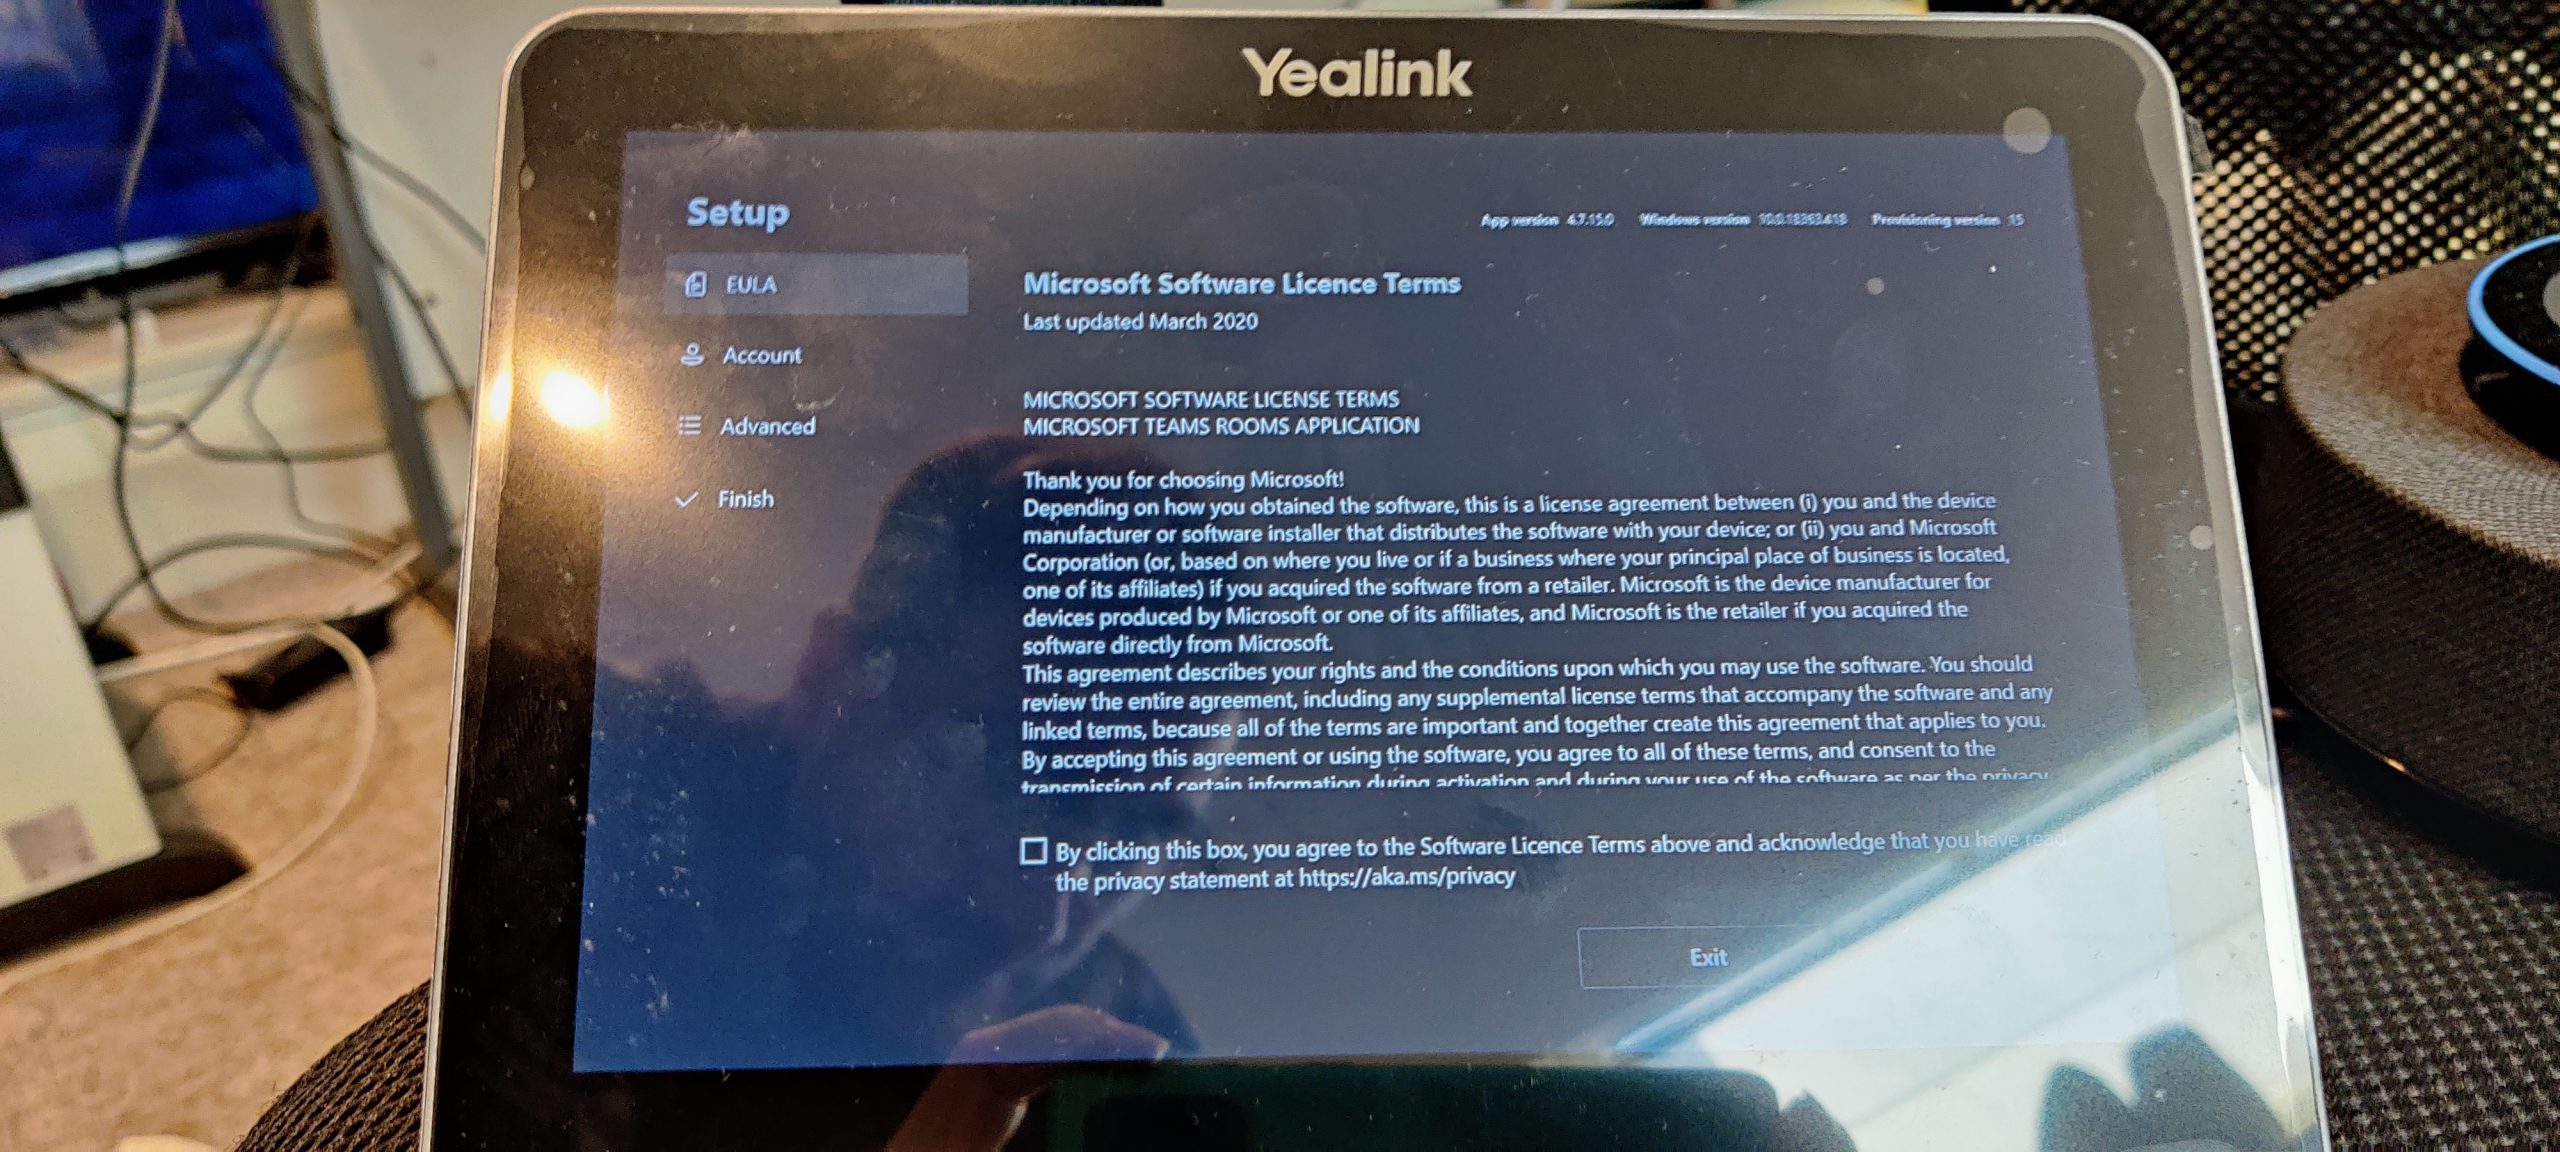
Following the Microsoft Teams Room software licence there are steps about the user account to login as (which was created and licenced above) and the all important question about if this is a Teams Room or a Skype for Business Server Room (it can do both) – you need to pick your default platform.
There are other settings available, the default password for the room is sfb and you can change things like the number and order of displays (you can have two, one for content and the other for users video but there are a number of Teams views that can span both monitors), as well as the theme, which is a colour background that spreads across both monitors (so they are wall mounted next to each other if you have them).
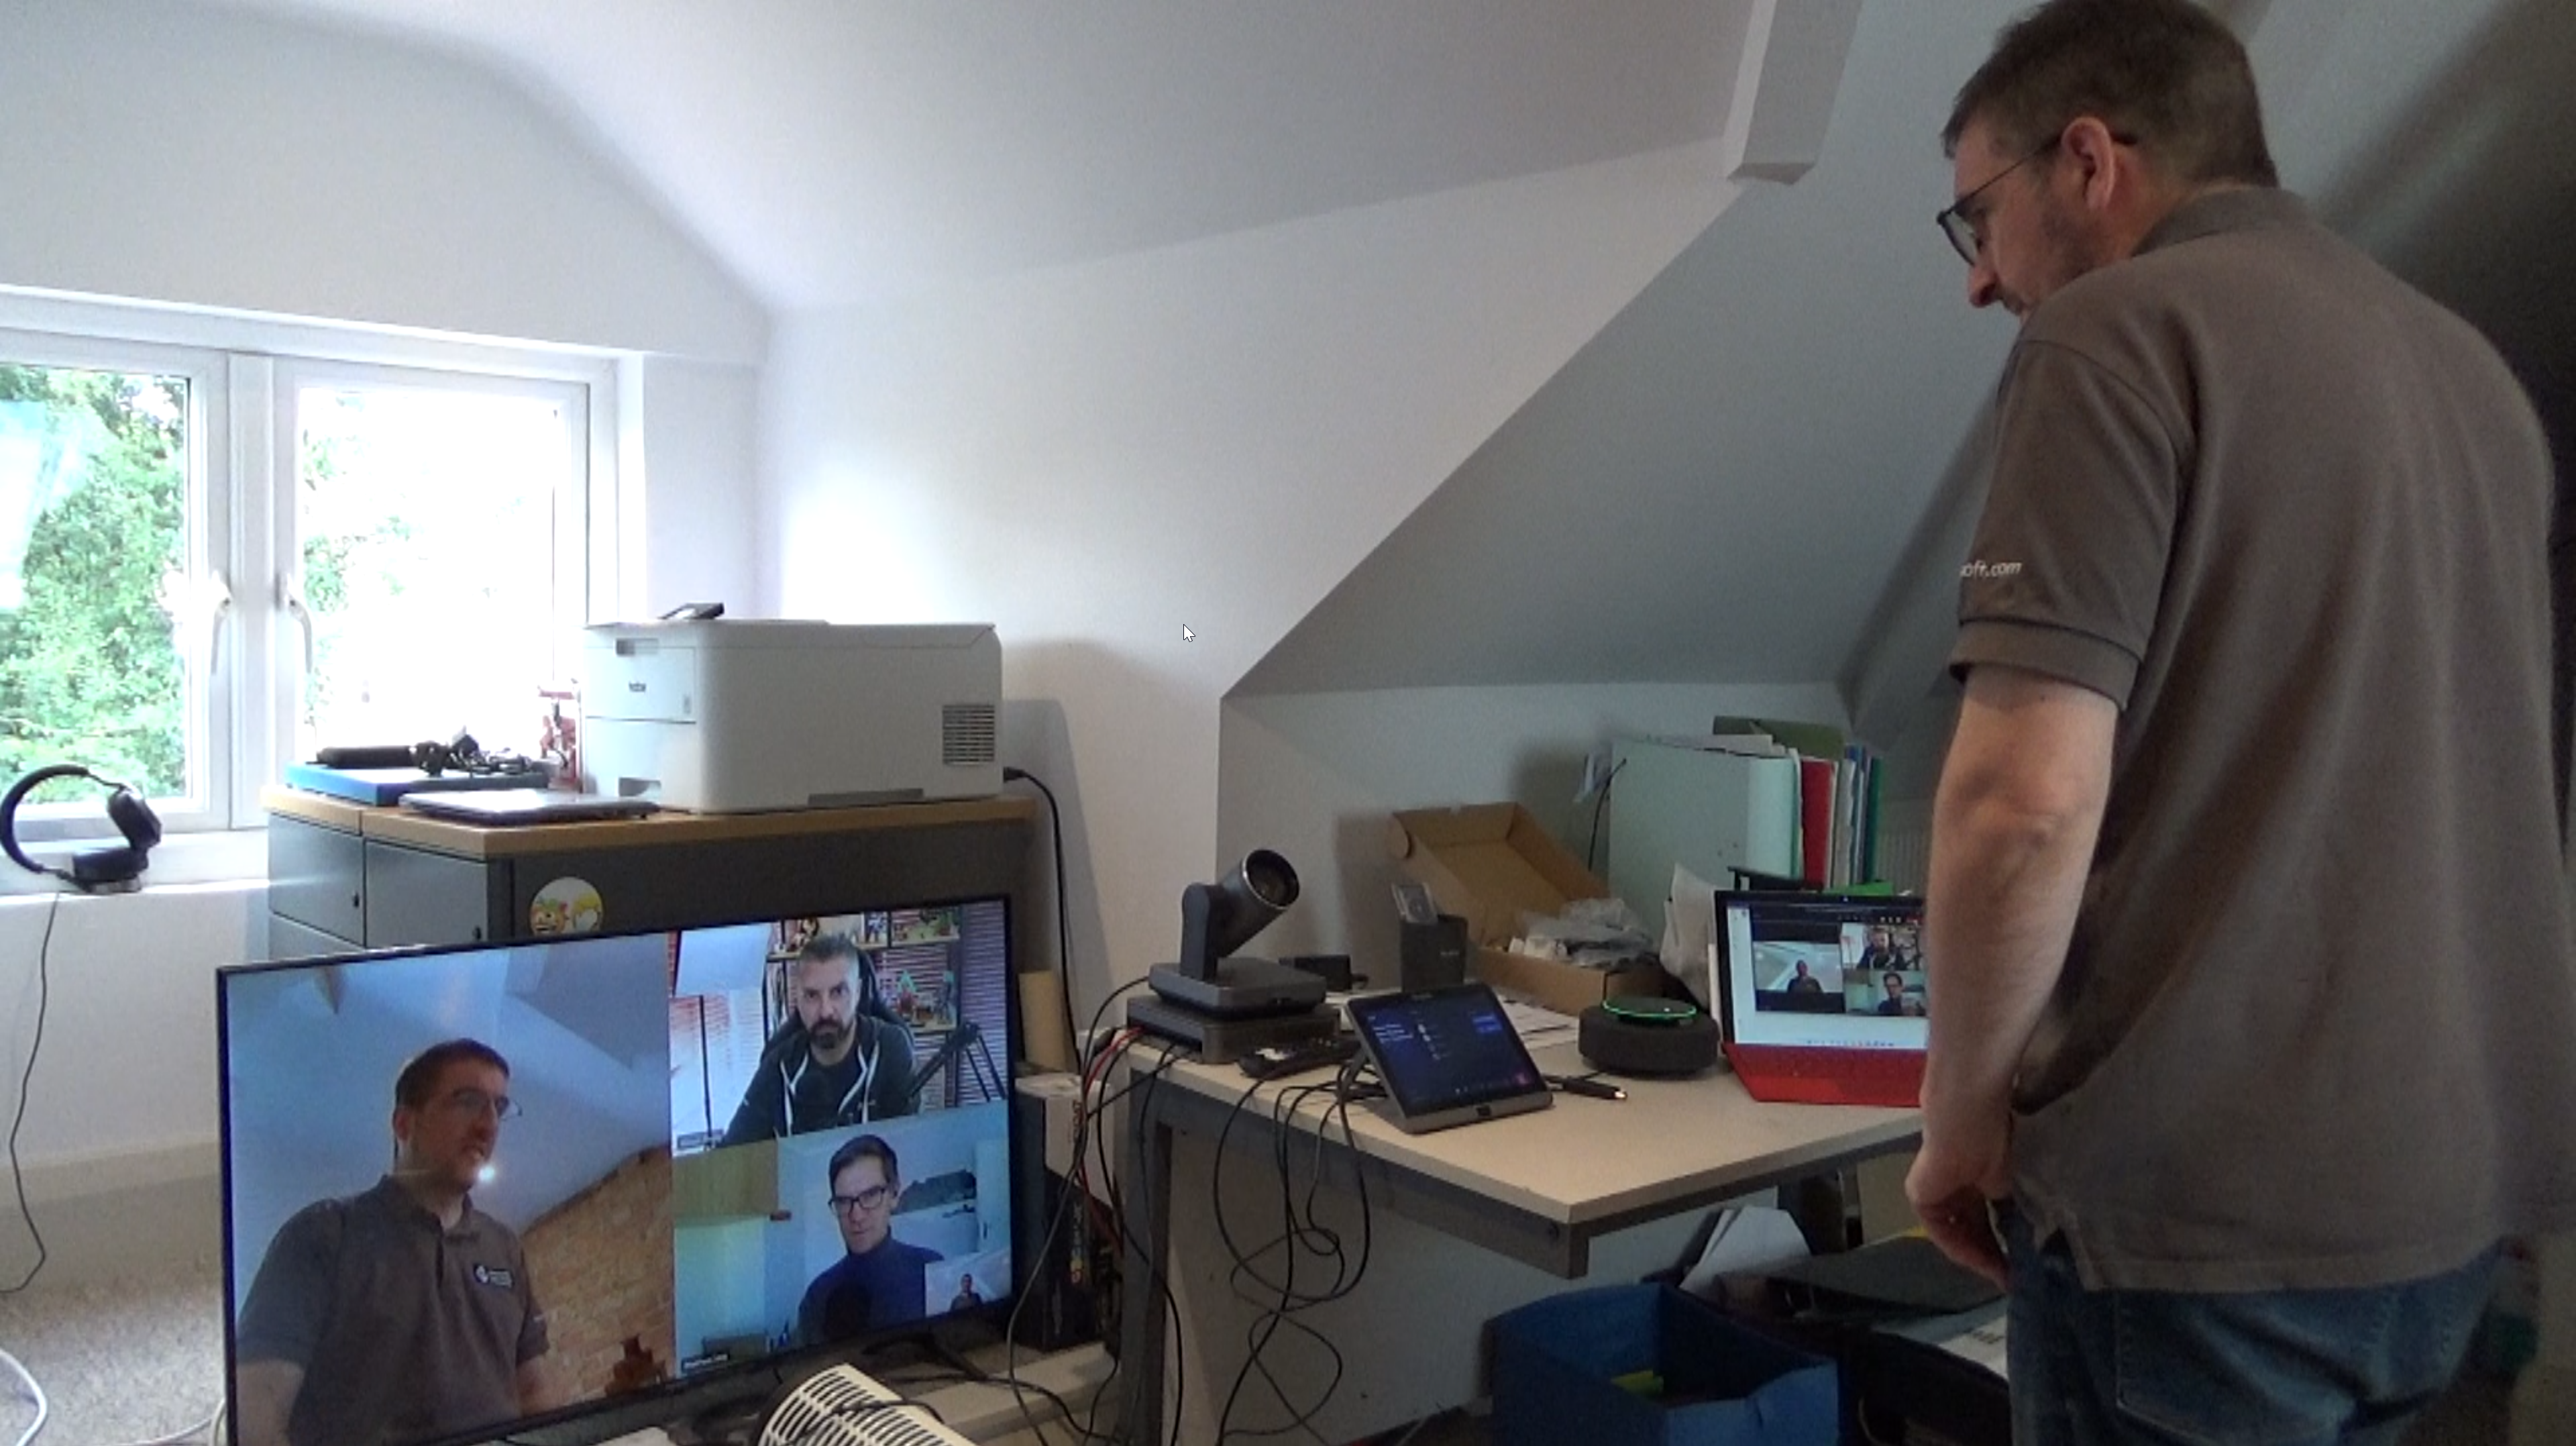
Once the device is logged in as the room, any up an coming meetings will appear on the touch panel, and as the meeting time arrives the “Join” button will light up. If you walk into an empty room and start a meeting on your laptop Teams will detect that you are in a Teams Room (via a Bluetooth signal) and offer to connect you to the room audio/camera/display. If the meeting you are joining here was created external to your company then you need to have enabled external meetings for the room to take the audio over – thats the “ProcessExternalMeetingMessages $true” in the Set-CalendarProcessing options near the top of this post.
In the collection of equipment that arrived there is a Yealink Smart Speaker. With the correct settings enabled in Teams the meeting will attempt to attribute users to the transcript. That is, by default, the transcript will say the name of the room for anyone in the room who speaks but with attribution enabled the individual users will be identified in the transcript. Users are either identified by name (if the user has registered their voice profile in Teams client settings) or as “Speaker 1”, “Speaker 2” etc. This is disabled by default and works (at the time of writing) for US based tenants with US English speakers. To turn this on for the Global policy run the following Teams PowerShell
Set-CsTeamsMeetingPolicy Global -EnrollUserOverride Enabled -roomAttributeUserOverride Attribute -AllowTranscription $true
This is covered in the documentation at https://docs.microsoft.com/en-us/microsoftteams/rooms/voice-recognition#enable-an-intelligent-speaker-user-recognition and as there are more policies than just the Global policy you might need to set the above if you have a Smart Speaker to more than one policy.
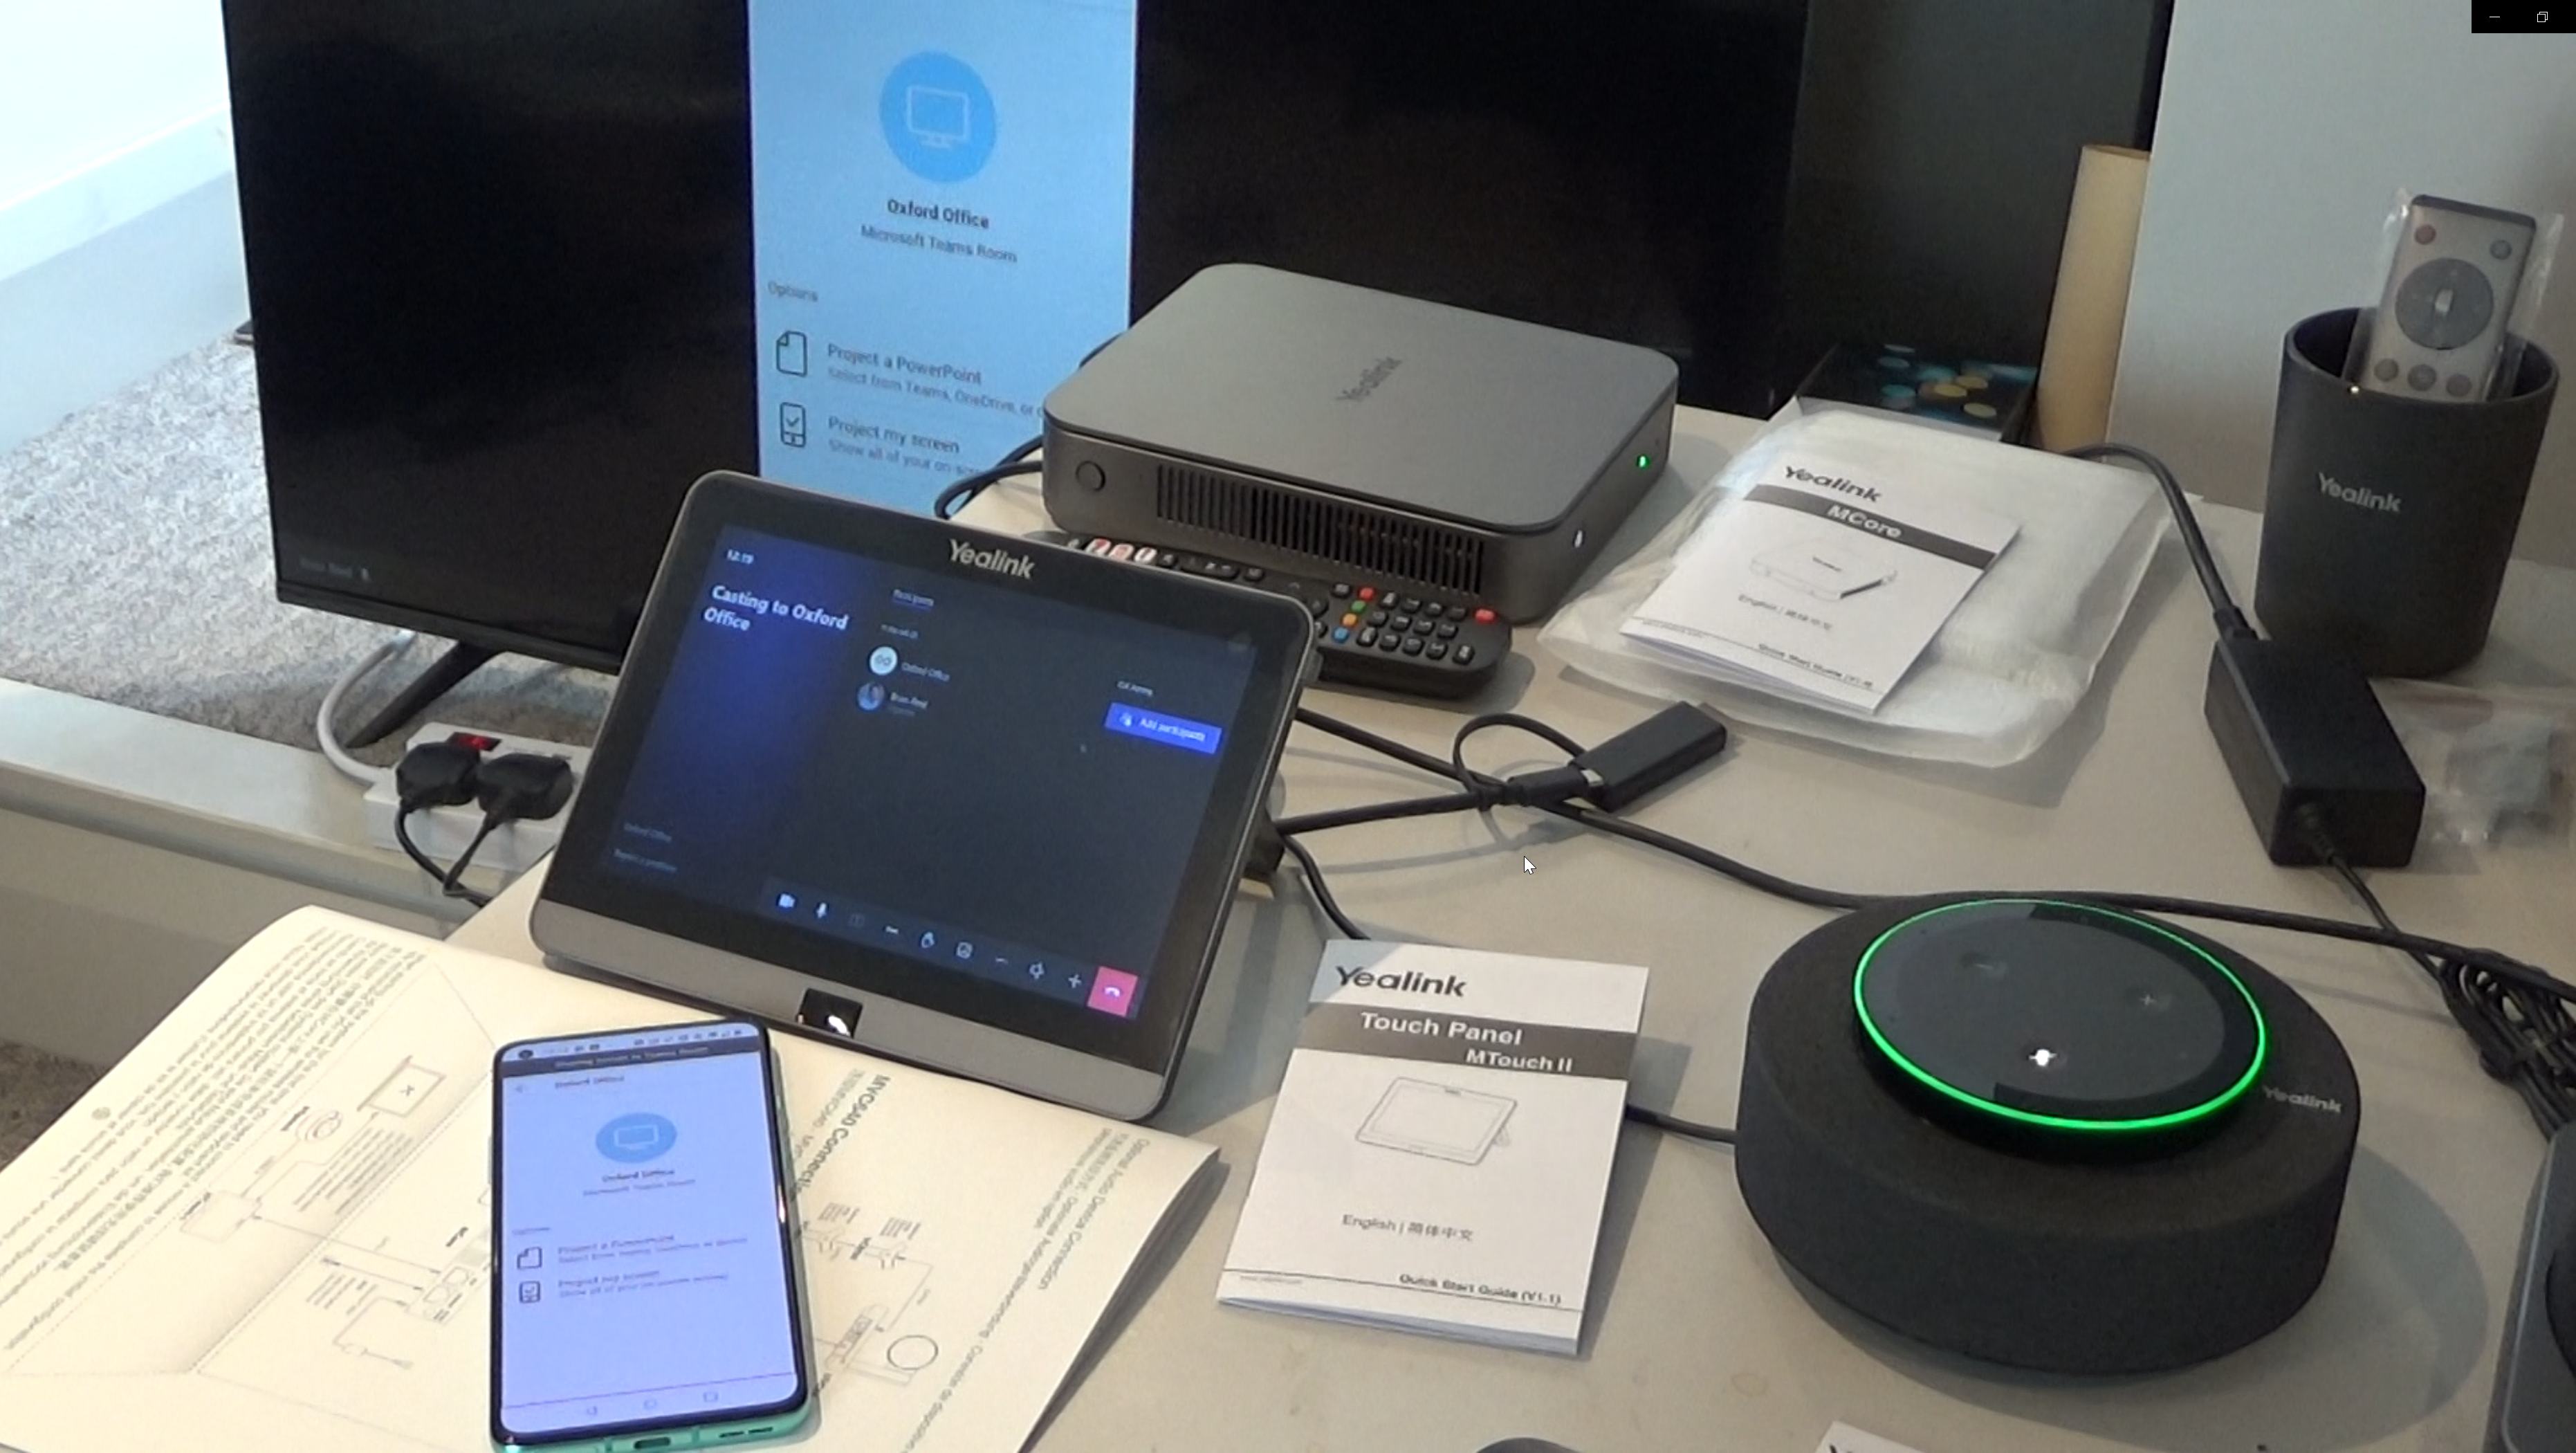
The room panel supports easy screen sharing, and a cable is provided that allows a HDMI or USB-C cable to be plugged into a laptop to share the screen. The very act of plugging in the cable auto starts Teams sharing if you are in a meeting – there is nothing else you need to do. It is so simple its impressive.
If you are not in Teams Meeting and have just used the room, then the act of plugging in the cable shares the screen to the display as well so its easy to have a physical meeting without requiring invites and prebooking etc.
The Teams App on your phone supports mobile screen sharing via the Cast button. You can cast your mobile display to the room from the Teams Mobile App – Cast is an option on the bottom rail of apps inside Teams:
All done – so I held a meeting and later on I tidied away the cables and the different components!
Leave a Reply to Vincent Cancel reply