
Teams Room Pro licences come at a licence cost, but provide considerably more features than Teams Room Basic licences (which are free, and limited to 25 rooms per tenant). One of the features available in Teams Room Pro is dual display, and another is the Microsoft Teams Rooms Pro Management portal, but for me the important one is Intune management is included in the licence.
Before Upgrading
Lets take a quick look around the settings and options we have in place before we enable our first Teams Room Pro licence. This is what we see in the Teams Admin Center (where I have used an M365 E5 licence to grant Intune access) – a warning about the wrong licence in place (I also have a Teams Room Basic licence, and so this is why the device has not been blocked from working since end of September 2023):

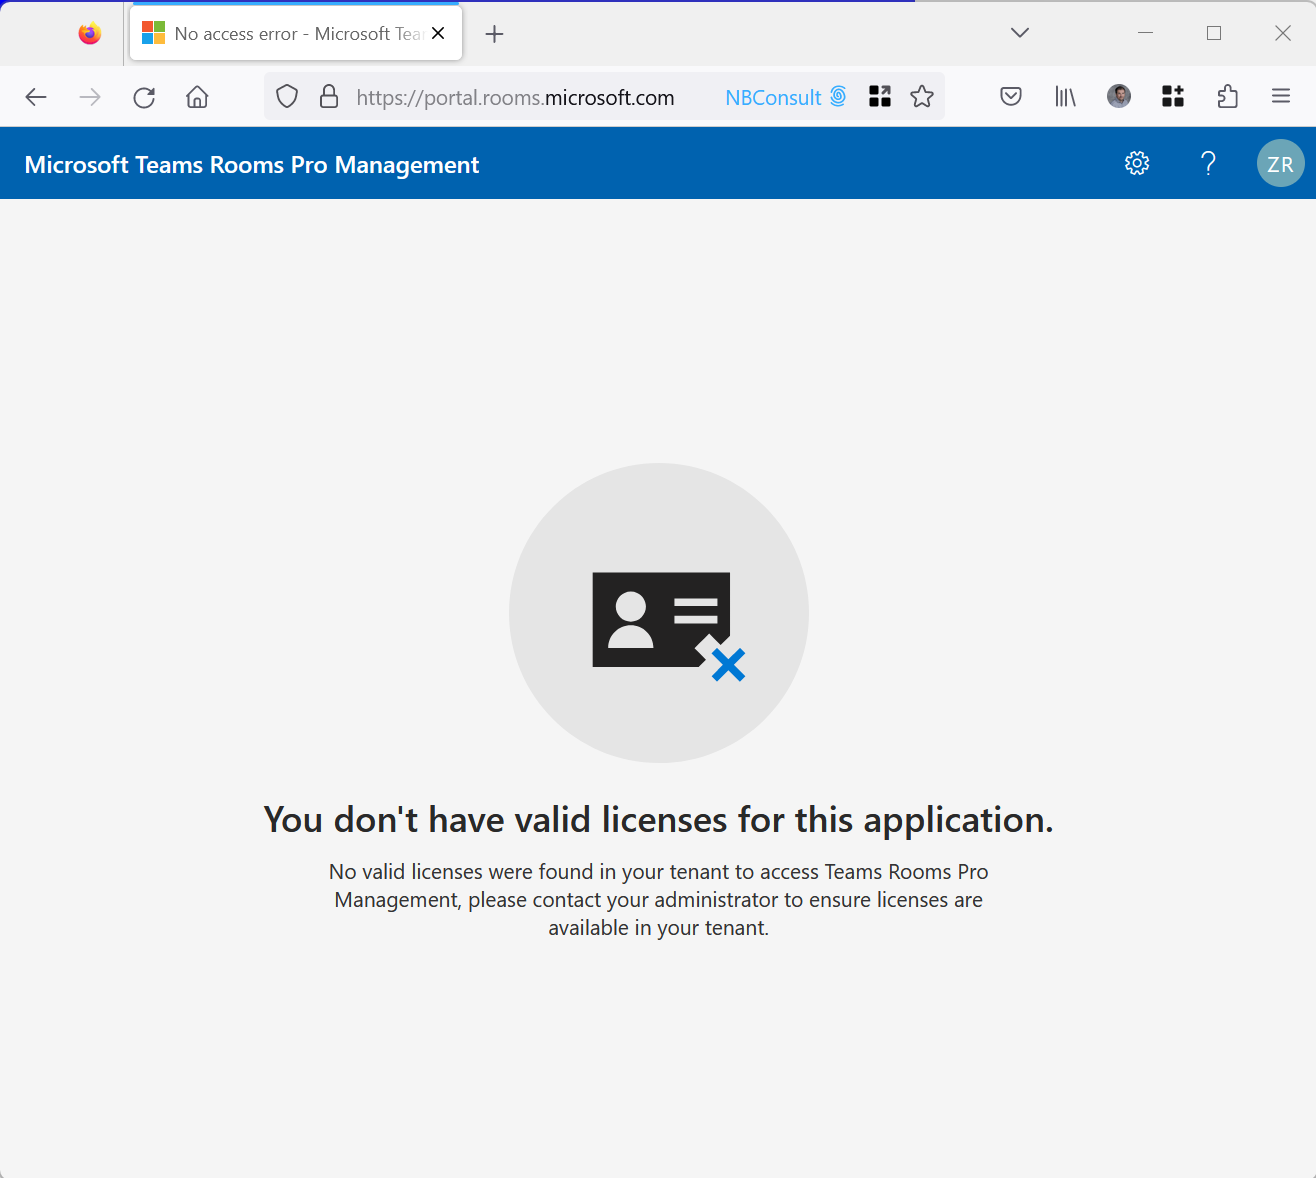
Teams Room Pro Management Portal (https://portal.rooms.microsoft.com/) does not work:
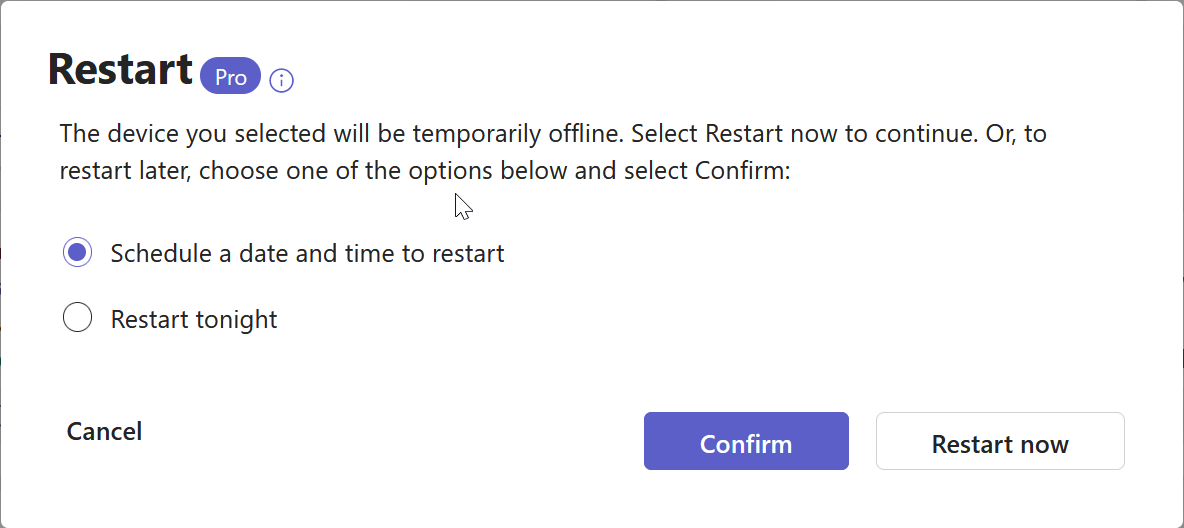
Limited remote management features from the Teams Admin Center (https://admin.teams.microsoft.com/devices), for example remote reboot is reported to be Pro only (though “restart now” worked for me on a basic licence):
The full list of features is shown at https://learn.microsoft.com/en-gb/microsoftteams/rooms/admin-center-license-overview and as you can see above, they are indicated with a “Pro” icon in lots of places.
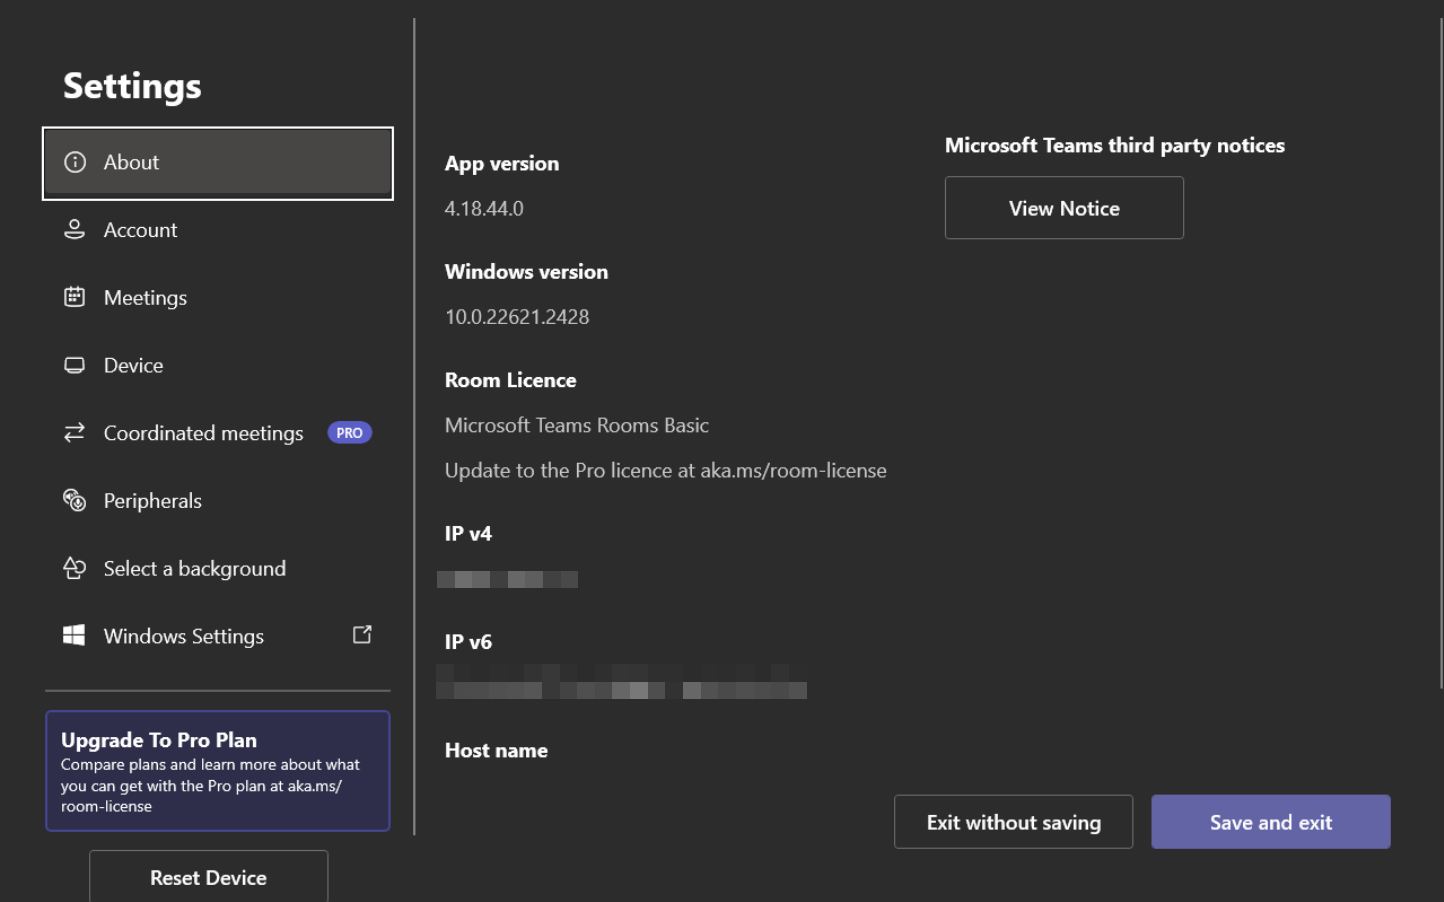
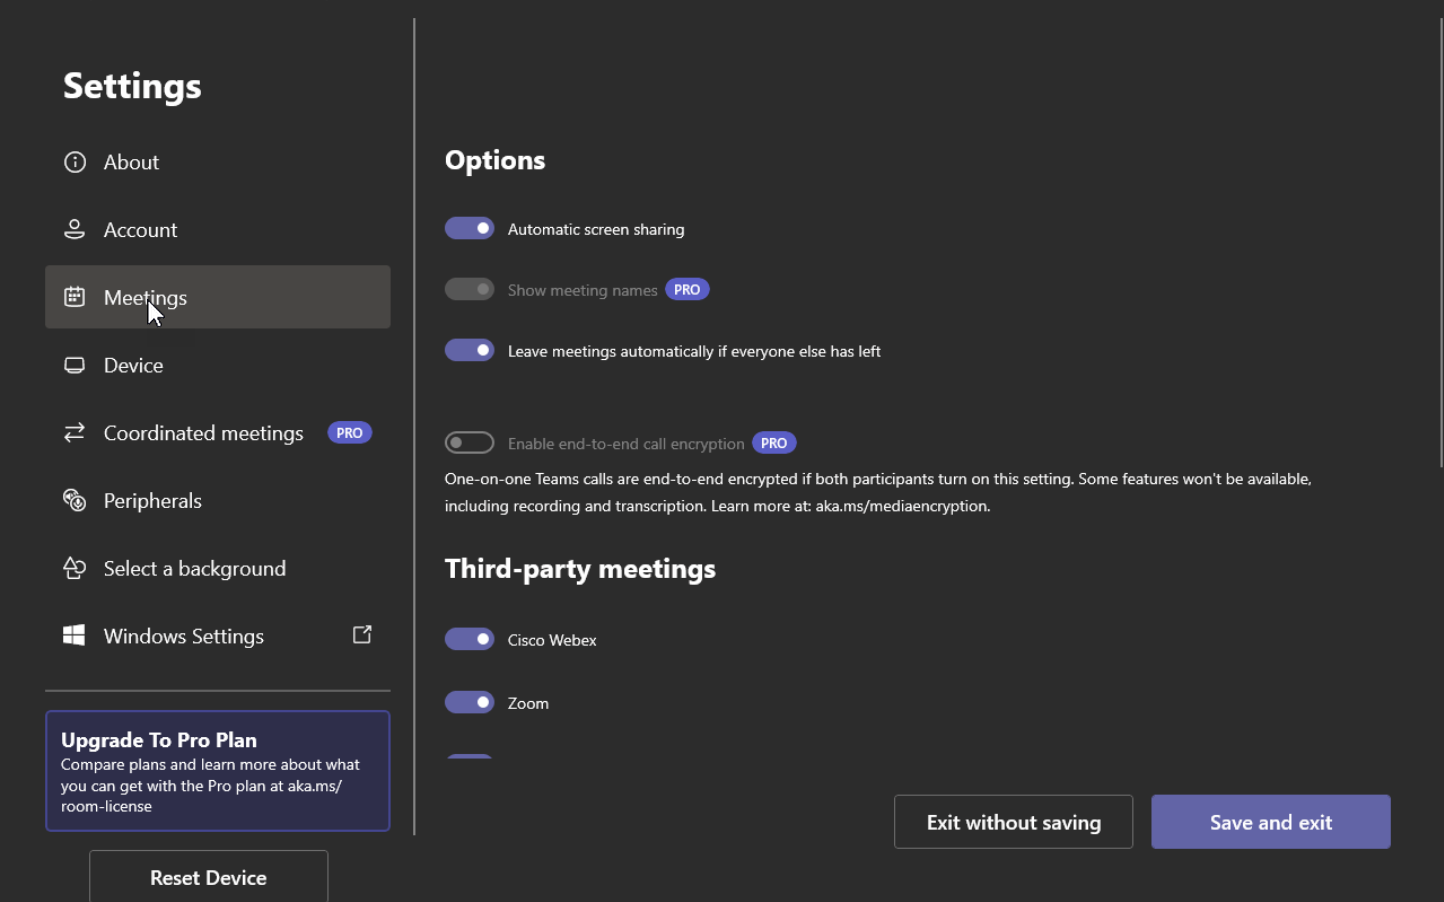
On the Teams Room device, this “Pro” icon can be seen in numerous places, for example these two:
Changing Team Room Licence
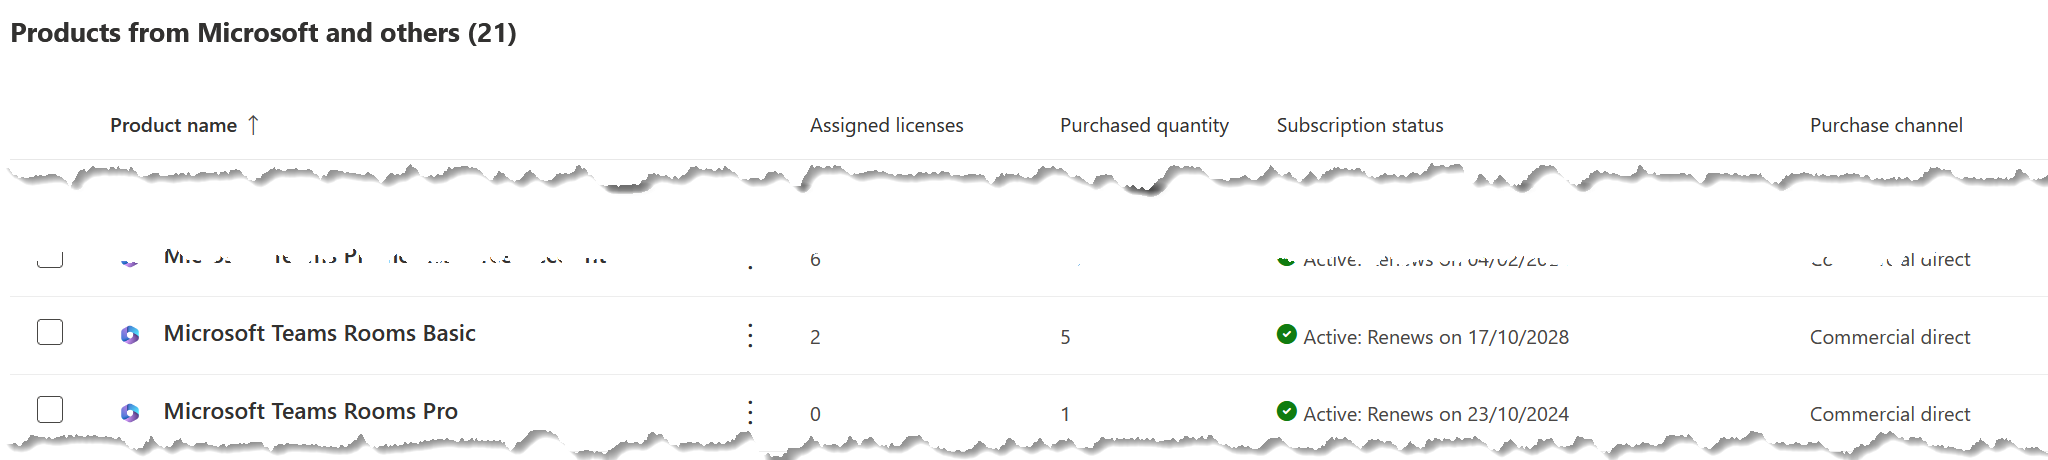
Once you have purchased your Teams Room Pro licence(s) and they have appeared in your tenant, it is time to upgrade your existing Microsoft Teams Rooms. Here you can see the Teams Room Pro licence (x1) in my M365 Admin Billing Center and not assigned to any rooms, and that the Basic Licence is assigned to 2 rooms already.
To assign the Teams Room Pro licence, locate the room account in either the M365 Admin Center (https://admin.microsoft.com) or the Entra Admin Portal (https://entra.microsoft.com). I’m using the latter as I had assigned my Basic licences via Group Based Licencing, so I am going create a new group and assign the room account via this method:
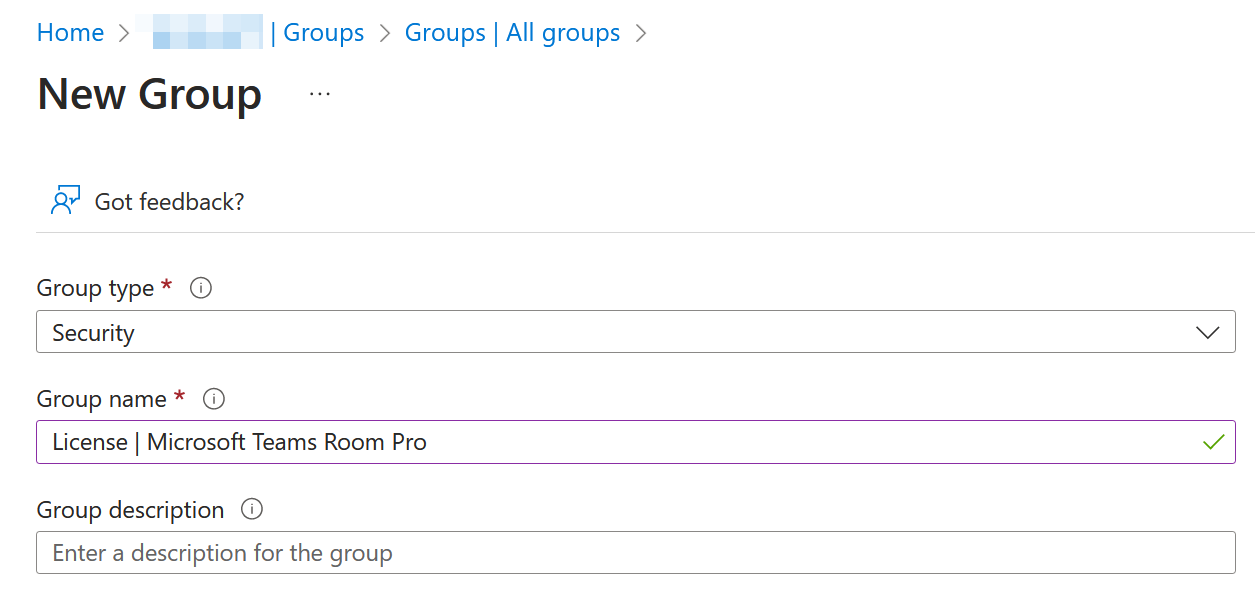
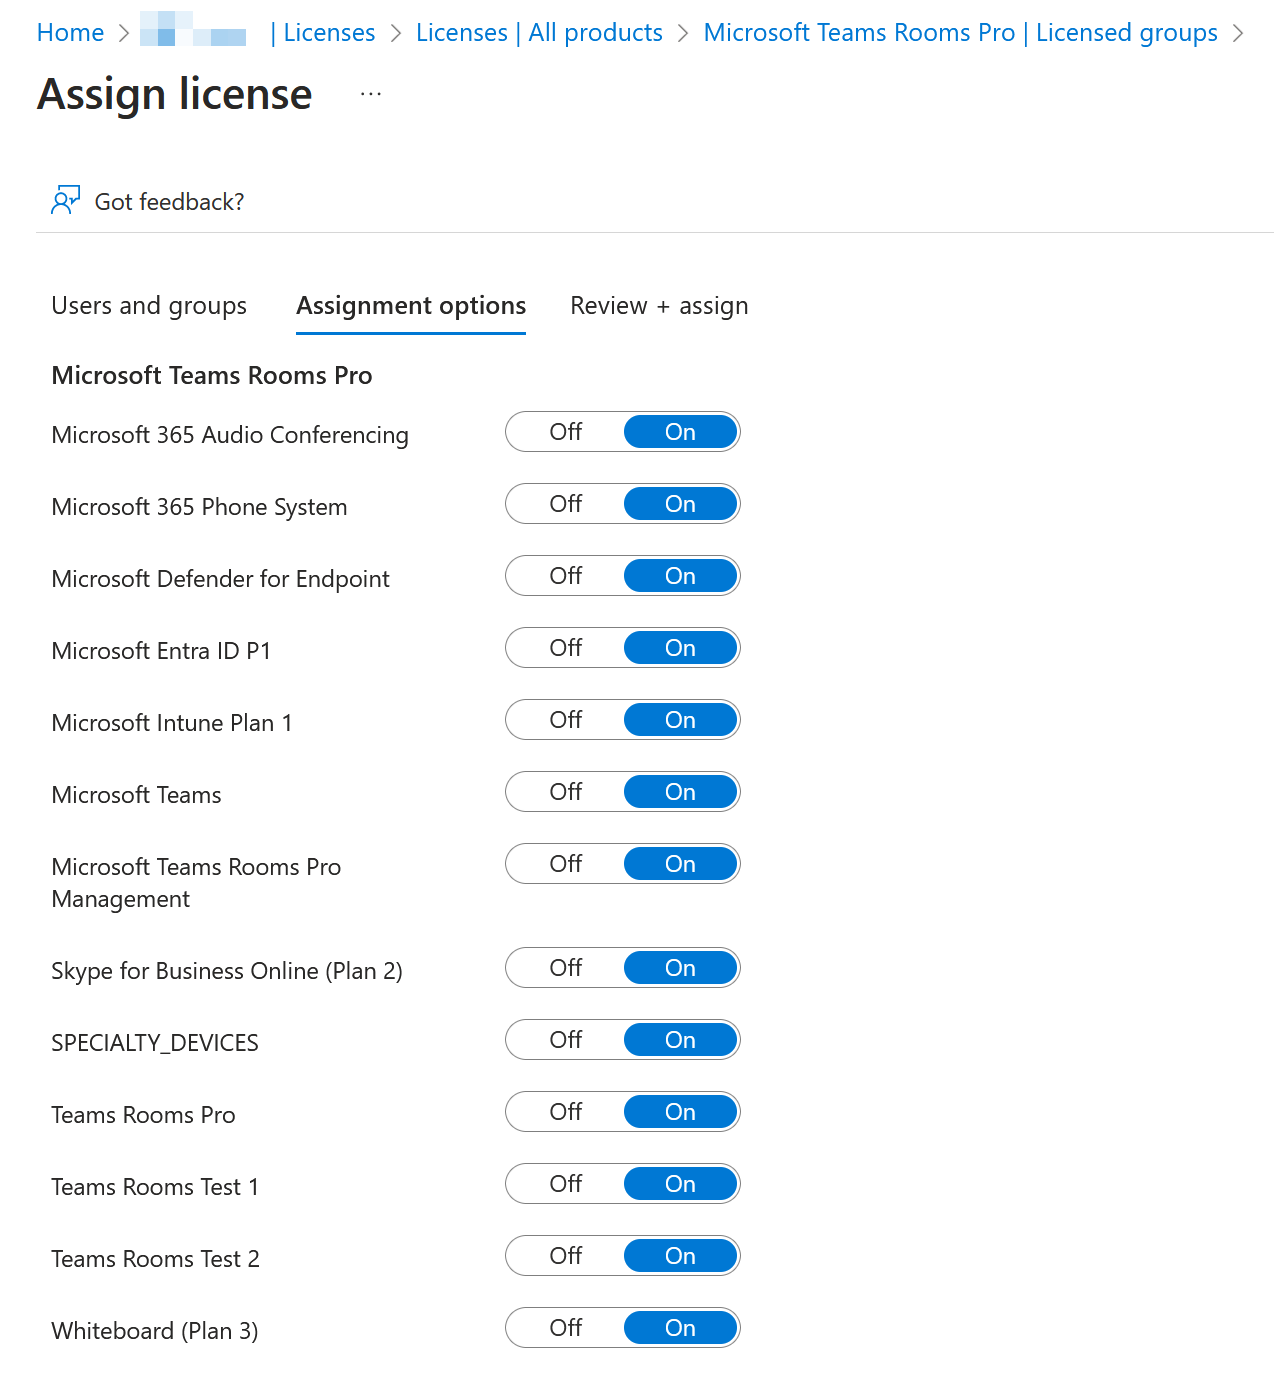
I created the group and added the Teams Rooms resource account (not the device) to the group. I then assigned the new licence to this group.
I waited until the licence had taken effect before removing the user from other groups that granted Basic or M365 or other licences. You can safely stack the Pro with the Basic licence, that is – assign both at the same time – without issues. This ensures that you do not remove the Basic licence before adding the Pro and causing some unintended consequence of removing a licence too early.
Head off for a coffee or a walk, and come back in 15 minutes. The licence change needs to propagate to the Teams Admin Center and Microsoft Teams Rooms Pro Portal.
Enabling New Features
The first feature that I was able to access after getting the new licences on the tenant was the Microsoft Teams Room Pro Management portal (https://portal.rooms.microsoft.com/) and this started with a “get to you you” form. After I had filled that out I was presented with a portal and a long list of notices and status information and new features, all old and not relevant to me as I have just joined my first device. But that said, a quick read does give you an idea of some of the features that the Pro Portal provides as well as links to the Known Issues and Release Notes.
You can change the language of the portal from the cog icon top right.
Rooms will auto enrol in the Pro Management Portal if upgraded to Teams Room client version 4.17 or later and have a Pro licence. For your Teams rooms to know they have a Pro licence requires them to be rebooted, or wait until after 2am the next day becuase these device reboot each day at about 2am.
In this scenario where we are migrating from Basic to Pro licences we will need to onboard the room devices. If we do not do this step then the devices will self-enrol after 30 days as long as they appear in the Pro Management Portal for 30 consecutive days. They will appear in the Pro Management Portal a few hours after getting a Pro licence and being rebooted because when Teams client 4.17 was previously installed, the “Microsoft Managed Rooms” agent was installed, but inactive. After a reboot (or two) the room is likely to appear in the Pro Management Portal, but as “Onboarding” in the same named column. The room will need to be running as the Skype user (in Room, not Admin, mode) to complete the enrolment.
Whilst you are waiting to reboot your meeting rooms (or before coming back here tomorrow to continue) you can do the following setup in the Pro Management Portal as this is not dependant on having a room enrolled:
- Configure room notifications email via Settings > General
- Add other users to the Pro Management Portal
- ServiceNow integration
Options you cannot configure until you have at least one room enrolled in Pro Management Portal include
- Create groups for your rooms (i.e. all rooms at Head Office etc,)
- Invite partner organizations to manage your rooms for a set duration
- Managing updates
- Creating plans and room planning
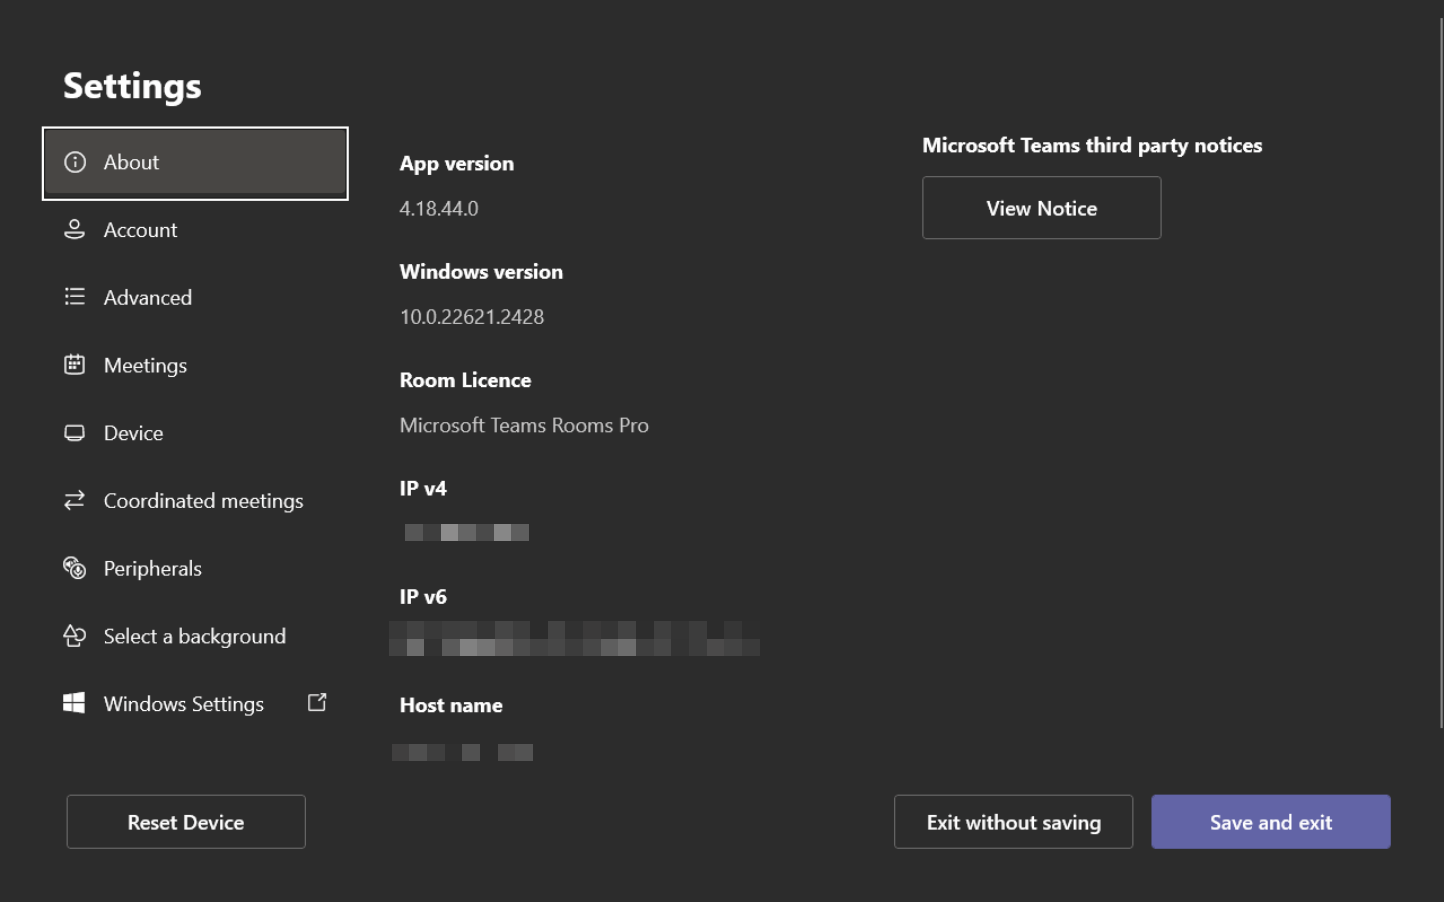
Once you have rebooted your Teams Room devices (or waited overnight) then the Room Console settings will show all the messages about “needing” Pro licences are gone:
Clicking the device name in the portal allows you to enrol it from the flyout that appears. If the client software is not up to date, i.e. older than 4.17, then you need to update the client or manually enrol the room via the Pro Management Portal.
Now that you have a room enrolled, you can complete the steps about creating Room Groups above, and if you added notifications (also above) you might have seen some emails arriving about various events of the enrolled room. For example, I got emails about USB Peripheral Power Draining (probably from my USB Keyboard dongle) and within a few minutes an update was pushed to the device to change the power settings in Windows so this was no longer an issue.
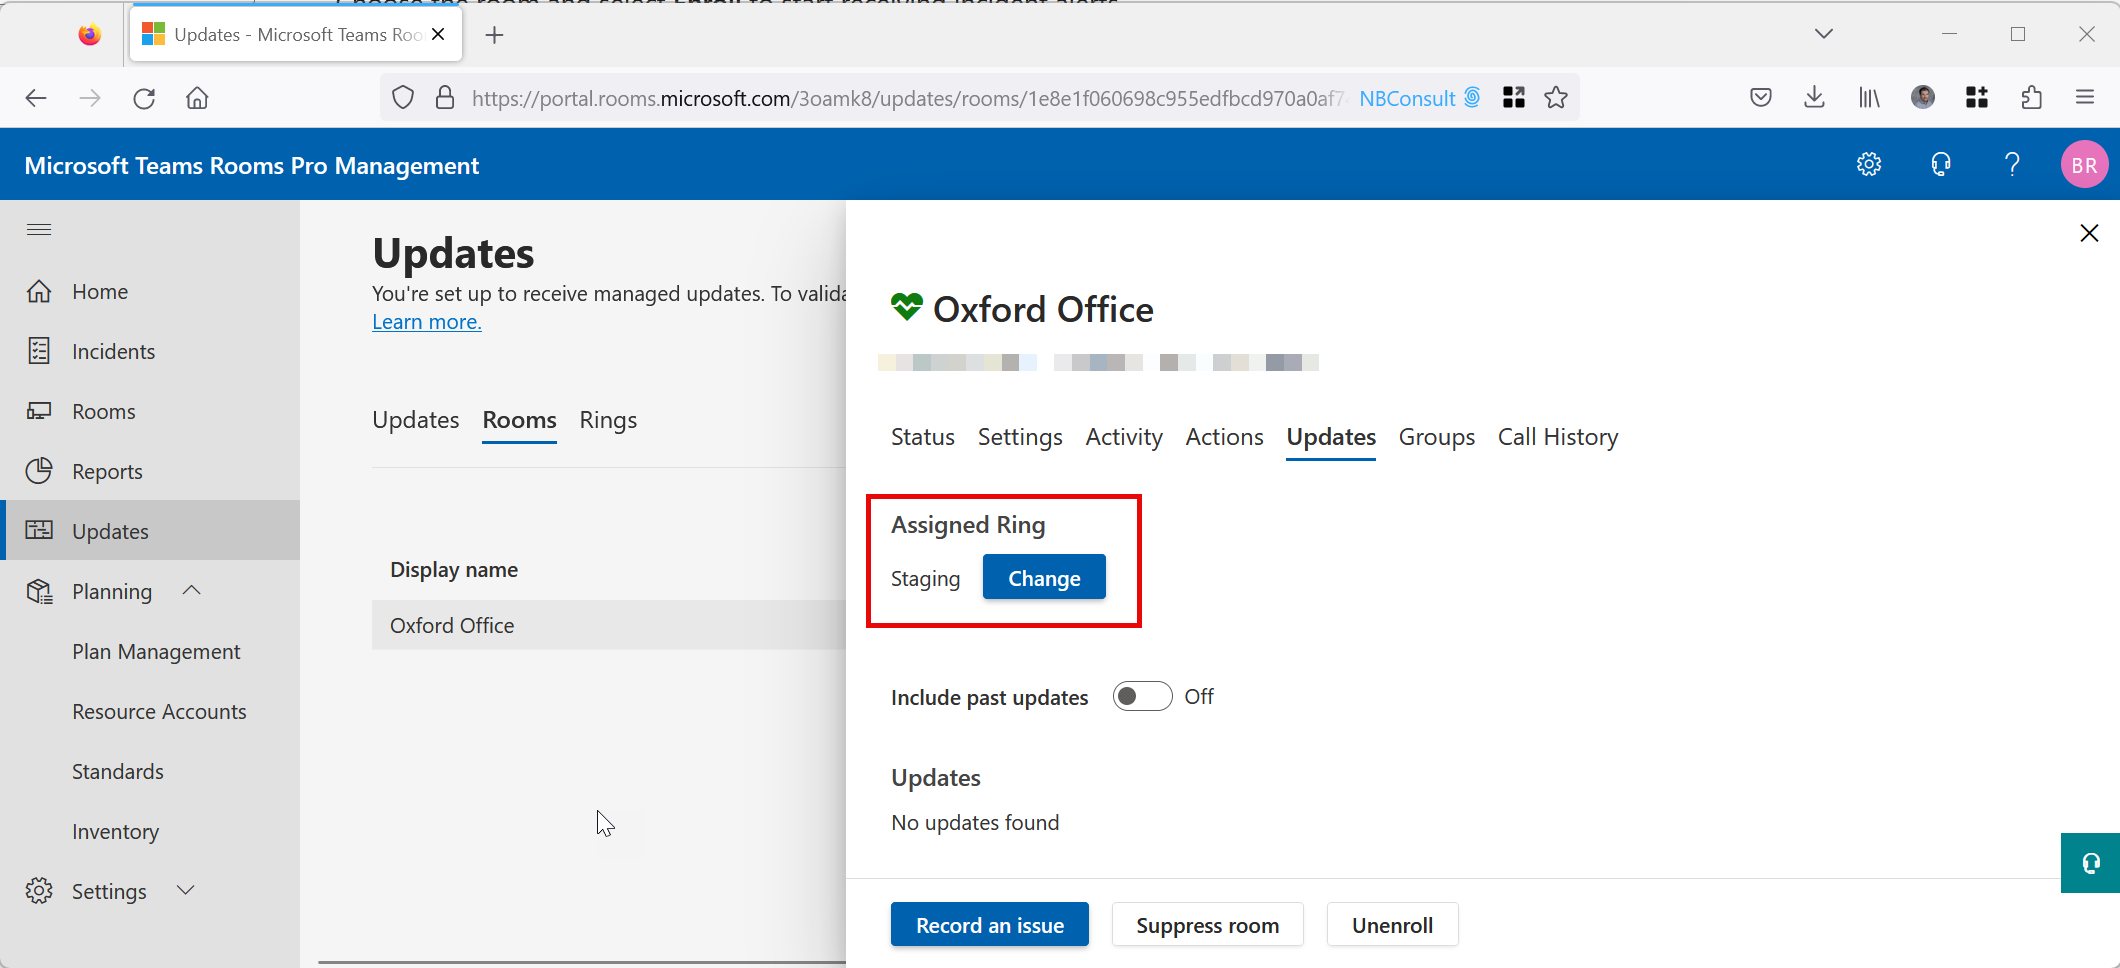
Other steps you can now complete include assigning the room to an update ring from the Updates page, for example make the room an “Executive” room to update late, or “Staging” to be part of your test updates:
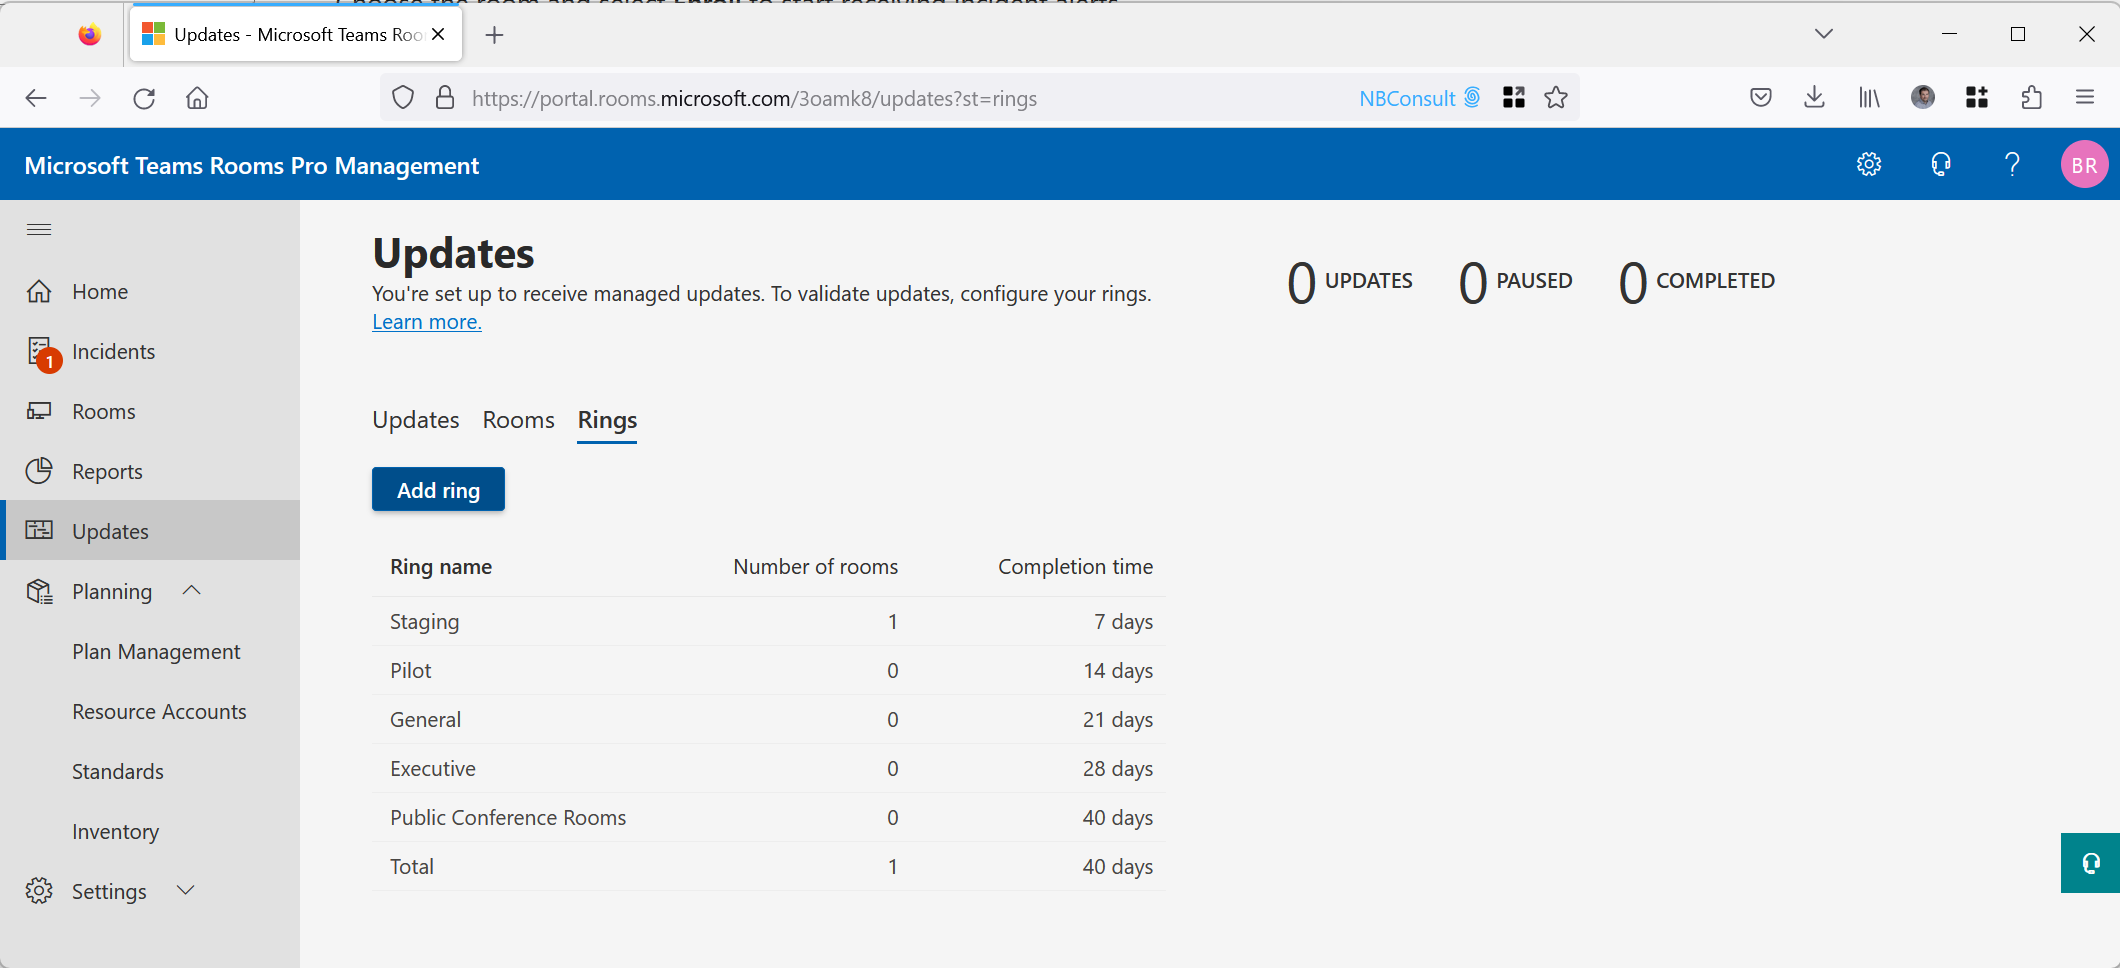
You can also customize the days that test and deployment will take and make new rings for deployment if you wish. A rollout of a new software version across all rings in your organization is restricted to 60 days maximum total in order to keep rooms current. You need to provide a “roll-out” duration (for example 2 days) and a testing duration (for example 5 days). This would mean that this update ring would take 7 days, and all the devices in this ring would get their update within the first two days of the update period, deferred by any previous update rings that run before the ring you have just created. For example, in the below I have added a “Pilot” ring as Ring #2 for 2 days deployment and 5 days testing, and a “Public Conference Rooms” as Ring #5 (the last ring) for 2 days deployment and 10 days of testing – meaning a total for all my update rings of 40 days (out of a max of 60 days).
The Updates tab in the above (not selected) shows you updates that are currently rolling out, on which rooms they have reached, and allows you to pause inflight updates if required.
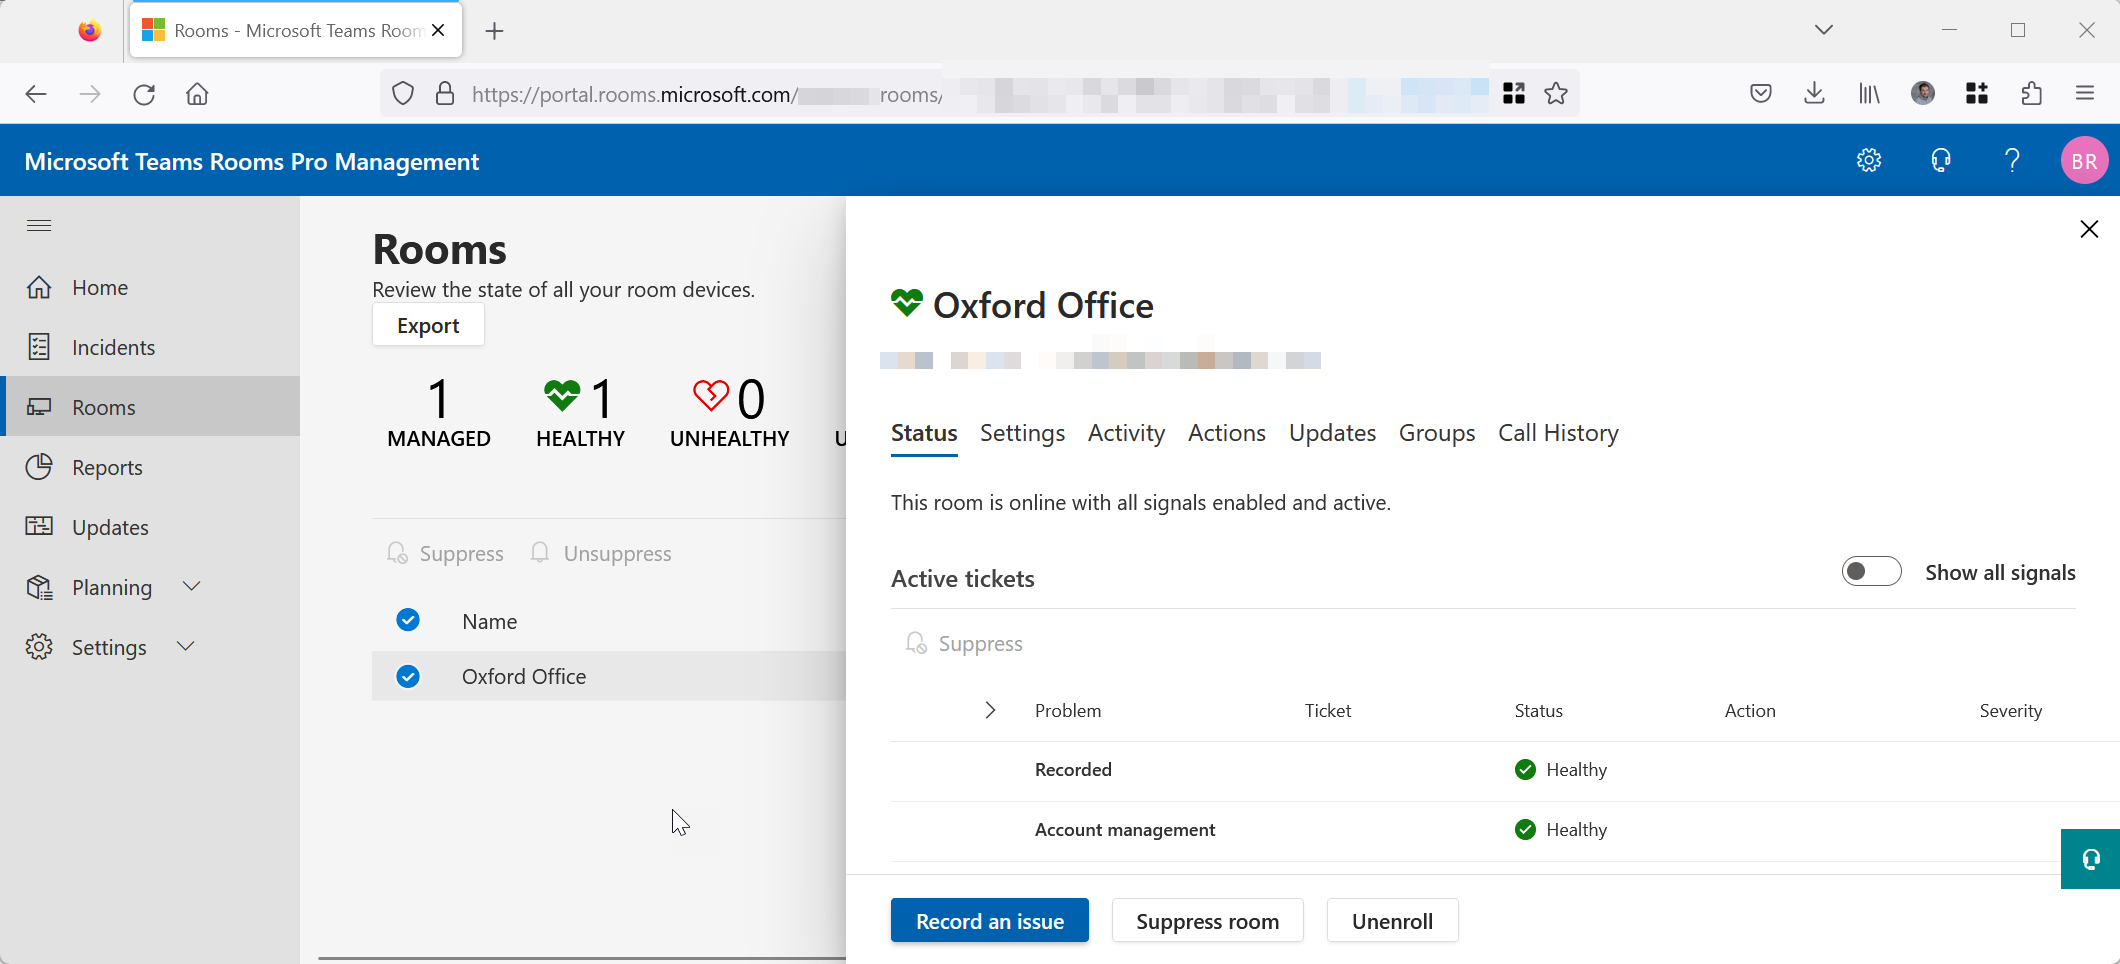
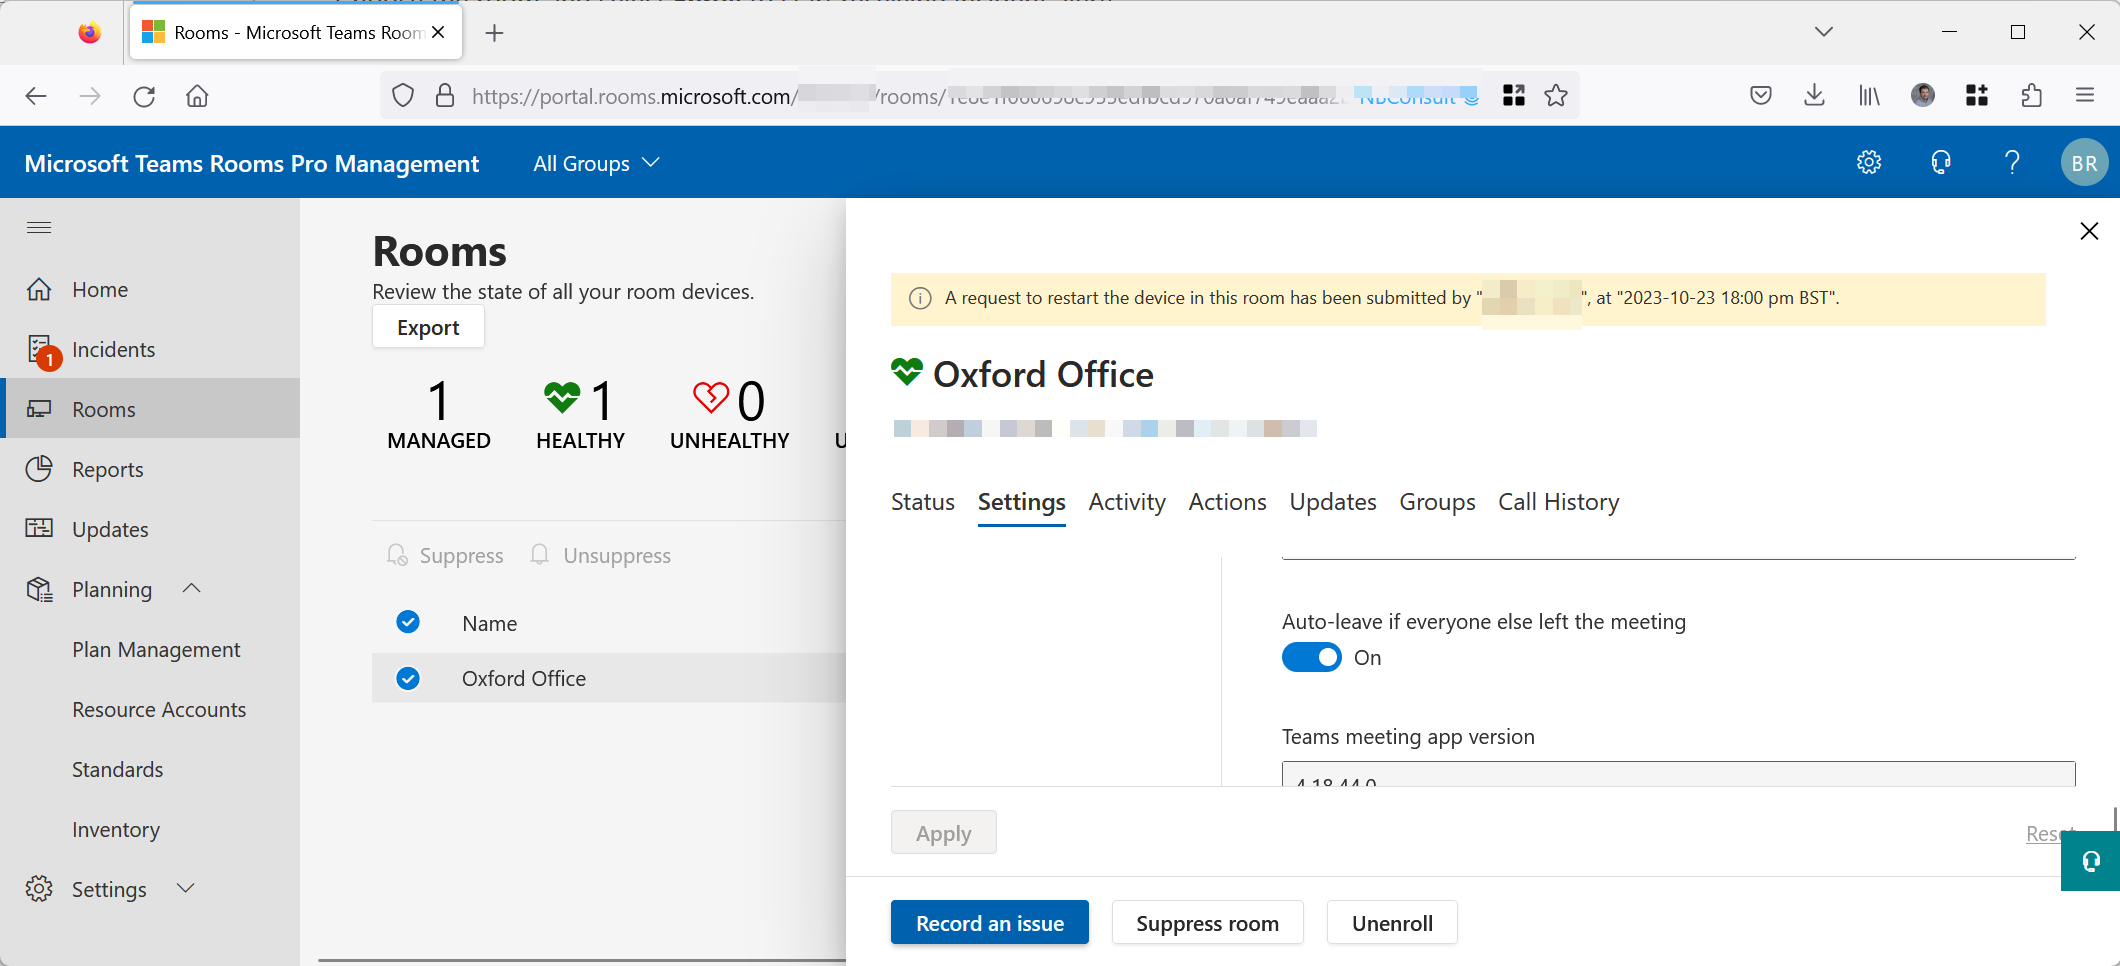
To complete the use of your rooms in the Teams Pro Management Portal, check that you have all the settings in place for each room. Do this from Rooms menu and click each room and fill in all the data required. Applying room settings can reboot the rooms, but it allows for a centralized way of configuring the on-device console settings:
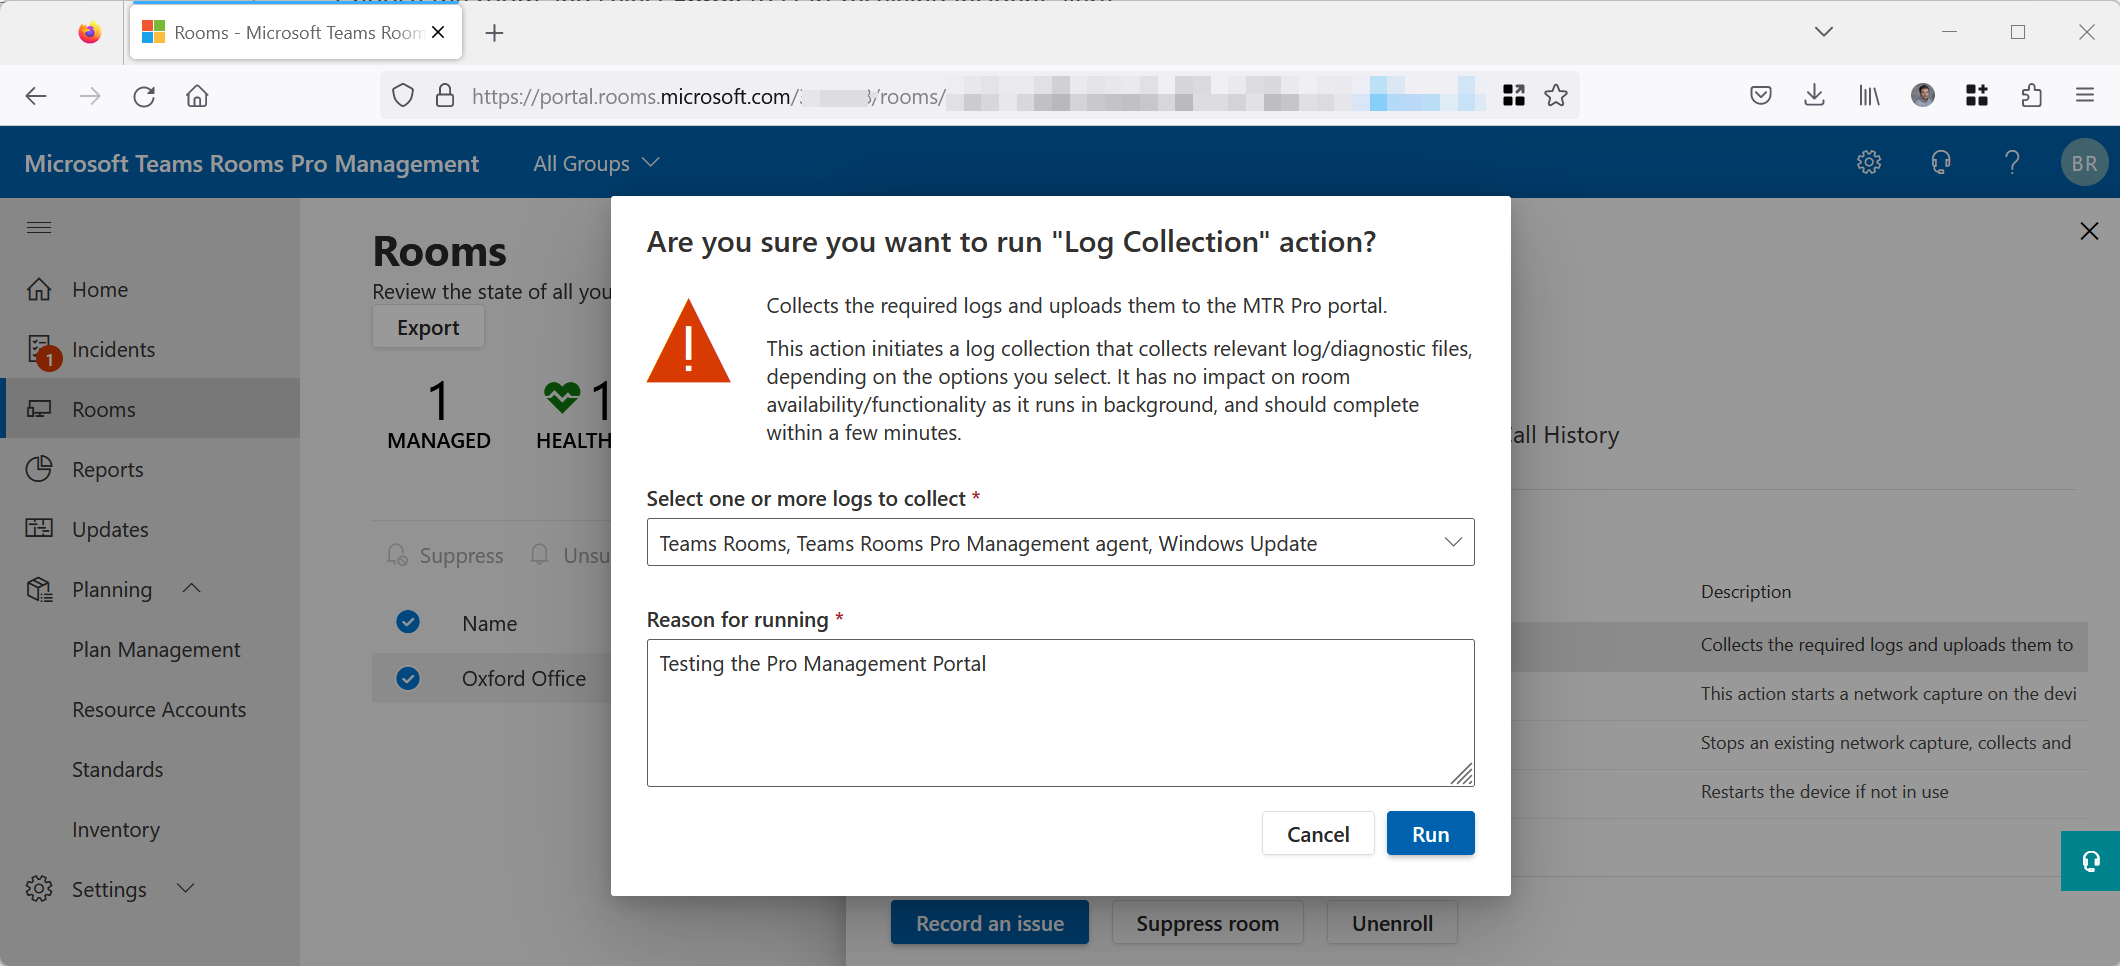
Central log collection is also available via the “Activity” tab. Network capture and device restart actions are also available:
It is possible to unenroll your room! There are no confirmations about doing this, but if you do this all you need to do is to reboot the device and leave it running in Teams Room mode for a short while and it will onboard again. If you intentionally want to unenroll a device (moving to a new tenant for example), then Microsoft have a PowerShell script you can download to unenroll the device, uninstall the agent software. When you run this, then use the Unenroll button in the Pro Management Portal to remove the room so it does not reappear.
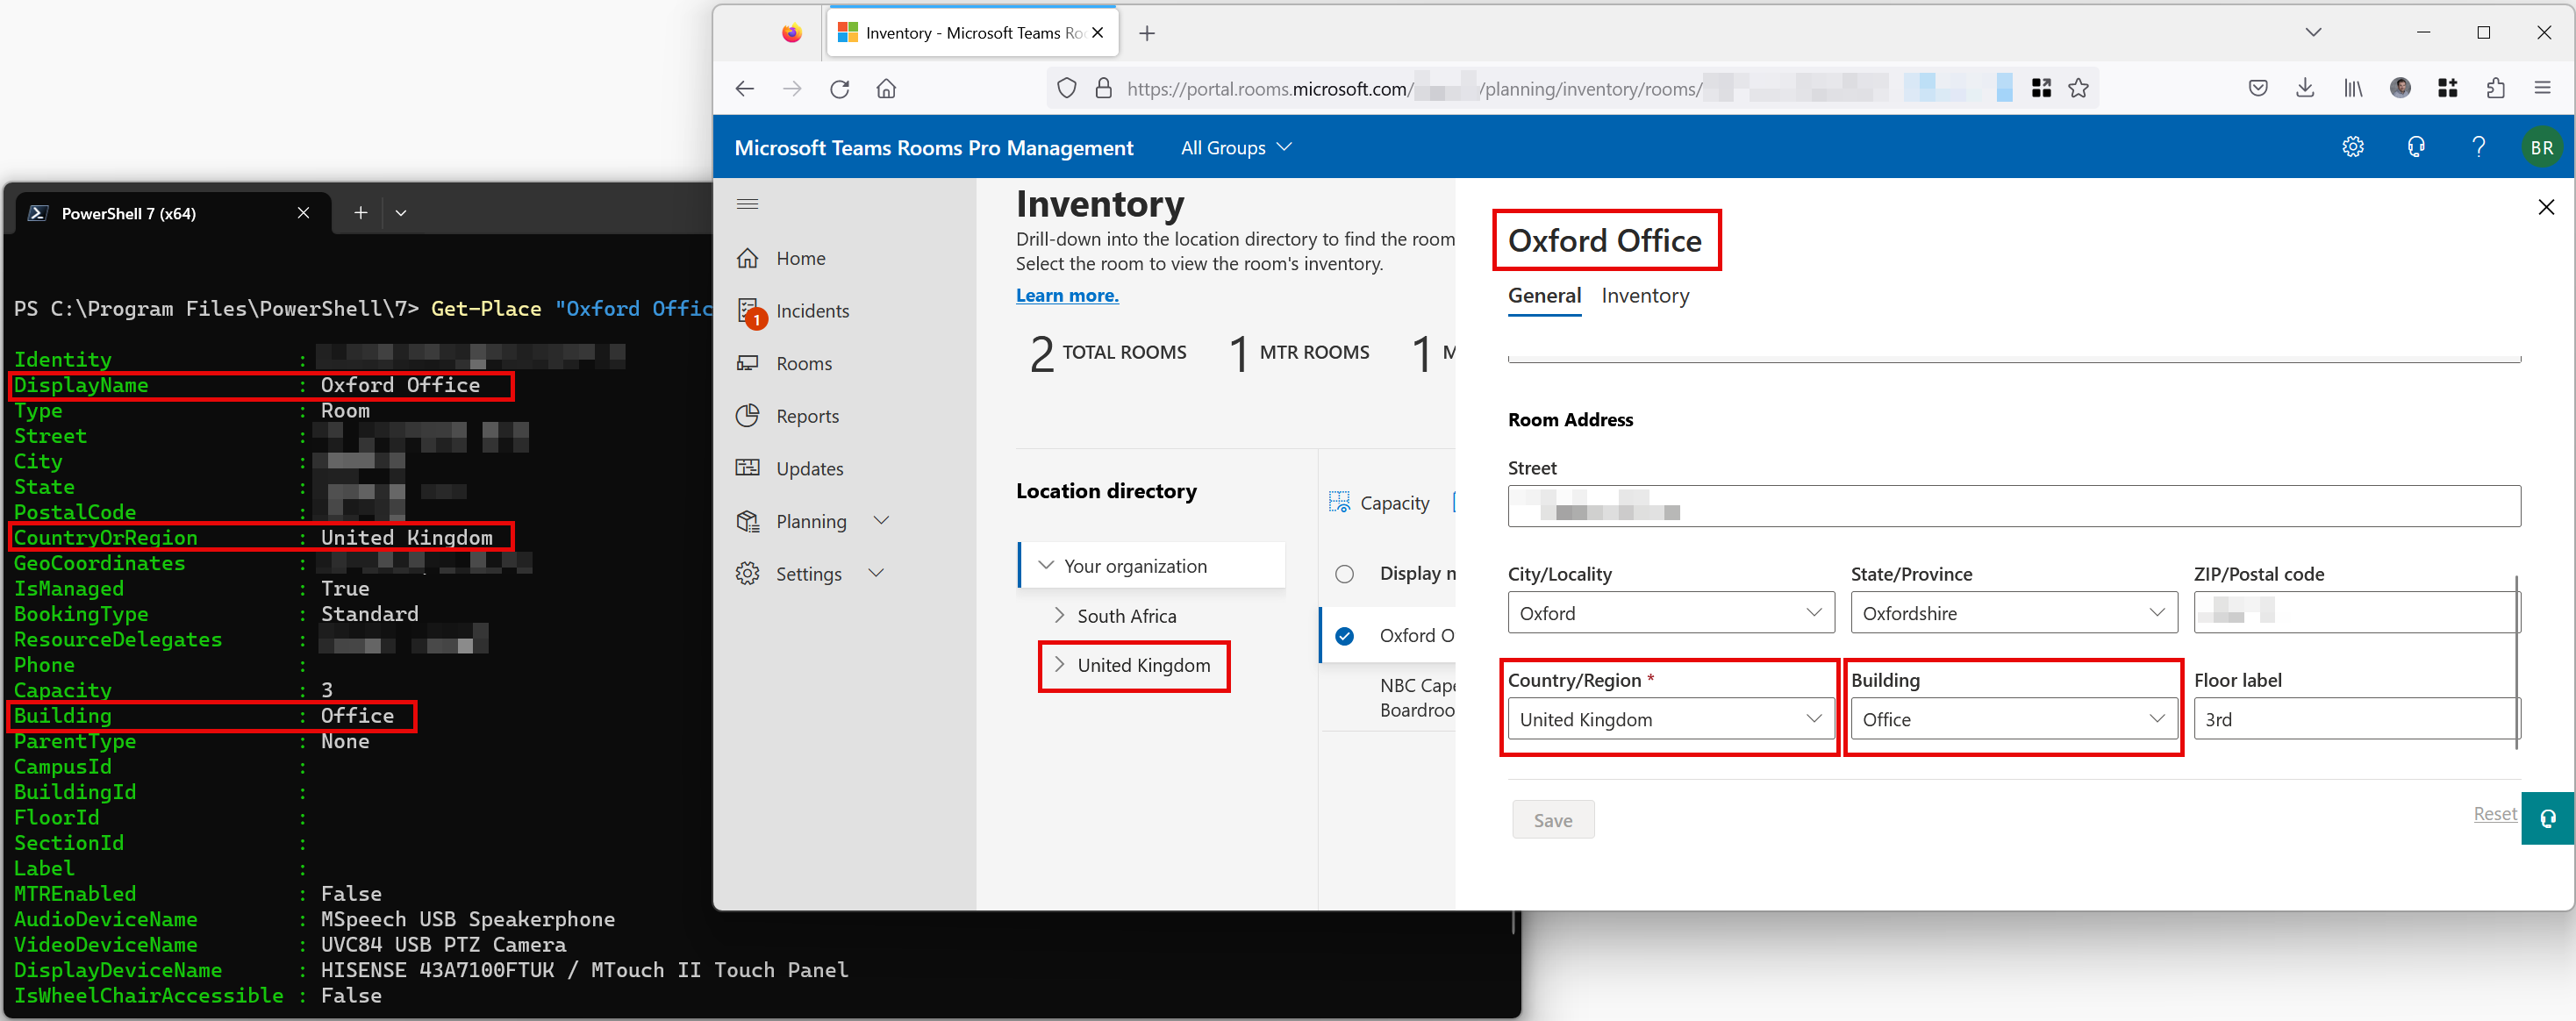
Room planning, inventory and setting room standards all require room data, as do the Reports. These options in the Pro Management Portal will appear within a day in my experience, and not the 20 minutes that the planning page says. Therefore check back on the Pro Management Portal a day later to make sure that all the room resource mailboxes (both Teams Rooms and standard resource mailboxes in Exchange Online) appear and have the correct data, such as country, capacity and location. This information is recorded in the Places data in Exchange Online
Along with Inventory, it is possible to plan your new meeting rooms and base these of standards that you can construct in the portal for the various room types, and then publish these standards to the organization or the various countries the organization operates in.
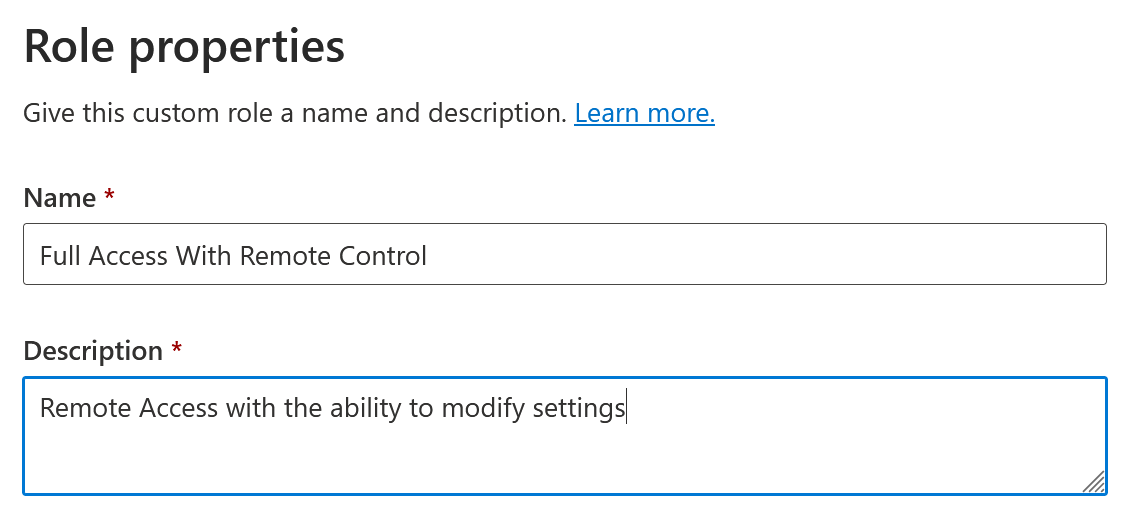
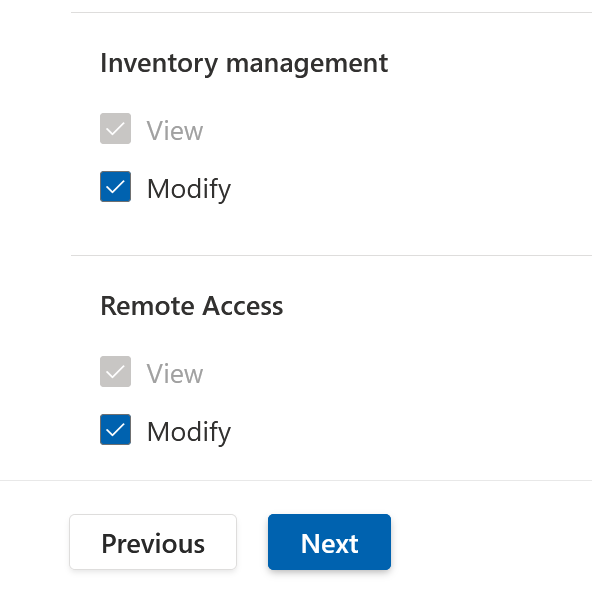
For the last new feature we will discuss here, we can enable remote management of the console of the device. This needs to be recorded for auditing purposes by sending an email from the portal to someone, which you will find on the Settings/General tab, and once that is done you create a new Role under Settings/Roles. You can grant either the View Remote or Modify Remote role (along with other roles) to users or groups, assigned to rooms or room groups.
Once you have assigned the role the “Remote Access” tab appears when you select a room, and from here you can remotely access the device to control, make adjustments to settings, update passwords, run scripts or anything that requires hands on the device. Click Start Session to begin. The role setup says you need Edge Browser, but I know it works in Firefox as well.
All screens in the meeting room are surrounded by a red box to indicate that the session is being remotely monitored, but on testing this feature this box disappeared when I started a meeting, even though the remote monitoring continued. It is not possible to start a remote session when a meeting is running, but it is possible to join a room before a meeting starts and stay connected after a meeting begins.
Finally, though its a bit out of scope for this blog post, the Pro licence includes Intune. So now you can onboard your Microsoft Teams Rooms devices and manage them centrally for lots of other settings apart from Teams settings in Intune. One thing to watch out for though is that Teams Room devices will break, stop working or do other odd things if you treat them like a standard device and push settings or apps to them that they should not have – for example you might have a policy that rolls out Microsoft 365 Apps (aka the Office client) to all your managed Intune devices. Install Office on a Team Room and it breaks (you need to uninstall it and I speak from experience), so before you onboard your Teams Rooms to Intune make sure that almost every policy, app or setting that is targeted to “All Users” or “All Devices” is exempted from your rooms via a Group of devices and a seperate group of resource accounts that are used. Then you can safely onboard and push out only the supported settings or list of compliance policies that can break Teams Room devices.
Top image created by DALLE-2
Leave a Reply