
There are many blog posts and articles online about the old way to configure silent BitLocker. These used a template that Microsoft added to Intune. Since March 2023 BitLocker has moved (along with lots of other configurations) to using the Settings Catalog. Often the settings are similar and you can take a old blog post and work out what to do – not so with BitLocker. There is considerable change in the settings catalog version and therefore worthy of what seems a rewrite of old content.
Note that if you have existing BitLocker policies created with templates you can still use them and duplicate them to create other policies. This blog post is really where you have no existing policy in place and you would like to create a new one.
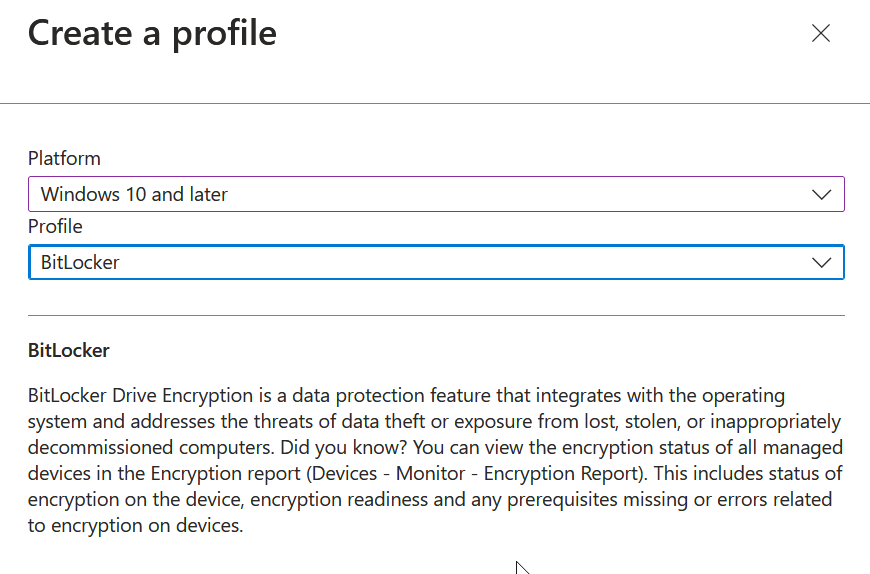
Additional note, silent BitLocker is used when you don’t want popups and alerts during, or to get the user to complete the BitLocker process. This limits some of the options you have, such as requiring a TPM chip on the device and not requiring a start-up PIN, but it does mean that you can easily roll out device encryption to all of your existing devices or enable BitLocker during AutoPilot.
You start by creating a new BitLocker policy in the Intune Portal (https://intune.microsoft.com/) > Endpoint Security > Disk encryption, or a Configuration Profile from the portal > Devices > Windows > Configuration profiles (Settings Catalog option). I prefer the second, as it is possible to export these settings as JSON for both documentation reasons and to easily import them into another tenant.

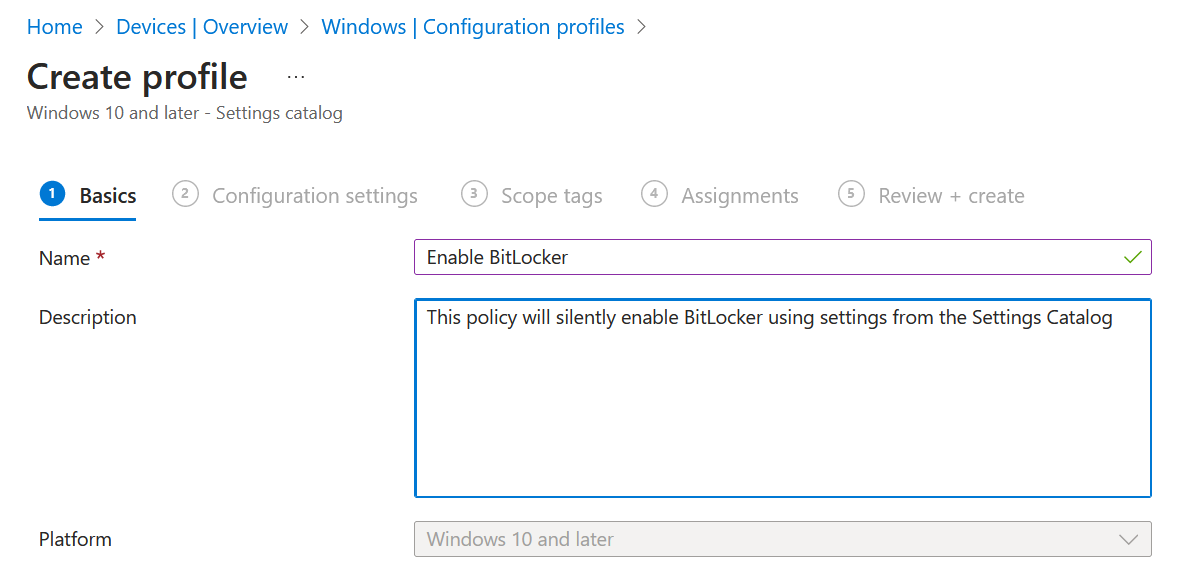
Create and name your policy, provide a description as shown:
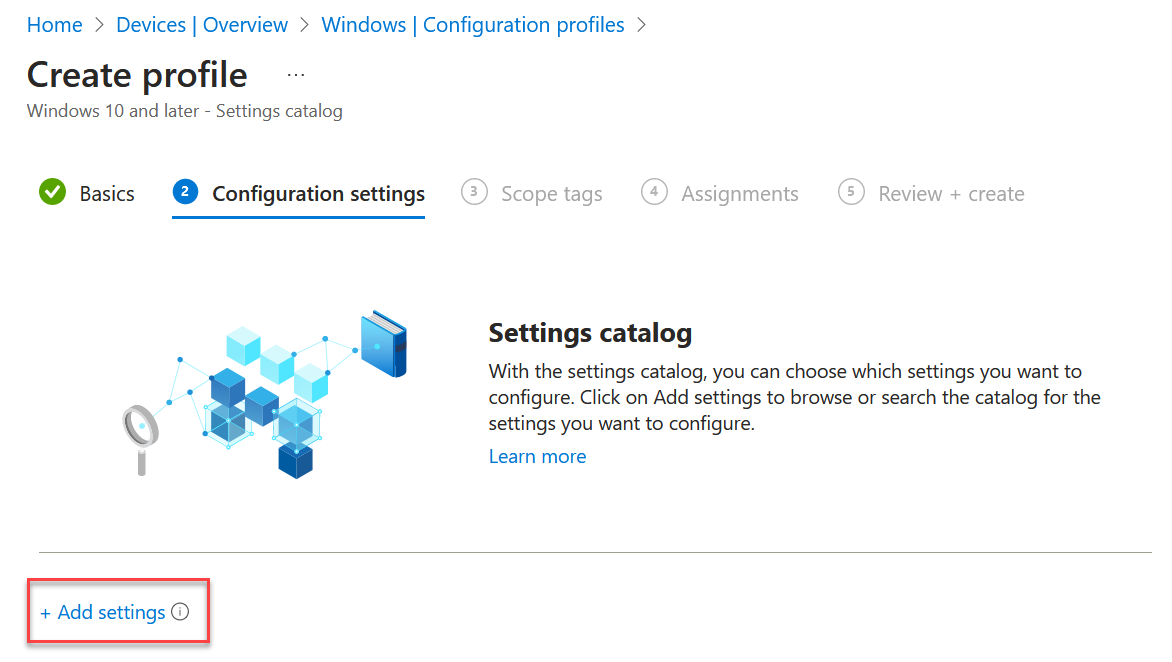
From the “Step 2” page, click + Add settings
Search the settings catalog for “BitLocker”. You will see five seperate categories:
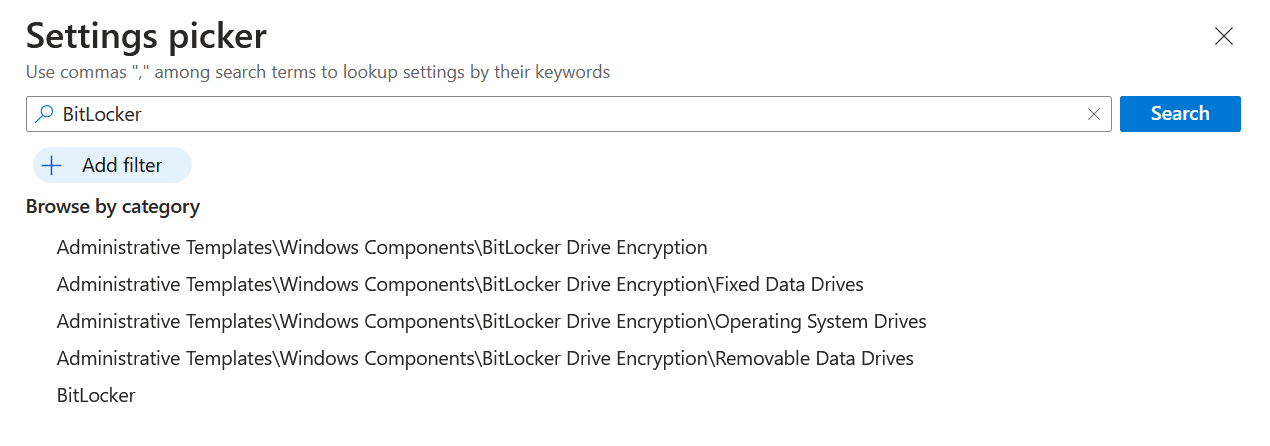
You need to select the following, one at a time, and add the relevant settings. They will appear on the left of the screen as you select them:
- BitLocker (the last one on the above list)
- Allow Warning For Other Disk Encryption
- Configure Recovery Password Rotation
- Require Device Encryption
- Administrative Templates\Windows Components\BitLocker Drive Encryption
- Choose drive encryption method and cipher strength (Windows 10 [Version 1511] and later)
- Administrative Templates\Windows Components\BitLocker Drive Encryption\Operating System Drives
- Choose how BitLocker-protected operating system drives can be recovered
- Disallow standard users from changing the PIN or password
- Enforce drive encryption type on operating system drives
- Require additional authentication at startup
- Others (Fixed Data Drives and Removable Data Drives) are optional for silent BitLocker policies
Adding the above, which is not all of the available settings, results in them being shown on the left and not configured (or in the default state). This screenshot is a view of the top of this list of settings.
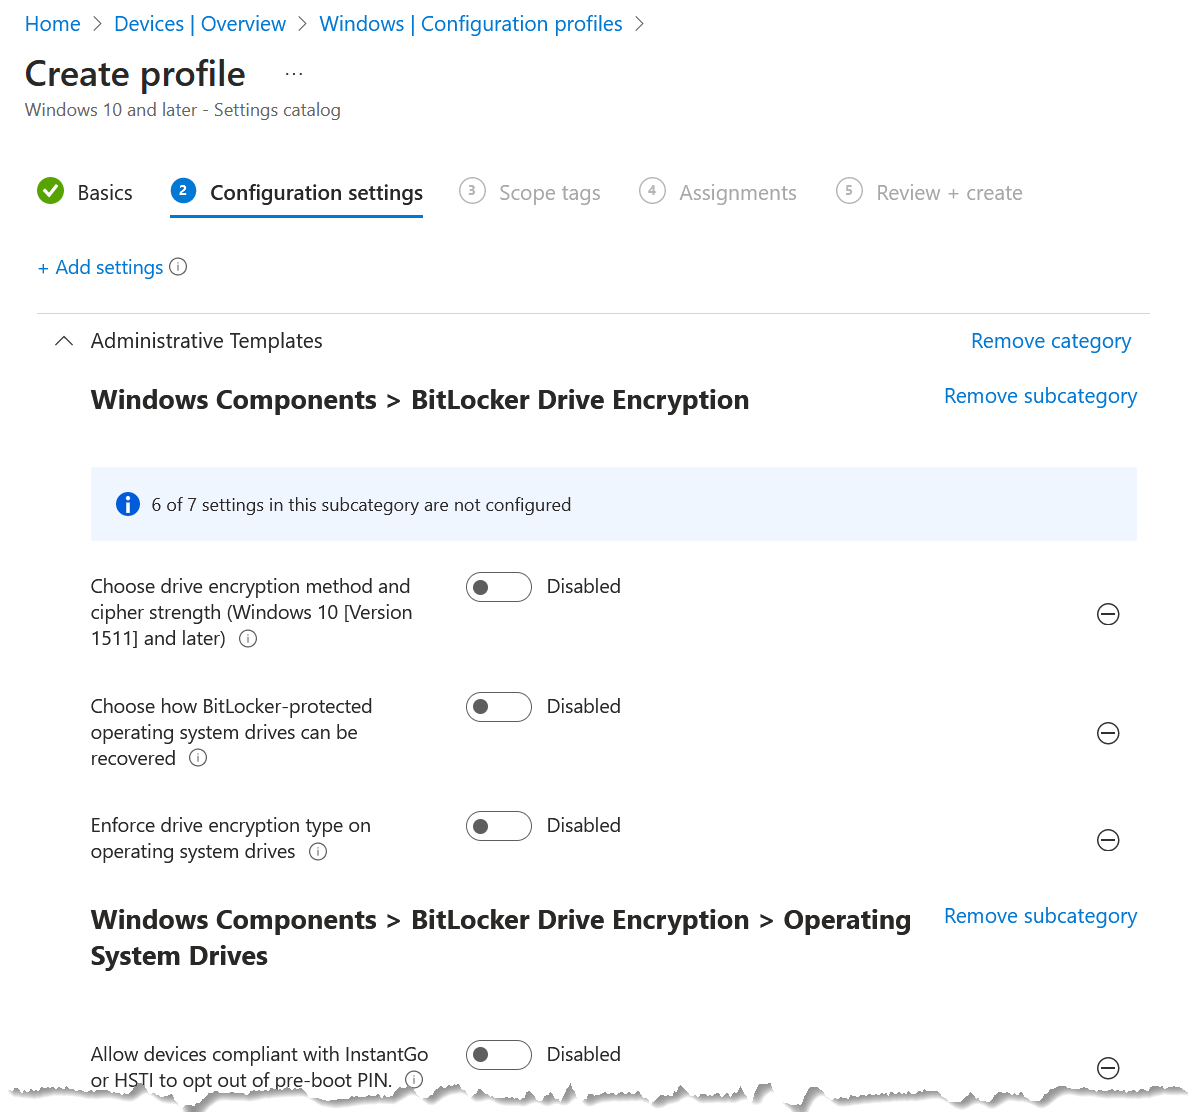
For each of these settings, there are various options. I will list here those that need to be selected (enabled or disabled) and why that setting needs to be such. Where a setting is not mentioned below it is disabled. It is still listed on the BitLocker policy because this turns off a setting rather than ignores it (i.e. not configured):
- Windows Components > BitLocker Drive Encryption > Operating System Drives
- Require additional authentication at startup | Enabled
- Allow BitLocker without a compatible TPM (requires a password or a startup key on a USB flash drive) | False
- Configure TPM startup key and PIN | Do not allow startup key and PIN with TPM
- Configure TPM startup key | Do not allow startup key with TPM
- Configure TPM startup PIN | Do not allow startup PIN with TPM
- Configure TPM startup | Require TPM (this is needed for silent BitLocker, and the device needs a TPM chip enabled in the BIOS/UEFI).
- All the other settings above must be disabled for silent BitLocker, otherwise they will prompt the user to perform key management jobs such as set a boot PIN.
- Choose how BitLocker-protected operating system drives can be recovered | Enabled
- Allow 256-bit recovery key
- Configure user storage of BitLocker recovery information: Allow 48-digit recovery password
- Allow data recovery agent: False
- Configure storage of BitLocker recovery information to AD DS: Store recovery passwords and key packages (note that this will backup to Entra ID and Active Directory even though it only says AD DS).
- Do not enable BitLocker until recovery information is stored to AD DS for operating system drive: True
- Omit recovery options from the BitLocker setup wizard: False
- Save BitLocker recovery information to AD DS for operating system drives: True
- Disallow standard users from changing the PIN or password | Enabled
- Enforce drive encryption type on operating system drives | Enabled
- Select the encryption type: (Device) | Used Space Only encryption
- Require additional authentication at startup | Enabled
- Windows Components > BitLocker Drive Encryption
- Choose drive encryption method and cipher strength (Windows 10 [Version 1511] and later) | Enabled
- Select the encryption strength you need for all three components. For silent BitLocker you need to say all disk types even if you are not planning to encrypt all disk types in the policy.
- Choose drive encryption method and cipher strength (Windows 10 [Version 1511] and later) | Enabled
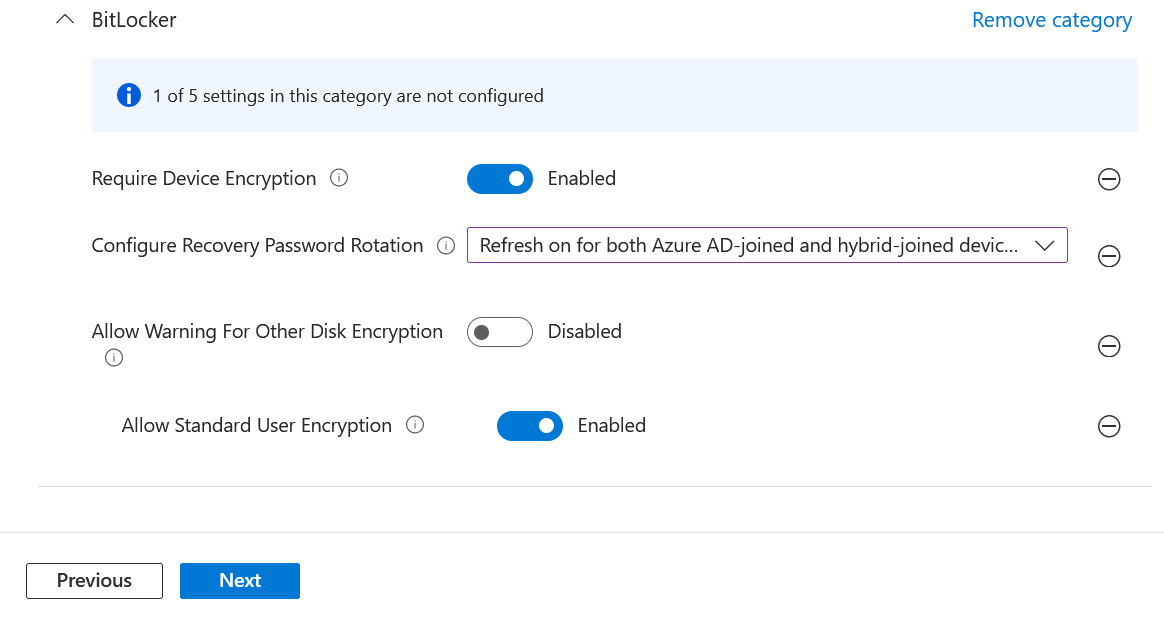
- BitLocker
- Allow Warning For Other Disk Encryption | Disabled (this defaults to Enabled in the policy – be sure to disable it as this is required for silent BitLocker
- Allow Standard User Encryption | Enabled (this is required so BitLocker during AutoPilot, when the first user is not an admin, will work).
- Configure Recovery Password Rotation | Refresh on for both Azure AD-joined and hybrid-joined devices
- Require Device Encryption | Enabled
- Allow Warning For Other Disk Encryption | Disabled (this defaults to Enabled in the policy – be sure to disable it as this is required for silent BitLocker
The last of the above section (BitLocker) looks like this. Notice how settings that are both enabled or disabled in the policy. They are not absent/removed from the policy as that means “Not Configured” rather than “Disabled” or “False”.
Click Next to move onto Step 3. Set any Scope Tags you require.
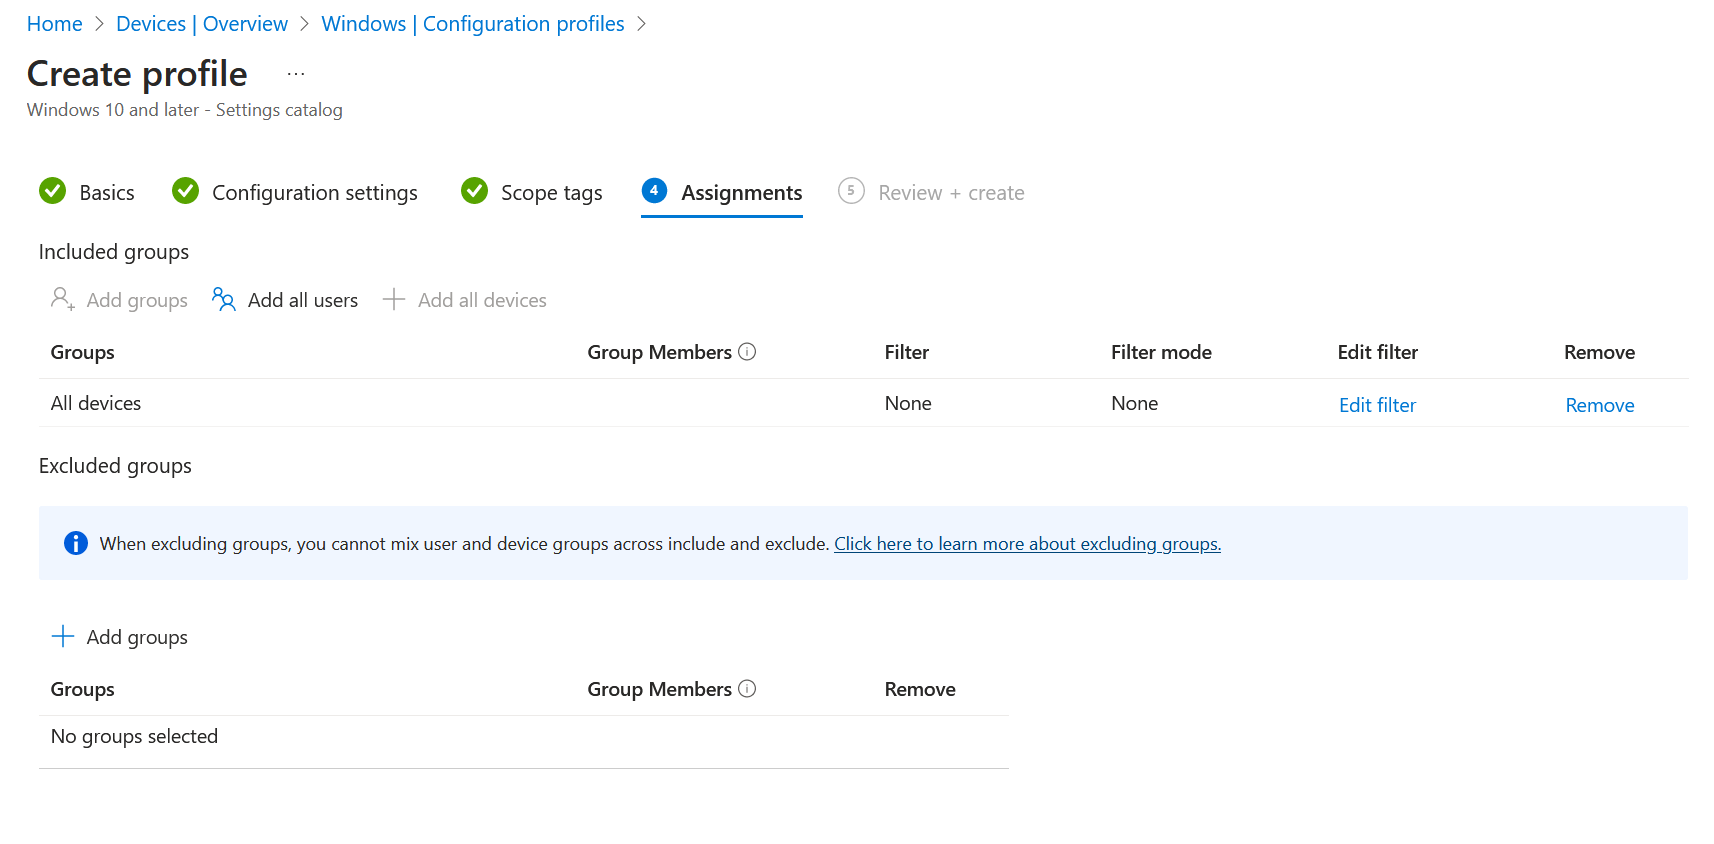
Click Next to move onto Step 4. Assign the policy to All Devices to cover your entire Windows client estate. Start with an assignment to a group that contains a few unencrypted devices, and for completion, a few encrypted devices. The unencrypted devices should encrypt over the next few days and the already encrypted ones should do nothing. These should not change settings in any way (for example startup keys, recovery passwords, or encryption levels). The already encrypted devices will only move to your required settings if they have their existing encryption removed first.
Therefore collecting recovery keys from existing encrypted devices to Entra ID will be required as a seperate task.
Click Next to review and then Create to complete the process. Devices will check into Intune within 8 hours and download the new policy if they are assigned it. They will then start the encryption process. Forcing the sync of a device from the Intune portal or the device itself will speed up this, and BitLocker should start encrypting within minutes on a device that you force sync to. It will finish encrypting based on amount of the data and the “Used Space Only” (quicker) or “Full Encryption” (slower) setting.
Export the configuration profile from the … menu to the right of the profile name and Export JSON to save (and possibly import the profile to another tenant).

You can track the success of your silent BitLocker process initially on the devices you are using to pilot this policy (via the Event Viewer, DeviceManagement-Enterprise-Diagnostic-Provider log). The status of the policy can be seen from “Device Status” under the policy. This will show the number of devices that have picked up the policy. The Encryption Report under Devices > Monitor > Encryption Report can also be used.
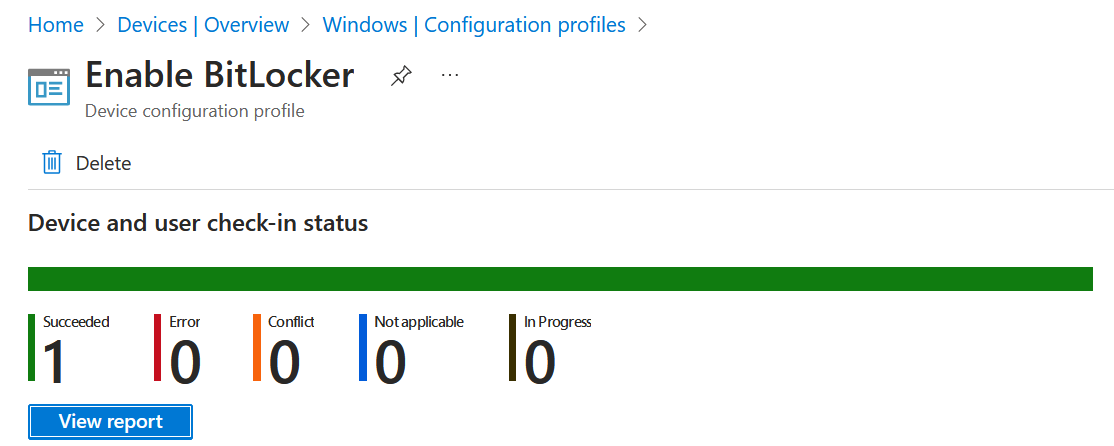
Photo by Azamat Esenaliev: https://www.pexels.com/photo/black-internal-hdd-on-black-surface-117729/
Leave a Reply