With the sudden change in working practices, a (large) number of companies has start to use Zoom as their video conferencing software. Though this software is not from Microsoft, that does not stop an Office 365 or Exchange Server administrator helping their users out in terms of scheduling Zoom meetings via an add-in in Outlook.
On the Zoom website the user can download and install their own add-in and the Zoom application, but the steps below will push the Outlook add-in to all users (or all Zoom users if you have a group containing just these users).
These steps are run from the Office 365 Admin Center and not from Zoom, and they push the add-in to Outlook without end end-user interaction
To deploy an add-in, and in this case the Zoom Outlook add-in, first go to the Microsoft 365 Admin Center at https://admin.microsoft.com/.
Click Show All on the left and then select Settings > Add-ins from the expanded menu.
In the Add-In main page click + Deploy Add-In.
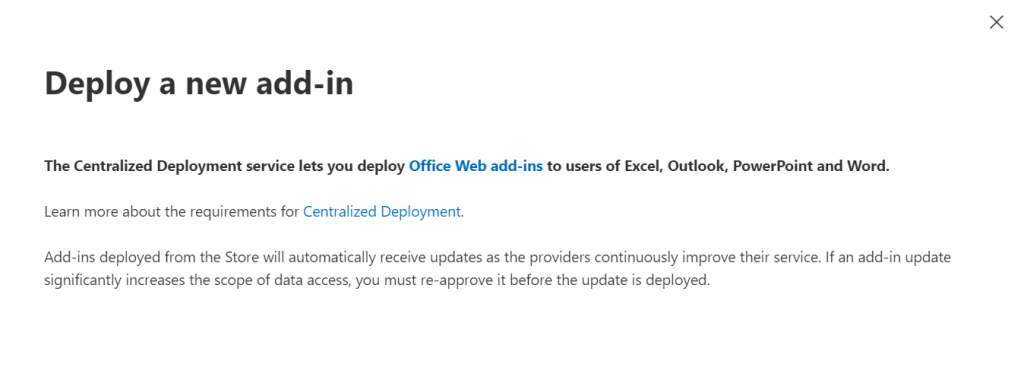
This screen outlines the Centralized Deployement service for Office Web add-ins. These add-ins work across the web version of the application, the desktop versions (PC and Mac) and in some cases the mobile version as well. The important thing to learn here is that they are not just for the web version, so not just for OWA. In the context of the Zoom add-in, on the Zoom website it says the add-in only works in Outlook for the Web (OWA), and this is not correct.
Click Next and click Choose from the Store as shown:
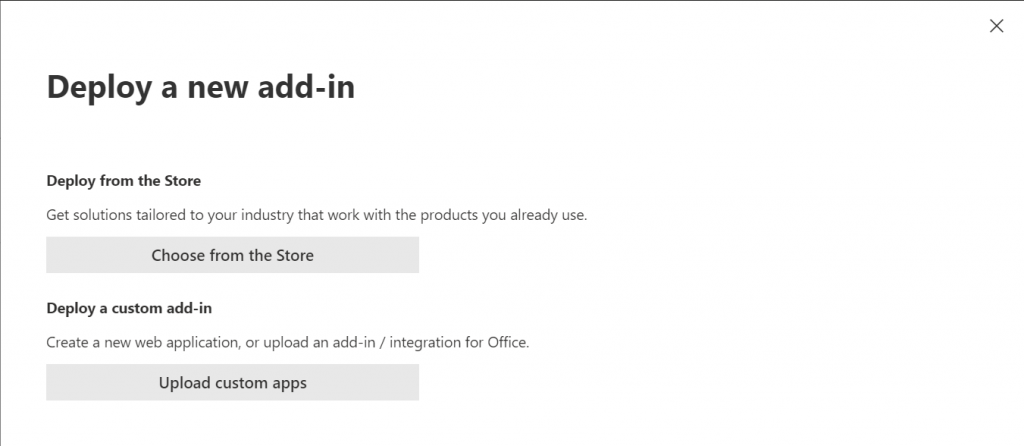
You will now see a list of all the add-ins in the Microsoft Store (once you have logged into the Store if you needed to do this).
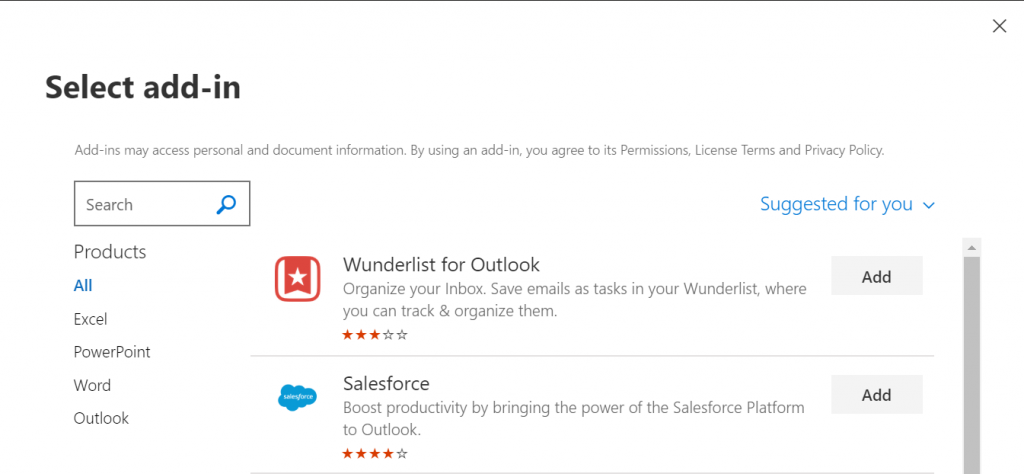
As we are discussing the Zoom for Outlook add-in at this point, type Zoom in the Search box.
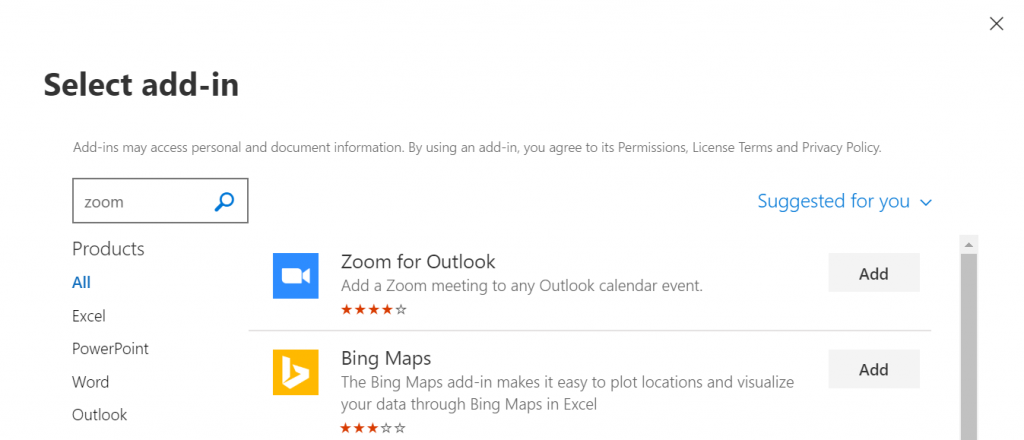
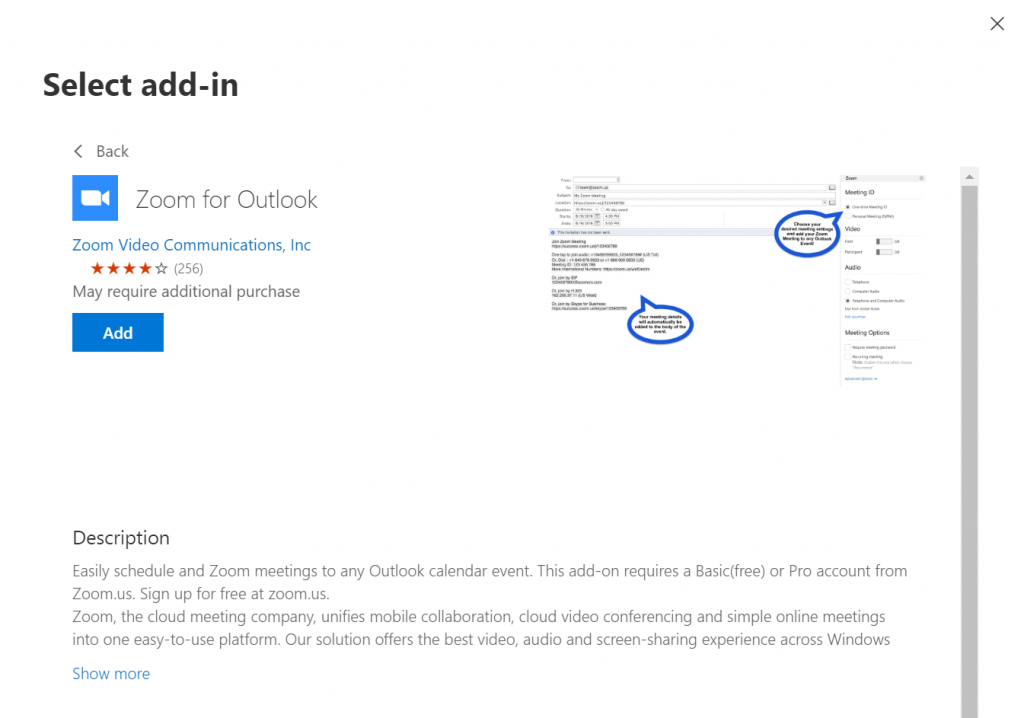
Click Add next to the Zoom for Outlook add-in. Then accept the licence terms and privacy policy shown to you as shown below. If you click on the title of the add-in then you see a description of the add-in and can complete deployment from that screen.

If after clicking Add and accepting the licence you get a correlation error similar to that shown, it means the add-in was already deployed. There is a bug in the new Admin Center that does not show existing deployed add-ins and you need to go to the old old Office 365 admin center (switch the slider top right) and search for the add-in:


If you had no error on deploying the add-in, then you will be asked who to deploy the add-in to. The options are to Assign Users and choose all or some of the organization and also the Deployment Method and Fixed, Available or Optional. This last option controls whether the add-in is deployed for the user to the ribbon in the Office application and they cannot remove it (Fixed), where the user can choose to add the add-in to the office app (Available), or where the add-in appears on the application ribbon, but the user can remove it (Optional). This is shown below:
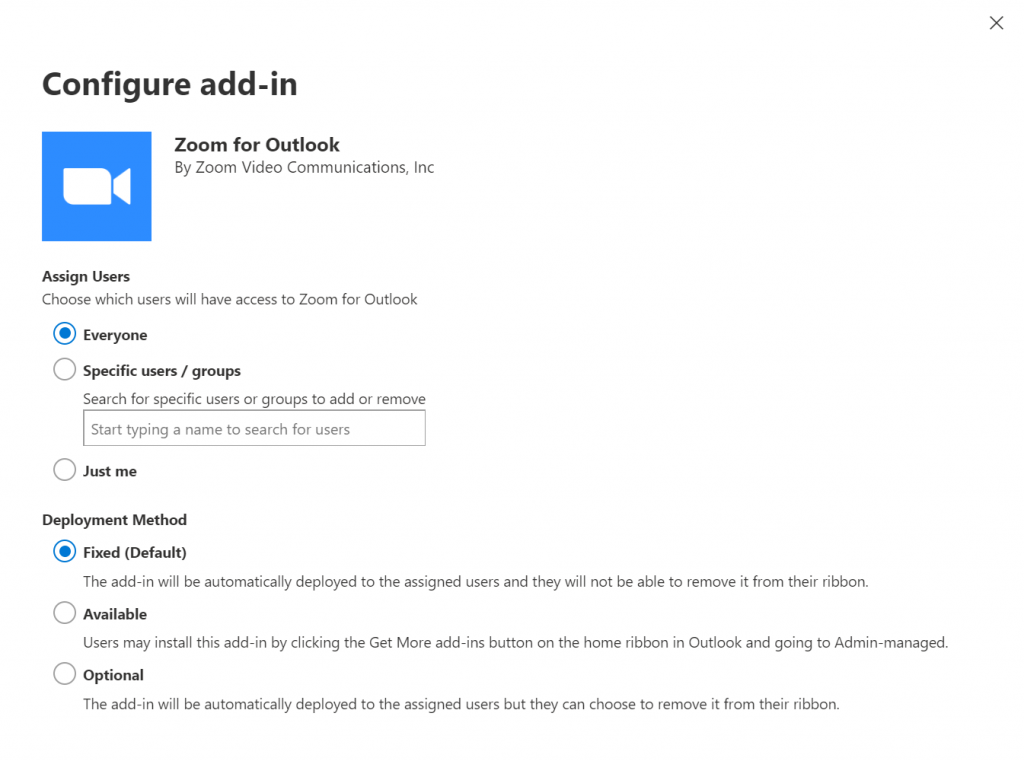
Select your user and deployment options. For users, any group cannot be a nested group and the requirements for groups is covered in the documentation. For this blog post I selected Everyone and Fixed. Click Deploy to start the deployment to the users.
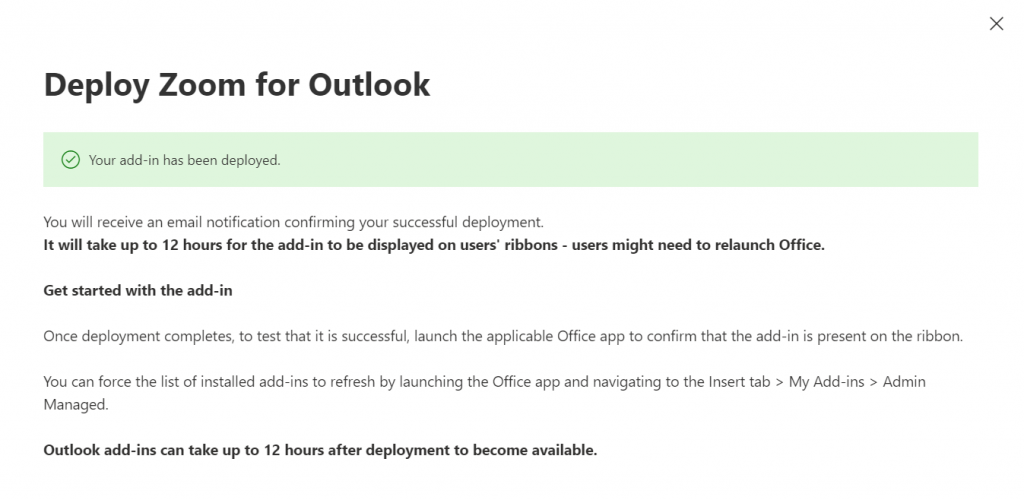
The listed time is dependent upon the number of users in your deployment scope or your Office 365 tenant. You will get an email upon completion.
Once completed the add-in appears in the Office application. In this particular case, Zoom for Outlook appears in the New Appointment window in Outlook.
If you deployed the add-in as Available then the user needs to click the Get Add-In button in Outlook to install Zoom as shown:
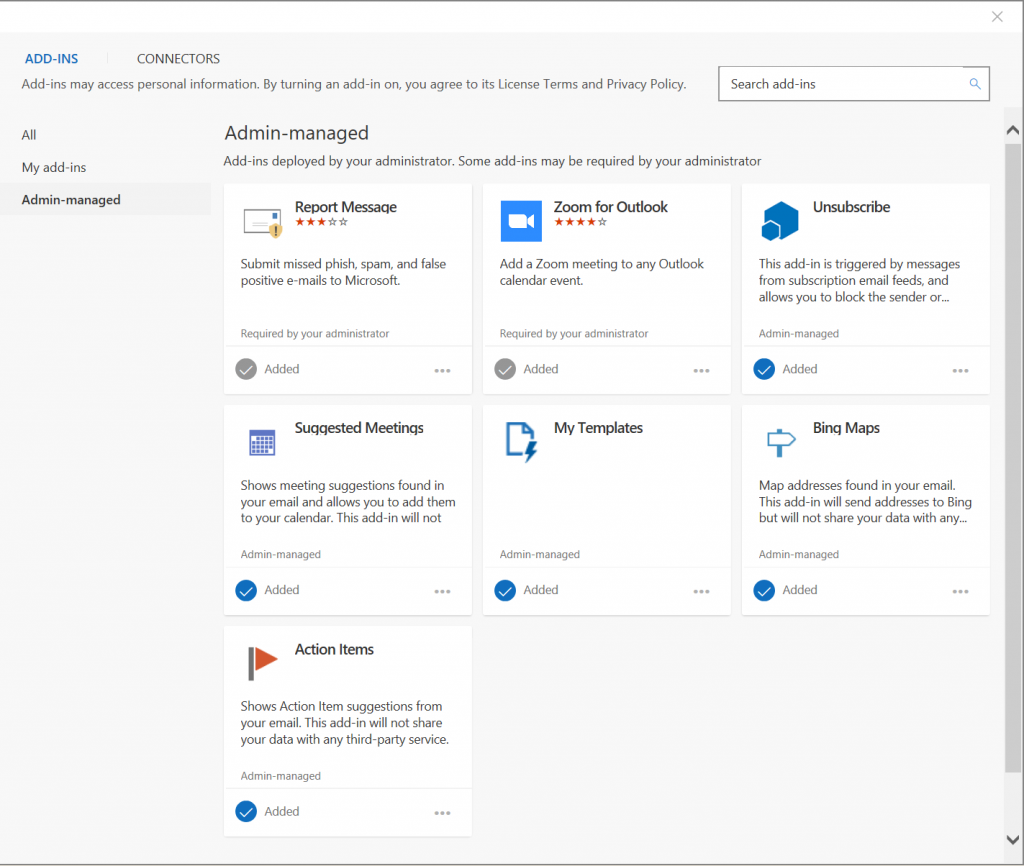
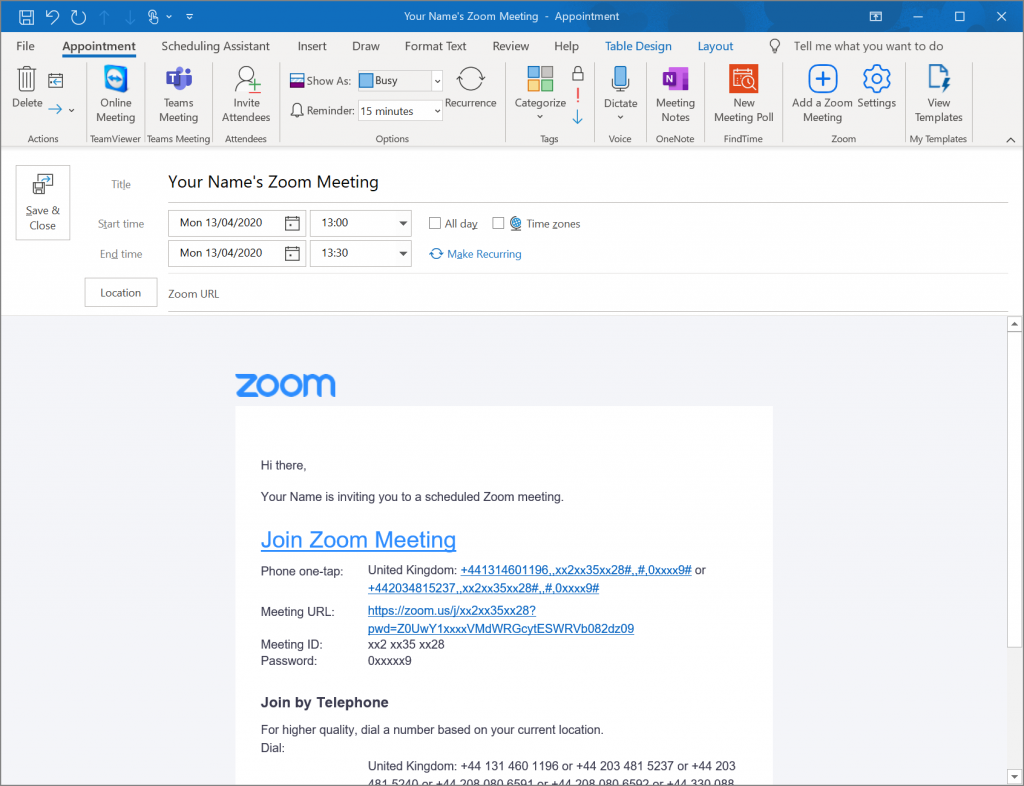
Once the add-in is deployed, it will appear in the New Appointment screen as shown (on the right):

Clicking the Add a Zoom Meeting button will present a dialog box where you can login with your Zoom account or if you have set up Zoom as an Enterprise Application then click the Sign in with SSO button.

In the below screenshot, Outlook Appointment shows the Zoom meeting details automatically added. The HTML view for the meeting details is an option available in your Zoom account settings, as is the location for your audio dial in settings (here shown as UK) as you don’t get to choose these options per meeting as you can do when meetings are made via the web browser on the Zoom site.
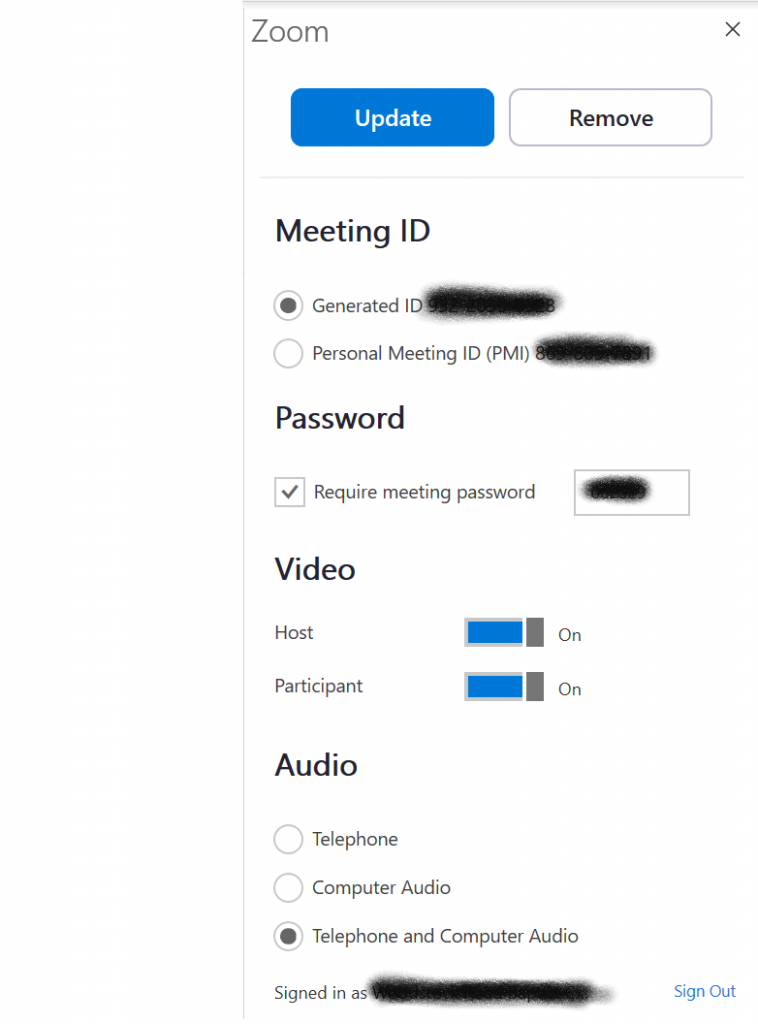
The Settings button on the tool bar allows you to control other meeting settings such as Meeting ID (personal or auto-generated), password or not!, and video and audio settings for the meeting.
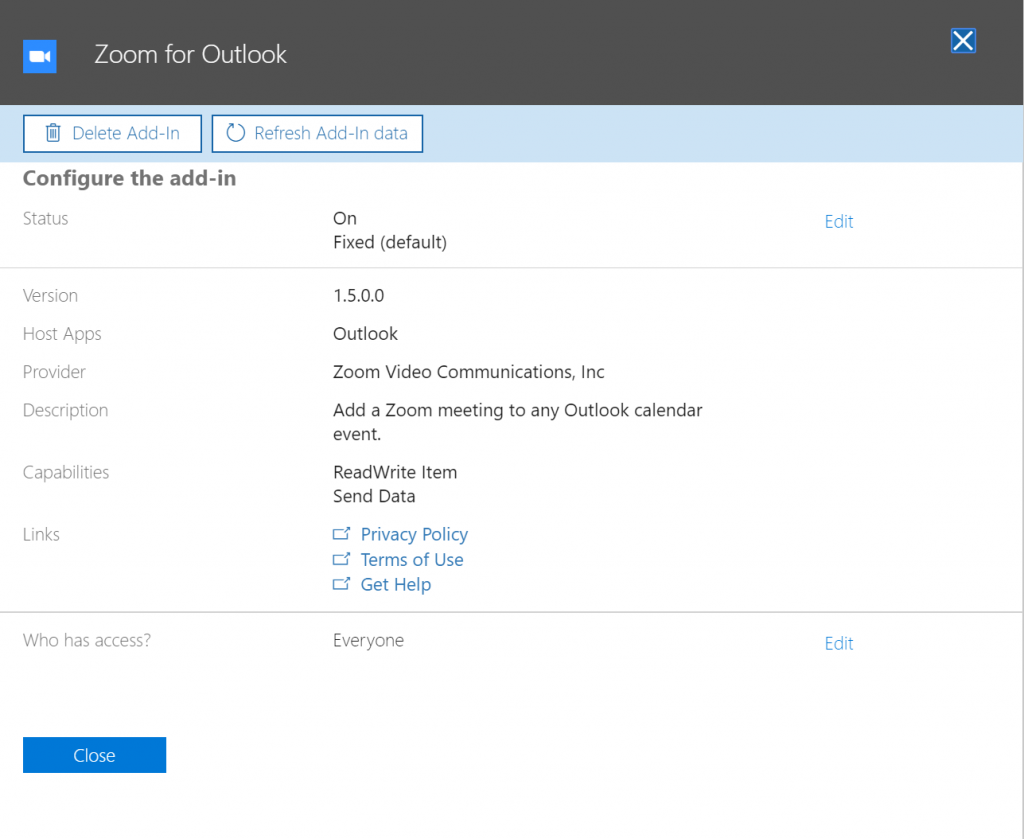
To edit the Add-In deployment you need to visit the old Microsoft 365 Admin Center (switch off “Try new admin center” to top right of admin center). From here you can adjust the status of the add-in and who it is deployed to, as well as removing the add-in.
Finally, for info, the Teams Add-in to do the same thing in Teams is automatically added to Outlook if you have the Teams client installed and your deployment option is not Skype for meetings – for example if you are in Islands Mode you will be able to see both Skype and Teams buttons in Outlook!
Leave a Reply